kinda drift truck build thread?

clint282cc

TCG Elite Member
Nov 4, 2011
1,545
0
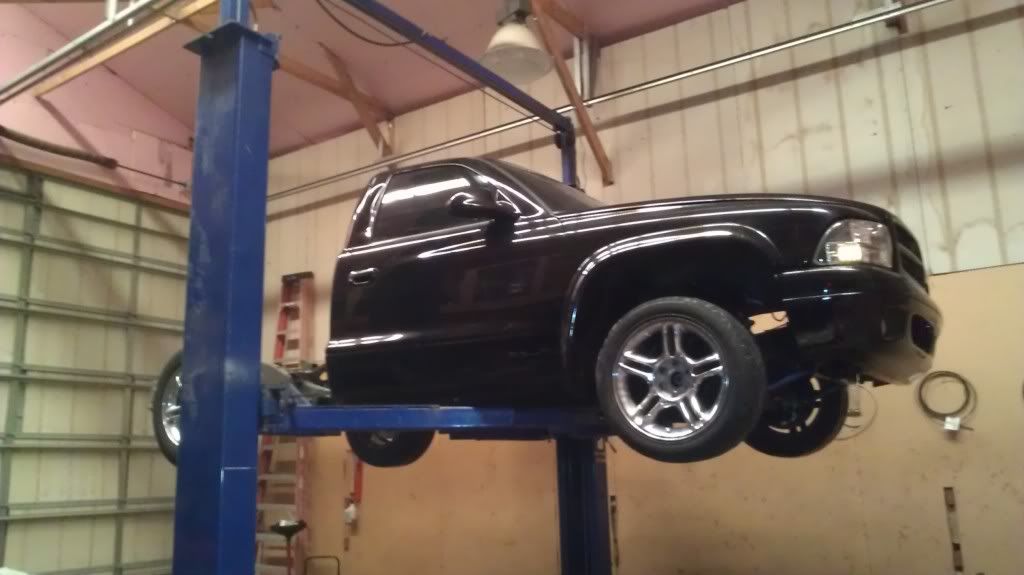
kinda a feeler. not sure if anyone will post or if anyone is intrested enough. but here we go. i work on my truck a lot. lots of pics. figued you guys might be intrested if i posted some stuff here. i know most of you can care less about some lowered dakota... but maybe youll see its not just your everyday truck... this winter project has been pretty big this year. ill try to catch you guys up on it.

lots of progress.

IMAG1248_zps6c6d5326.jpg


IMAG1249_zpse0fe97ab.jpg


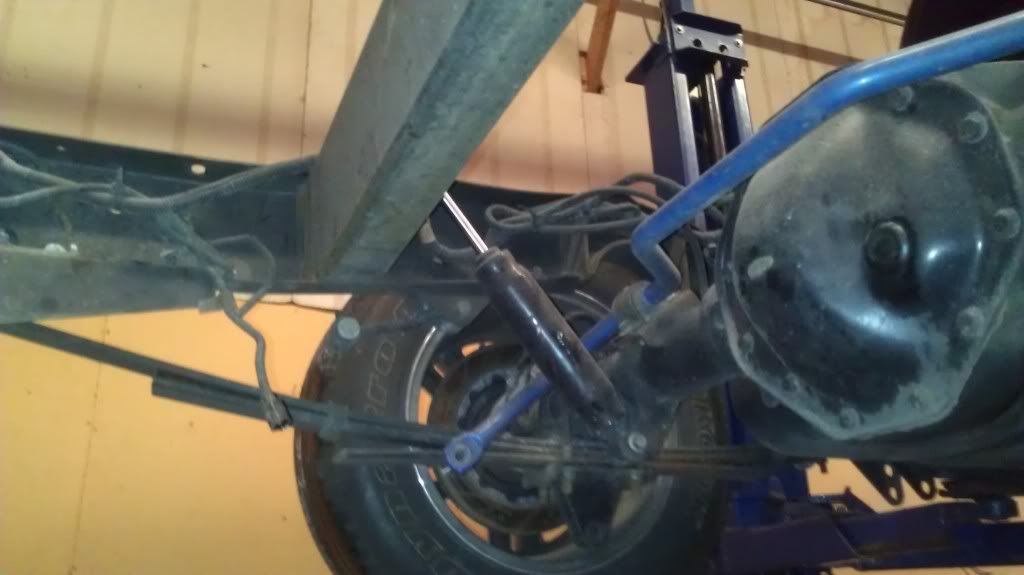
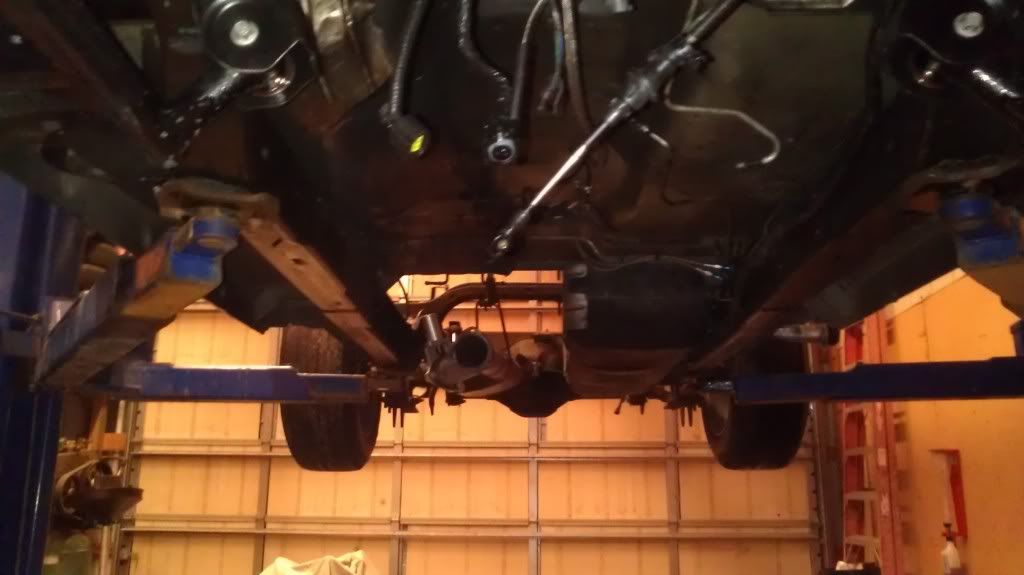
you can see the angle of the shock here. its at almost a 45* angle to the suspension travel. its a TERRIBLE setup and it doesnt help to have toxic drop shocks on top of it. also see how the swaybar is at a very bad angle also. its not designed for 5" drop. so out that will go to. going to fab up brackets making the shock more vertical and going to fab a custom chevy 3500 torsion bar as a swaybar. the bar will go through that crossmember at the top of the pic and wont limit any travel but will keep the truck very flat in corners. should eliminate 99% of any body roll.
IMAG1250_zps7d39258a.jpg


IMAG1251_zps75032c3e.jpg


IMAG1252_zpsb4343ef5.jpg


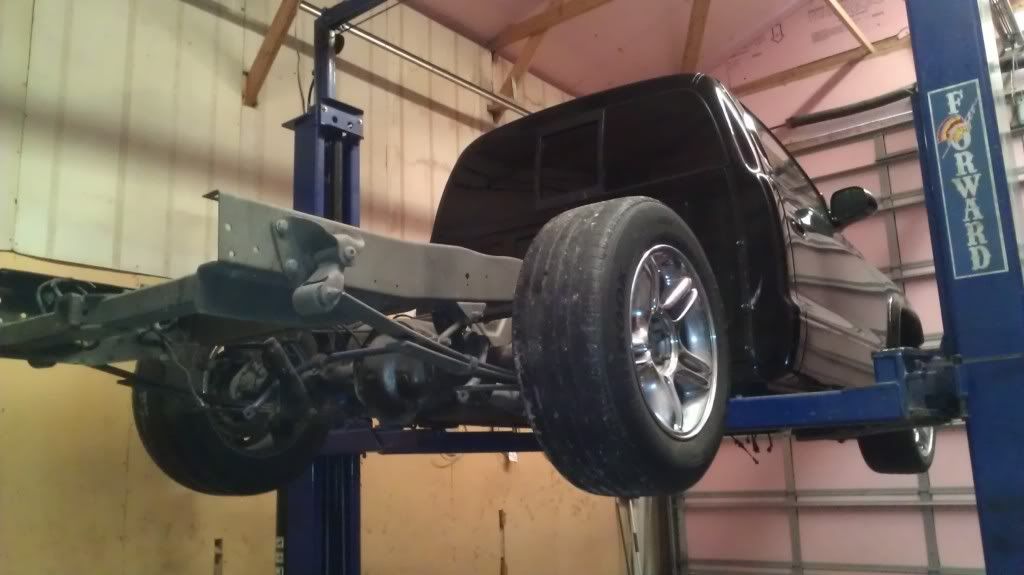
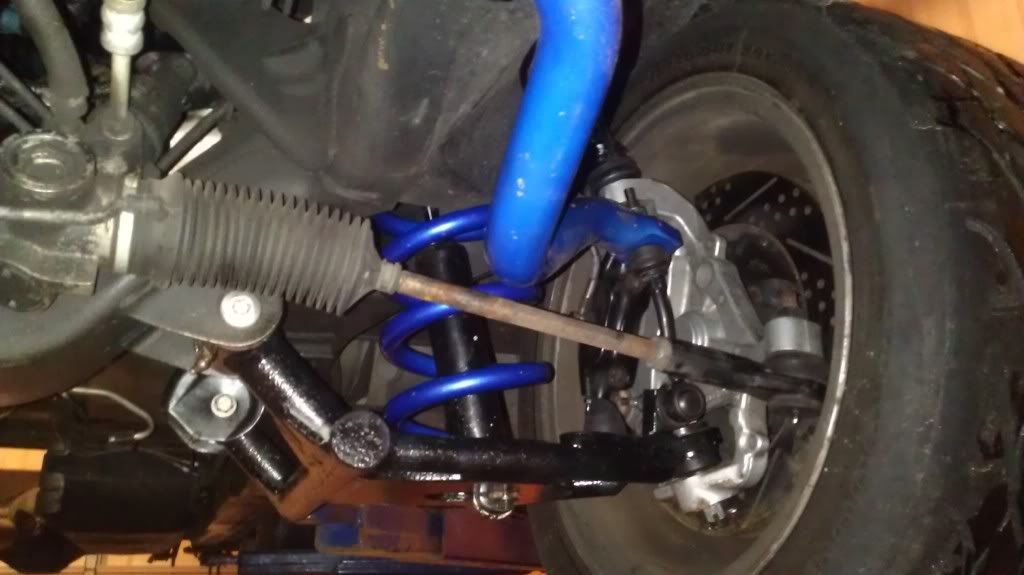
i removed the bumpstop mount on these lower control arms and mounted a taller bumpstop directly to the arm. it will give me about an inch more travel and a smooth bump when it hits. (i was running pancake bumpstops before). it has a total of 6.5" DROP from ride height. so it will be very good for weight transfer... now i just gotta get some double adjustable shocks to change from drifting to 1/4mile racing.
IMAG1254_zpsa253c699.jpg


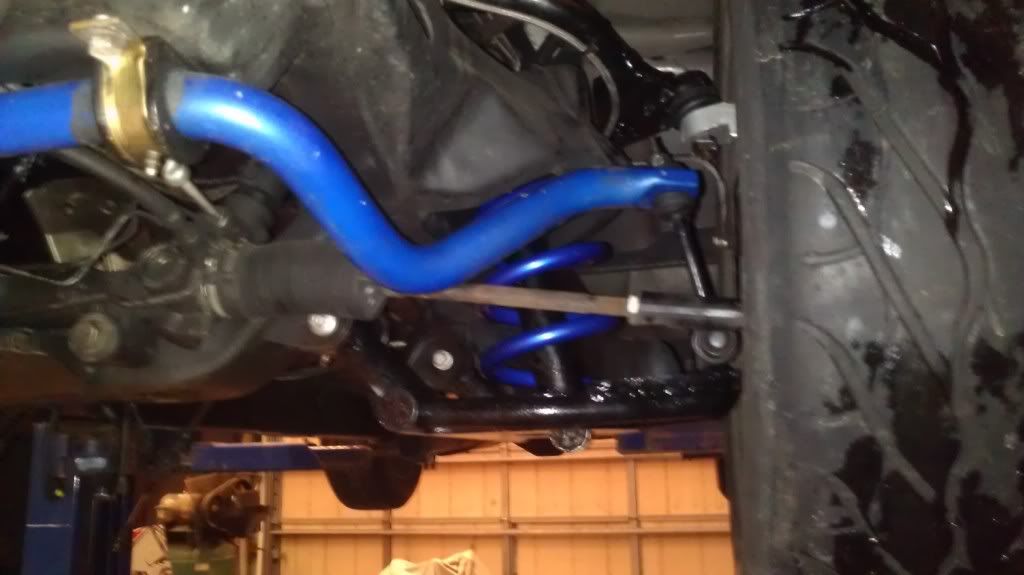
i force-fit the upper control arm bushings when i first installed... not good. they squeeked like a motherfucker and were so tight i couldnt get grease into the fitting. so i took them down the street to a maching shop i always deal with and he cut them down, cut a groove, and drilled through them. now they are as smooth as a ball bearing!
IMAG1255_zps171fb238.jpg


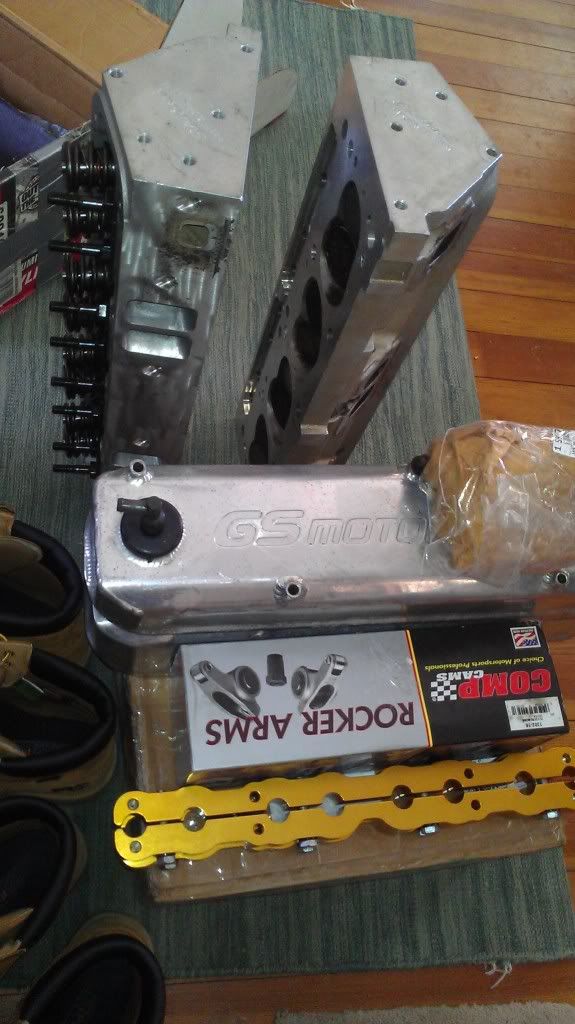
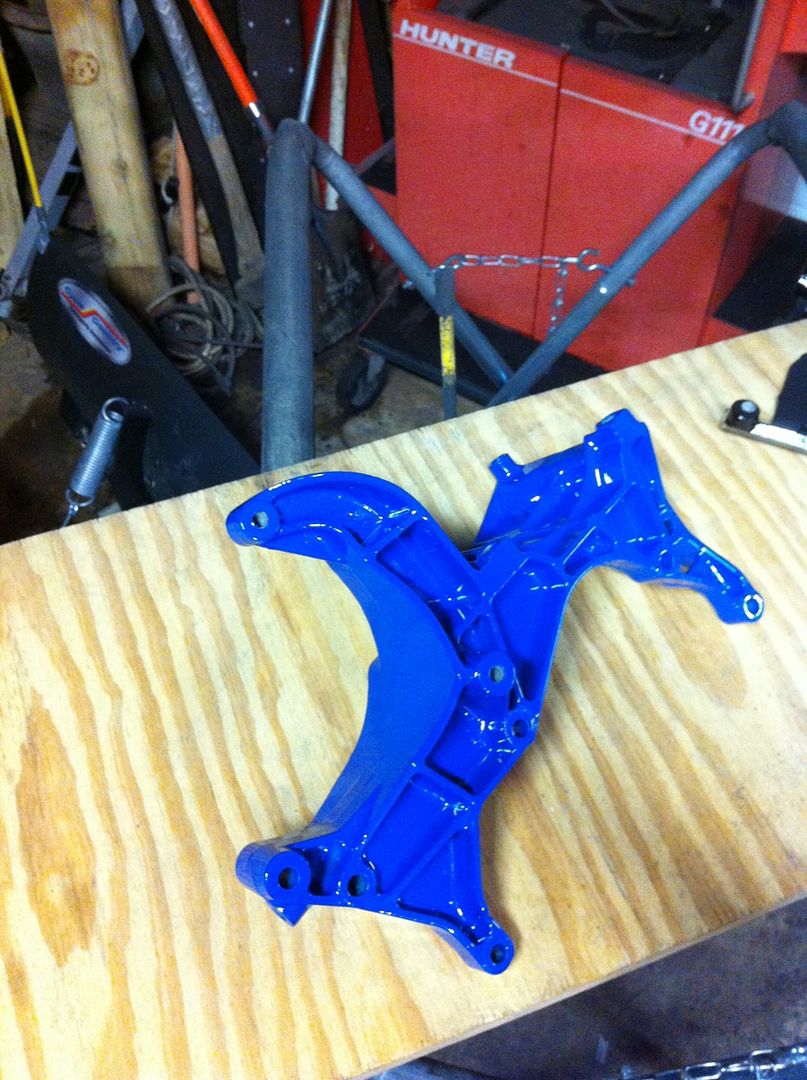
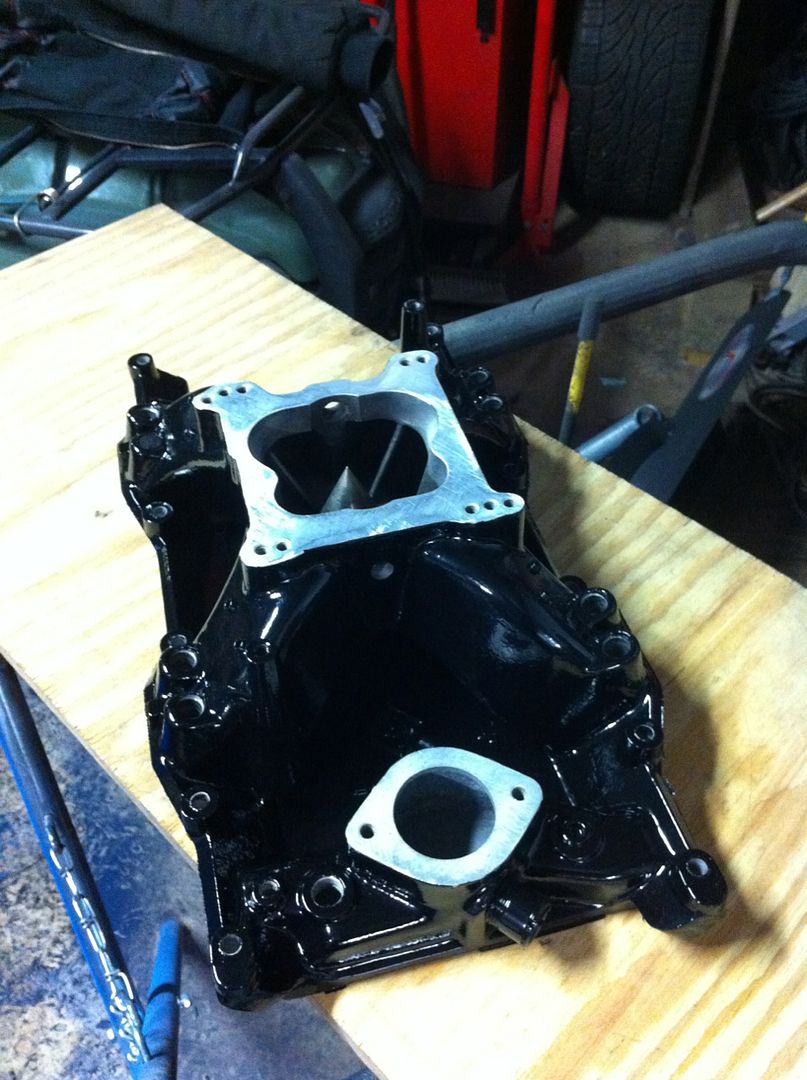
upgrading heads during the rebuild and got my ugly ass intake powder coated. the accessory bracket is the closest thing to intense blue he had and we held it next to the coil springs and you can barely tell the difference.
IMAG1230_zps1da5df97.jpg


IMG_9081_zps502d90da.jpg


IMG_0896_zps4b7bf829.jpg
 

clint282cc

TCG Elite Member
Nov 4, 2011
1,545
0
lso cut 1/2 a coil off the front stock sport springs to lower it another inch. should be 4" drop front, 5" rear. new swaybar, shock, and spring isolator bushings in the front.

we had to make a custom thermostat housing a few years ago when i first put the truck together. well it warped the housing when we tig welded it so it gave me a lot of trouble trying to get the therostat to seal on the intake. the coolant leaks stripped all the engine paint off the intake and gave it a terrible messy look. i had the machine shop cut down the intake to make sure it was completely flat along with the housing so they are perfectly flat to each other. shouldnt have a problem sealing now and the new intake should stay clean. even with a coolant leak, the poweder coat shouldnt peal. the powder coated finish will have a nice contrast to the anodized valve covers that will be here soon.

finish that off with the intense blue fuel rails, accessory bracket, blue -AN fittings it should make for a super clean, original engine bay.
 

clint282cc

TCG Elite Member
Nov 4, 2011
1,545
0
once its a roller again ill continue to clean up the engine bay. lots of wiring we need to re-do but that all has to wait till the engine gets back. also have TONS of hours into "R&D" for the breather setup. all AN fittings and line. will be super clean. new valve covers too.

once thats all done it will be off to the exhaust shop for a full new exhaust. the old stuff was ghetto and mis-sized. also too loud. i have an electic exhaust cutout so i want it AS QUIET as possible. i want it to sound completely bone stock. trying to pic a muffler that will restrict the sound as much as possible. i dont care about power loss because with the flip of a switch its open header. any suggestions?
 

clint282cc

TCG Elite Member
Nov 4, 2011
1,545
0
engine guy #1 took 7 weeks to disassemble motor. its at engine guy #2 who is pointing out all the flaws that engine guy #1 did and doing all the work. should be done this week... with an estimated $1600 bill... upgraded to total seal gapless nitrous rings, race bearings, new oil pump, etc etc...

been chugging away on the rear axle and we finally finished it all up today. it was one thing after another. ended up stripping the axle tubes bear, welding on new spring perches and shock mounts. welding the axle tubes to the center section, making new brake line brackets and lines. jeep cherokee axle breather to hold the jeep steel braided lines (got them for free. made them work)

wire wheeled EVERYTHING and painted. huuuuge PITA and mess. did the same with each leaf of the leaf spring. oh did i mention i rebuild the springs? new moog bushings, new 1/2" center pin, all primed and painted.

everythings been nickle and diming me like crazy with lots of custom stuff that needs to be modified to make work. now the pinion angle will be at -2 w/o shims and ride height will be 1/4" higher in the rear with no spring plates. leafs bolt strait to axle, no shim, no plates.

my phones been broke so i have to borrow a buddies for pics otherwise i would have more.


been A LOT of work and its not even on the truck. i need to scrub the rear frame, touch it up with some paint then put the axle back in. finally back on all 4s. none of the work i did will even be noticable and no one will ever appreciate the man hours me and my buddy have into it. but its all worth it to me. i know its done 100% right and i wouldnt change a thing.
 

clint282cc

TCG Elite Member
Nov 4, 2011
1,545
0
I never owned a manual sooo I have little experience with them and I honestly am below average at driving stick especially when driving fast. PLUS with the built trans it shift so firm and I love everything about it. It has plenty of low end torque to keep tires spinning at lower rpms w/o popping a clutch or downshifting. Maybe someday you guys will hear a 1st to 2nd gear burnout and you'll understand what I'm trying to say. Many people think it is a manual when they see/hear it.

This is kinda the second build of the truck. I built it once a few years ago and now im going back and redoing things I didnt take the time I should have. I drive this truck about 10,000 miles a year and go through about 10sets of tires. It gets lots of abuse and does a lot of different tasks. I never wanted anything to be a single purpose vehicle. That's why it's built for street, drift, circle track, 1/4 mile, 1/2 mile and can still haul bikes and jeep parts! Notice the trailer hitch ;-)

The rear swaybar idea has changed but it been upgraded and will probably be stiffer than a torsion bar. We learned all torsion bars are the same, they just use different keys to achieve stiffness for bigger trucks. We found a custom drag race bar for a good price. I almost pulled the trigger on a $750 2" titanium bar and arms especially when the lady on the phone said "we usually use these for a monster truck application" LOL that almost had me sold.

The rear will still be able to fully flow the entire suspension travel but there will be zero body roll. Which will cause massive oversteer which is what you want for drifting. It's trial and error but for now I'm going with the stiffest i can find. But that's a second priority behind getting it on the road for the half mile race.

A friend of mine told me "of you're going to be a bear, be a grizzly" and for the last 4 months we have been basing the entire truck around that theory. Anytime we double check out selves we say "is it grizzly?" and so far it has been working. So far it's worked great and the truck is really coming togeth nicely. We don't just throw anything together. Everything is researched and googled and ask for multiple opinions on how or why we should do w/e it is.

I'm super proud of the rear axle and I can't wait for the rest of the truck to reflect the same "grizzly-ness" I have 20-30 hrs on cleaning and settings up the rear end. It was a lot of work and I'm stoked its ready for install.

Thanks for the interest guys! Keeps me a little more motivated.
 

clint282cc

TCG Elite Member
Nov 4, 2011
1,545
0
so today we finally installed the axle. but before we did we made an executive decision we should paint the frame. so for about an hour i scrubed the frame and underside of the truck with a brush and simple green. then once it dried off i spent another hour with brake clean and a rag wiping the rest off. went to farm and fleet for some more rustoleum and it was on sale! saved a few bucks.


sooo much time spent cleaning old oil leaks and no one will ever see it :(


problem is, the back shop that im building this in is never used. so they dont ever use the woodburner back there. the shop sits COLD all winter... well i had both doors open to quickly dry out the frame and such so it was around 39*... not ideal for paint hahaha


found a torpedo heater and borrowed a tank AND BOOM we were in action. 3 coats later we started putting together the suspension.


do you even lift bro?


OH p.s. then we bleed the brakes and measured for new rear shocks. if it wasnt so late i would have gotten the rear tires and bolted them on so it was sitting on all fours again. sunday the plan is to get it back on all fours and throw the bed back on.

after thats its a few things to button up in the front before we start tackling wiring (which we should have the motor back by then and will speed things up)
 

clint282cc

TCG Elite Member
Nov 4, 2011
1,545
0
put the bed on by myself... kinda wild but i got it


i dont think you can get much closer for a first try and alone!


left is a 4" toxic drop shock (which gave me 1" travel and super stiff)
right is a 86 corvette shock. fits perfect. allows full uptravel and 1" drop from ride height. also only $20 each from napa. good until i can afford some strange double adjustables @$250 a piece.


much better fit


pulling all the aftermarket electronics out (fans, etc etc.) and re-routing all to the passenger air bag. also installing digital 6 plus and all the relays for easy access.


while its out, its all getting painted black. full black interior when time allows.
 

Thread Info