I repalced the blower motor for the HVAC, vacuuming out the air box and cleaning the cage while I was at it.
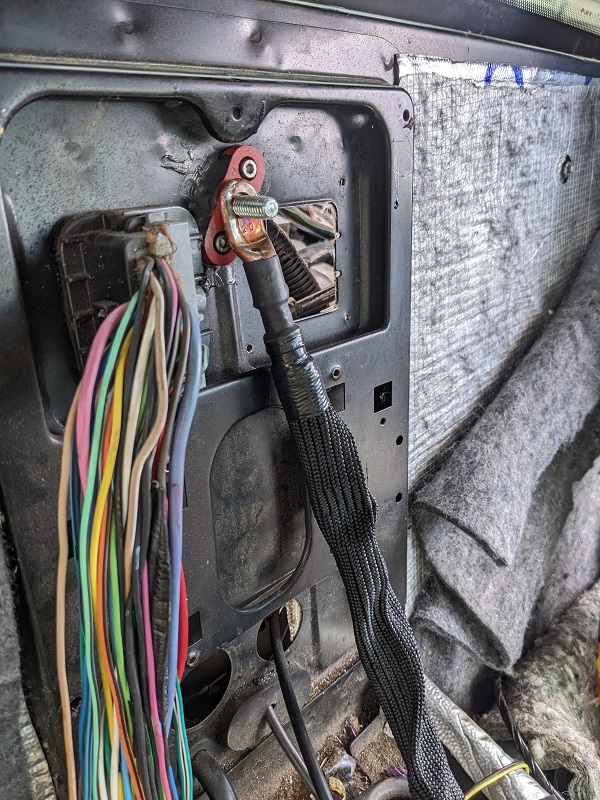
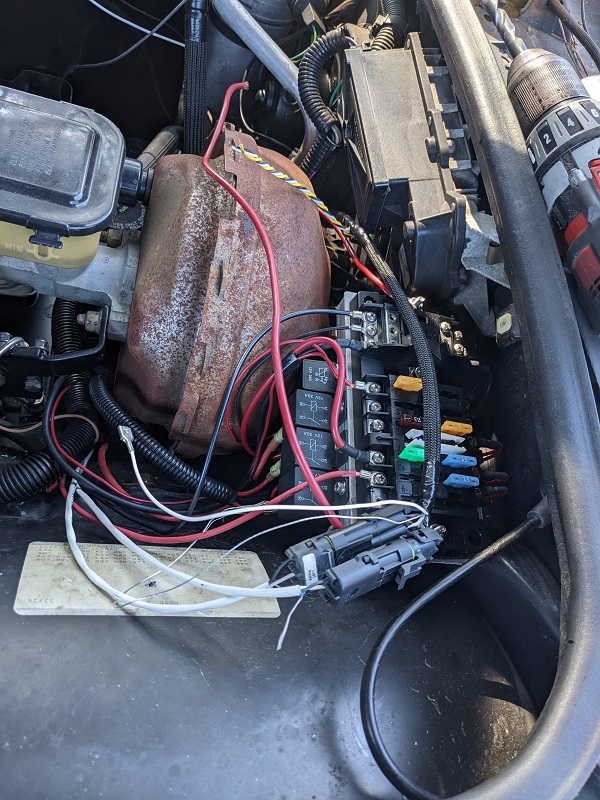
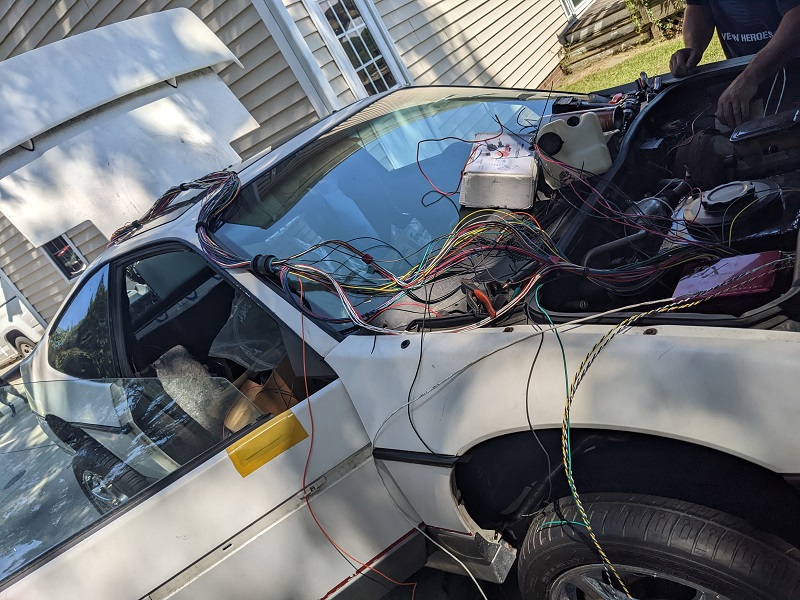
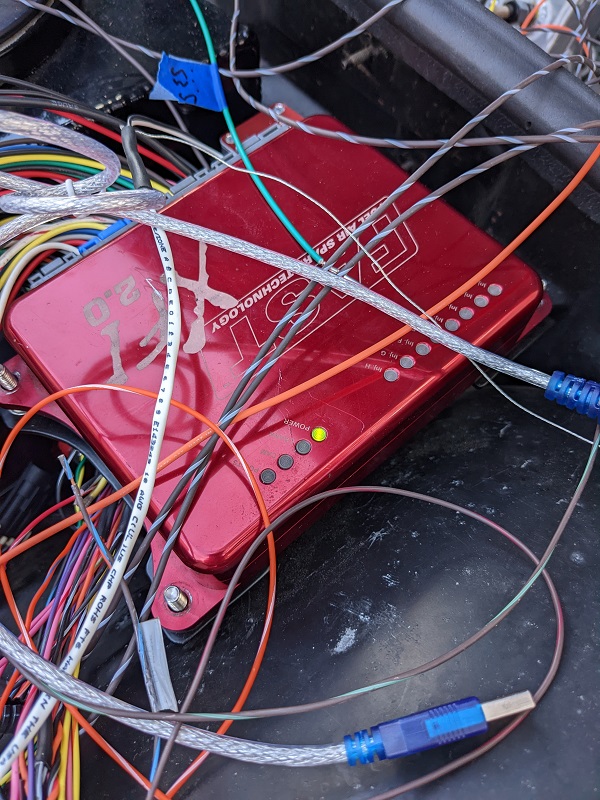
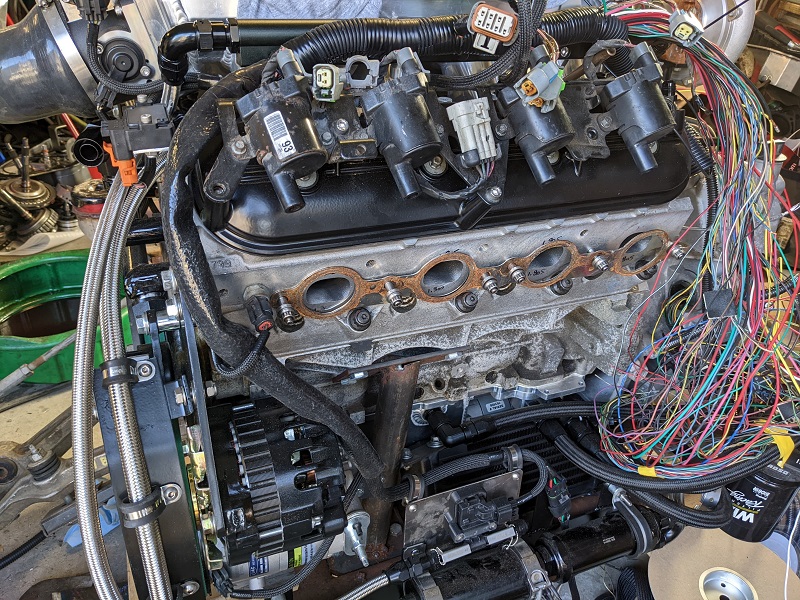
For the wiring harness prototype, we are using what we can out of the loom that I bought, but in a few spots Mike used the more traditional split loom, usually because I didn't have all the sizes of wire loom we needed.
I also bought some very high end thermal protection sleeving that goes on over the normal loom. It's meant to be a little baggy. Mike used the self-fusing tape I bought to close off the ends of it.
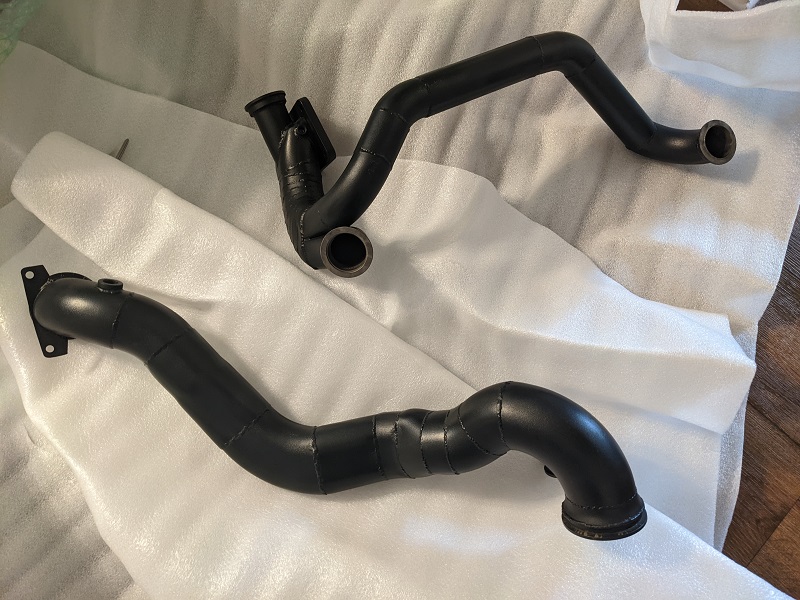
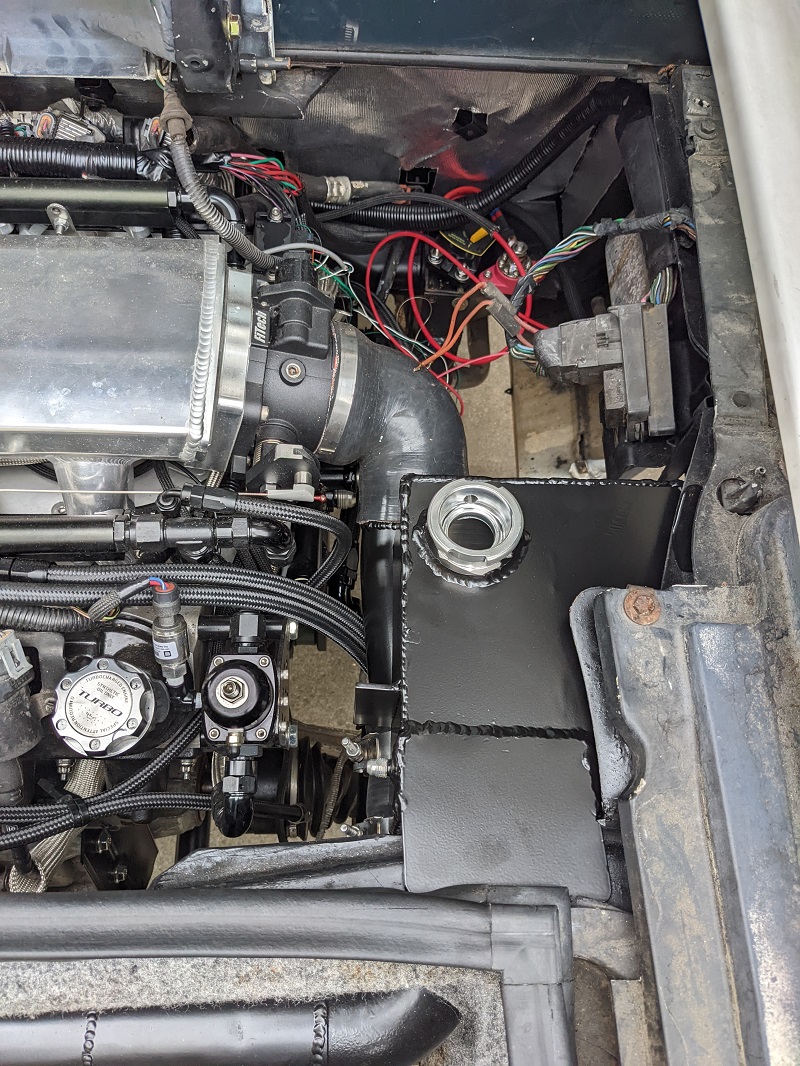
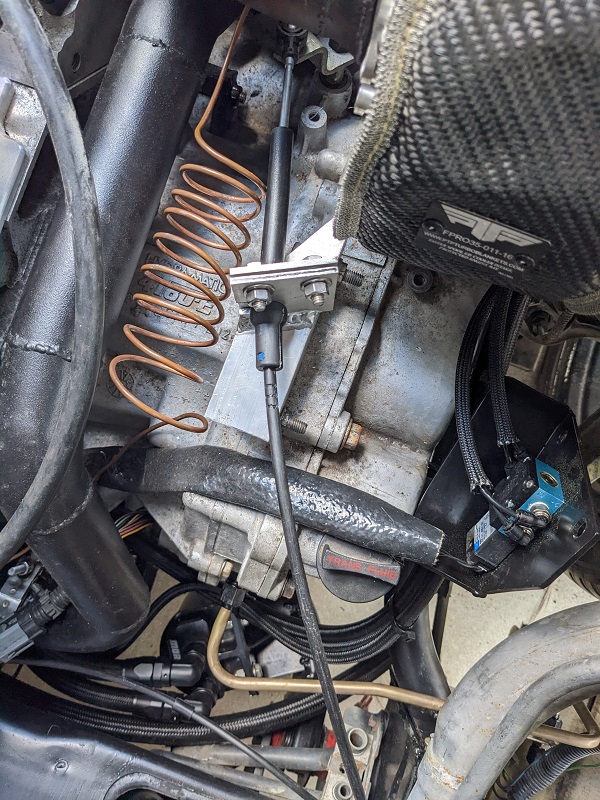
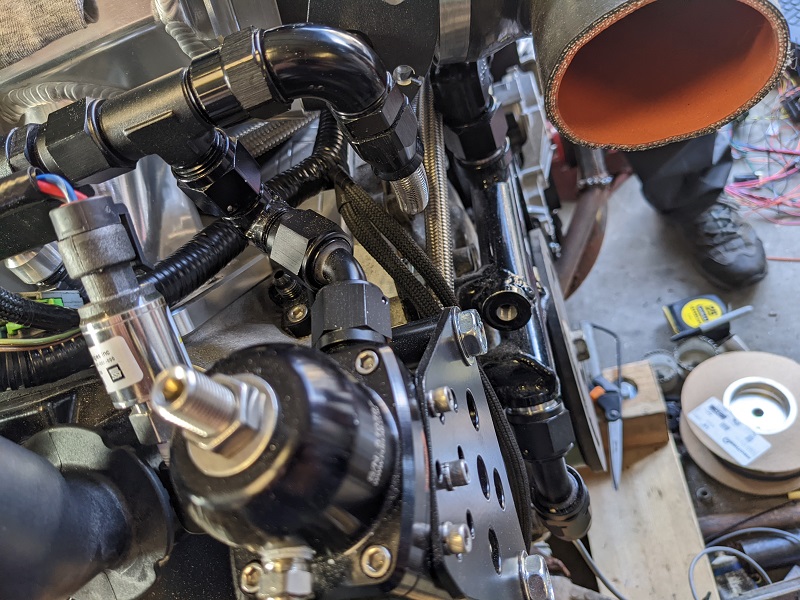
Lastly, he did a quick test fit of the LS4 A/C hose to make sure it would clear everthing.
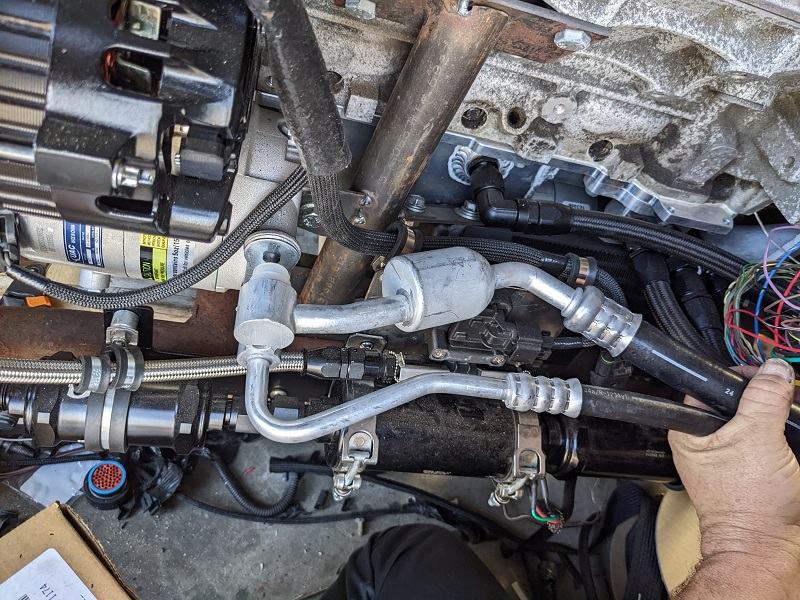
After he held it up and saw it would clear the fuel system and his brackets, and it cleared without any issues.
When researching axles, I found an interesting article today - https://www.rcnmag.com/tech/exotic-axles
For those that don't want to read it, basically a guy was building a kit car and wanted to find axles without getting custom ones made. He went to O'Reilly and they had a full catalog of A1 Cardone parts, laid out with columns like the oil filter lookup books are, and was able to find axles that were off the shelf and fit his kit car, despite the output flange and drive flange being from different cars.
This doesn't seem to exist online (outside of the typical make/model searches), so I sent Cardone an email asking them where I can download or buy such a catalog. They never replied back. I checked with Autozone, they don't have any such catalog. I haven't checked with other places yet, so in the short term, I'll have to stick with custom stuff, but it would be nice if I could find off the shelf units I could either use directly or disassemble for parts to make functional ones.
The Deutsch connector I got for the bulkhead doesn't have enough spots for the transmission along with the engine, so I've ordered another set of smaller connectors for that.
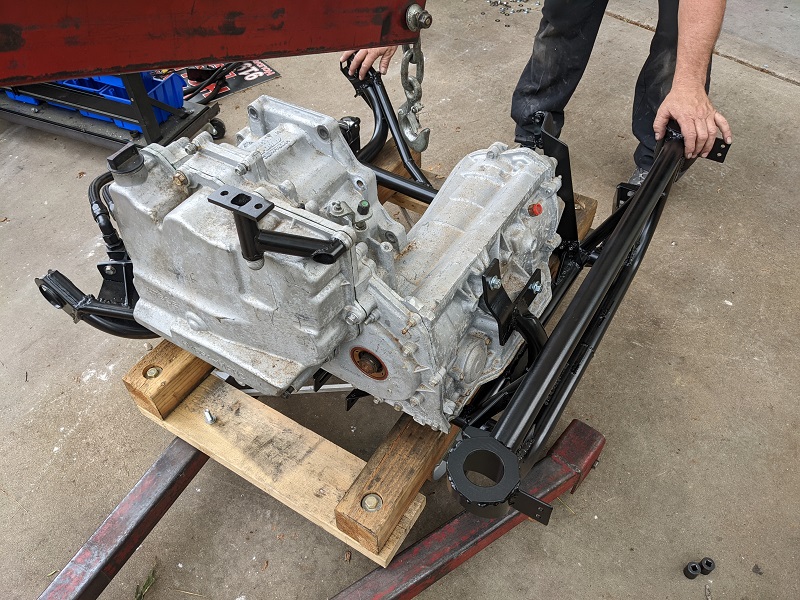
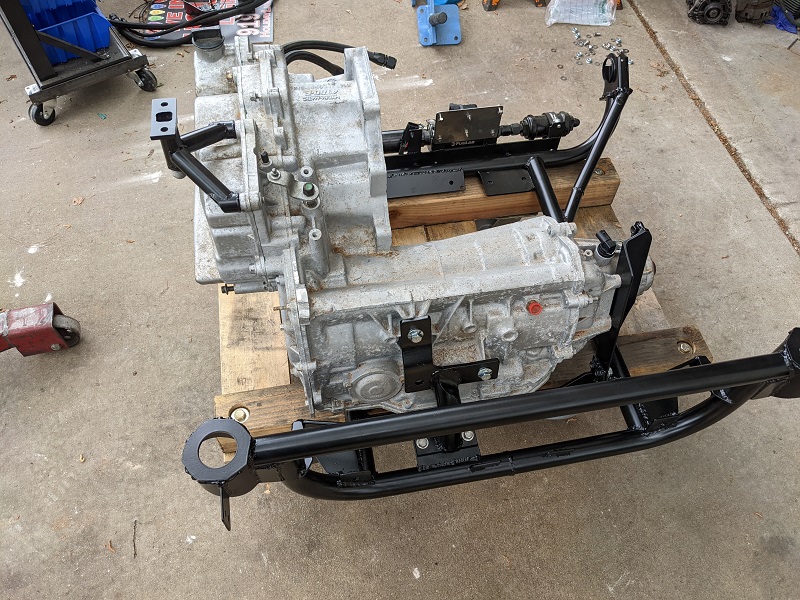
On this trip the priority was getting the axle mockups done for one of the custom axle companies I am working with. So we used the measurements I had taken for one of the other companies I was working with (who wanted flange-to-flange at neutral, droop and compression). We measured out that flange to flange measurement again and marked the axle shaft then made the cuts. Mike then took off the flanges.
We discovered some interesting things.
Stock C5 axles are 28 spline on the actual half-shaft, both sides. And uses a CV on both sides. Outter is held in with a circlip, inner is held in with a retaining ring inside the edge of the flange, and a snap ring on outside of the cv joint itself.
Aftermarket C5 axles from Techmotive are 33 splines, have a different half-shaft diameter, use a Tripod on the inner side, and a CV joint on the outer. The outer flange housing is also a different size, as the CV joint inside has a smaller racer with a great number of smaller diameter bearings.
So I wound up getting another set of C5 OEM used axles from ebay, and we disassembled those for parts.
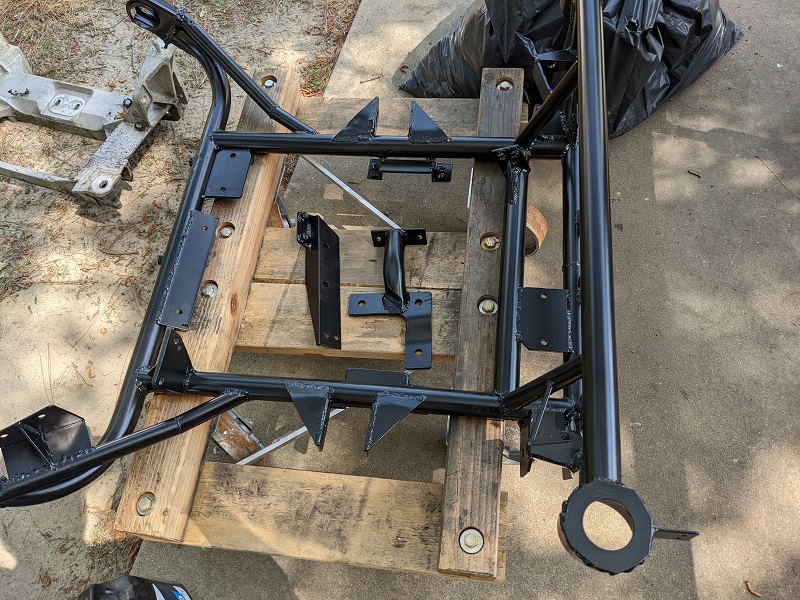
After Mike welded up the mock up axles, we then took the drive train off the cradle and split the engine from the transmission. That week Mike put in time and finished the final welding done on the cradle, and dropped it off at the powder coater.
------------------ next visit
This weekend was small but important stuff.
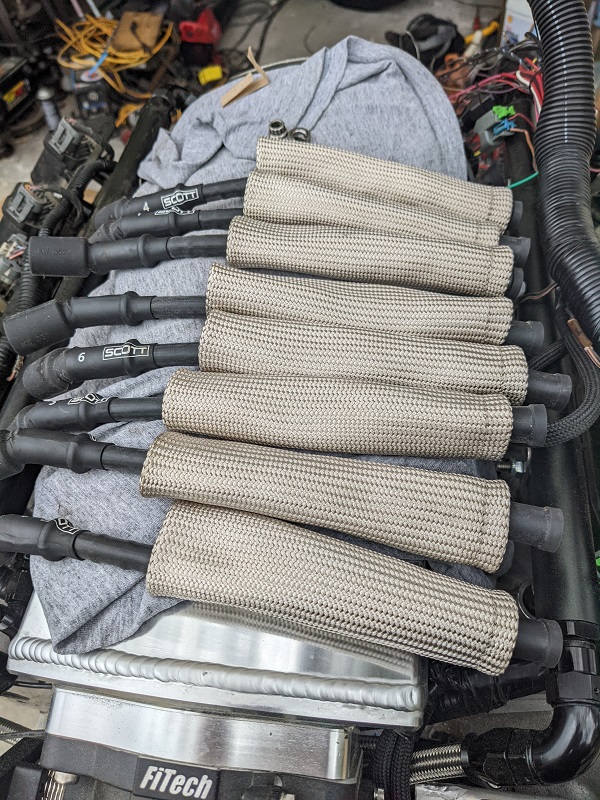
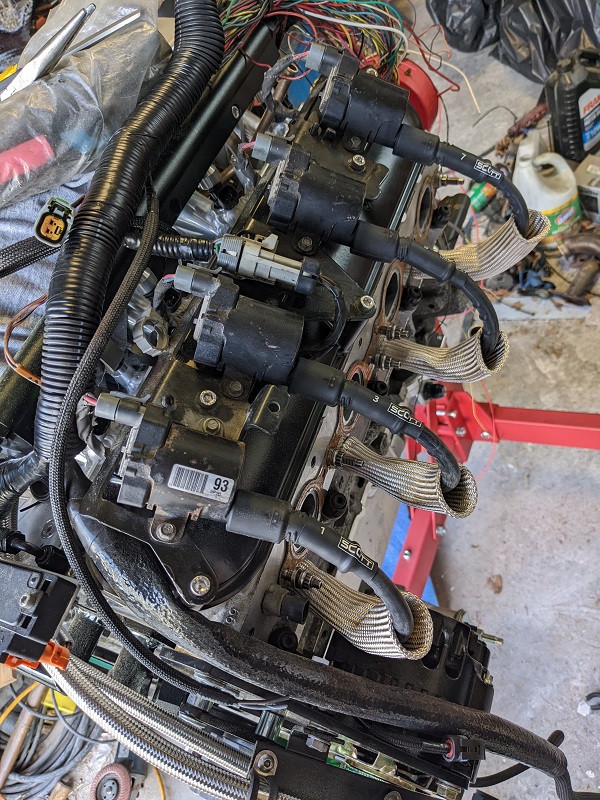
We built the spark plug wires. They're all 10" long. The amount of wire that came with the kit will let us get at least an entire second set if necessary, I would just need to get the crimps.
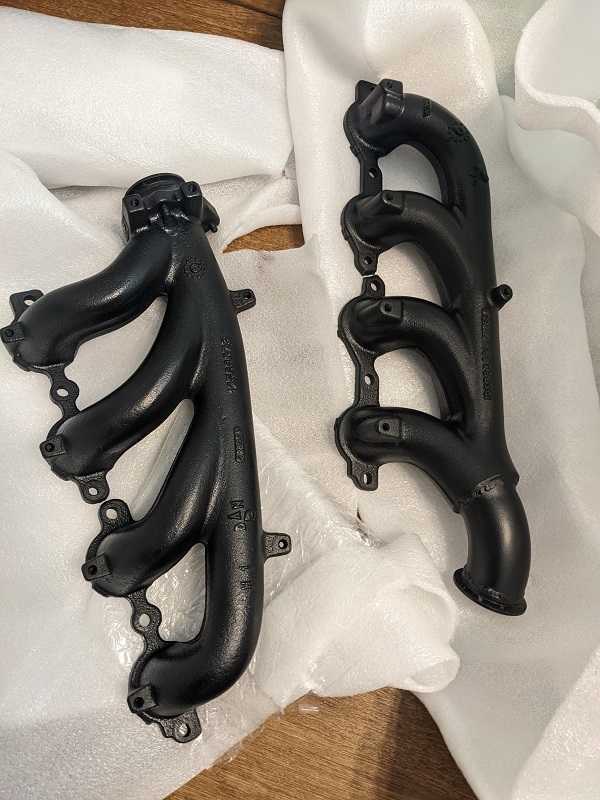
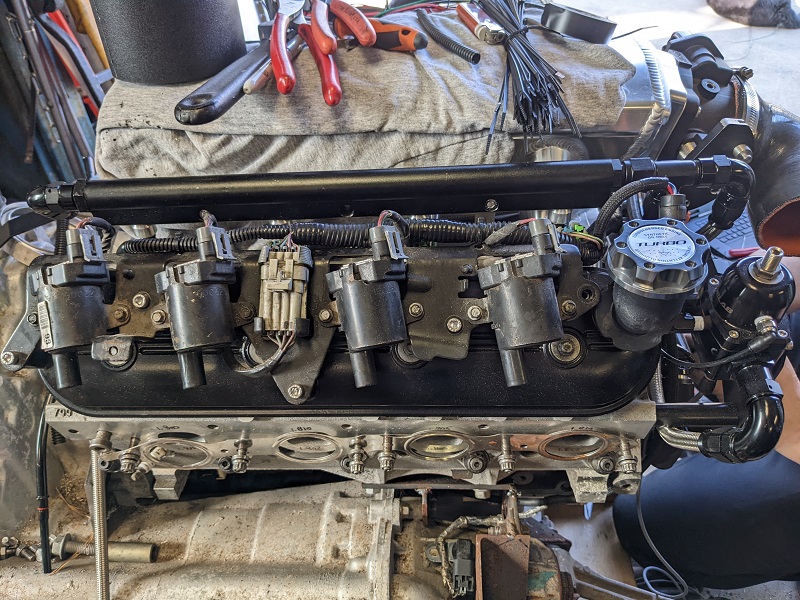
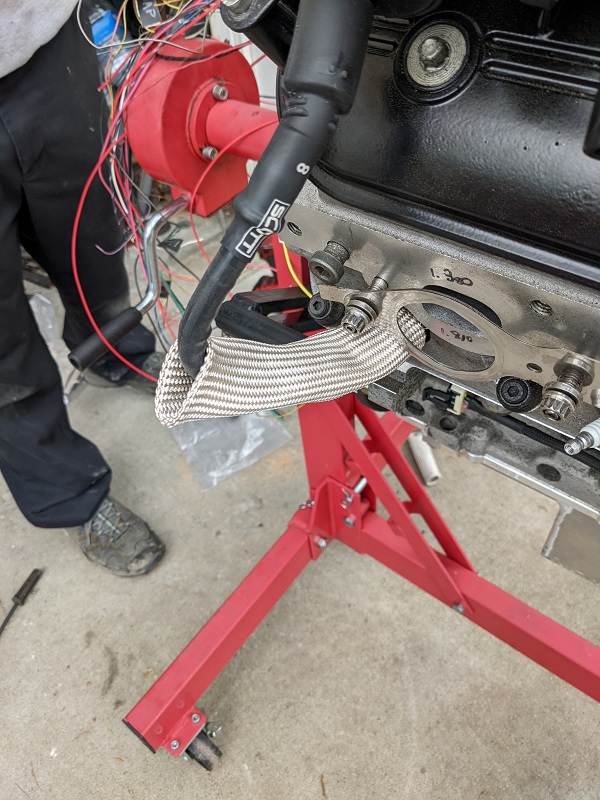
Mike was happy with the quality of the fiberglass sheathing, the EFI wind wire, insulation, etc. The fiberglass boot protectors seem to be really good quality, too. Mike mounted up a spare 6.0 header (same as the one that we modified) to make sure the spark plug wire would clear everything, and not kink the boot protector.
We did test each wire after it was made. Mike pointed out that his voltmeter for his day job was different than what an electrical engineer would have, it only has one Ohm setting. He used a Fluke 79 Series II voltmeter.
My wires do have a higher resistance than Will's Magnecore set by quite a bit. So even though they don't have a 10mm wire, it might be something to keep in mind for the future.
1: 22.9
2: 23.1
3: 24.2
4: 23.0
5: 23.4
6: 23.2
7: 23
8: 23.1
We also tested an non-crimped wire to get an idea of resistance per foot, it worked out to be 29.05 / foot.
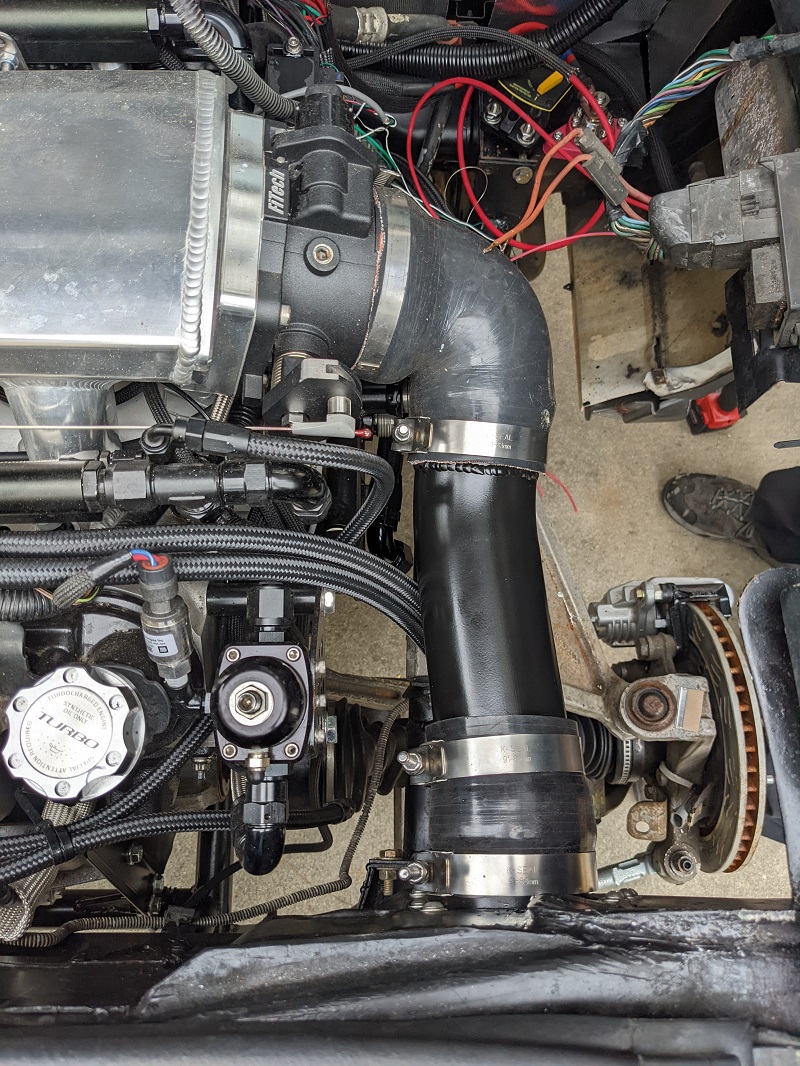
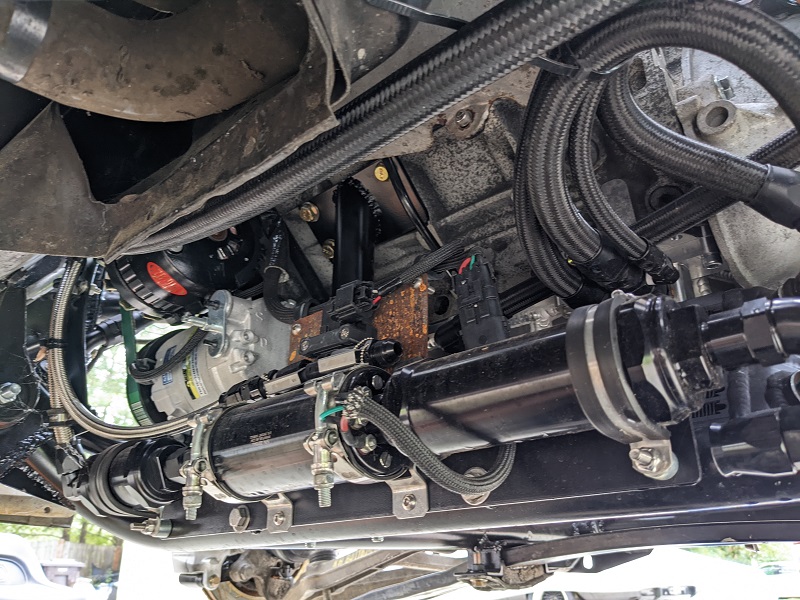
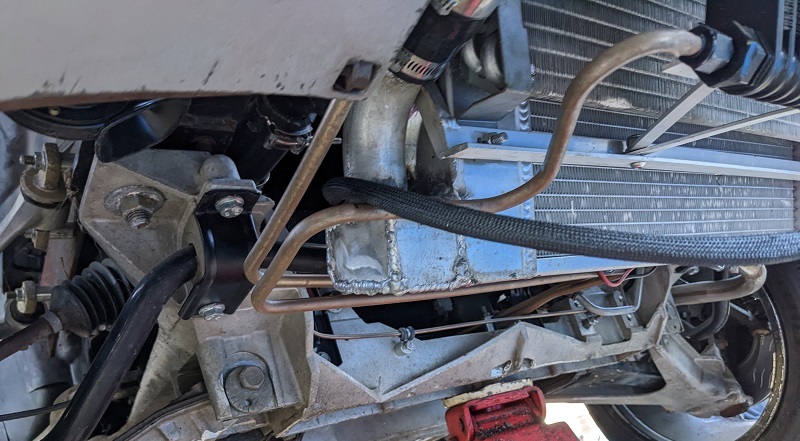
We also adjusted the stainless steel tube that runs to the underside of the intake for vacuum. That required us removing the intake, which was an exercise in disassembly/assembly of everything in that area.
While the intake was off, we did a detailed check of all the cylinders using his bore scope while I rotated the crank. No issues, though there was a dead bee in one. It must have flown in there one of the times we had the intake off, and then couldn't escape.
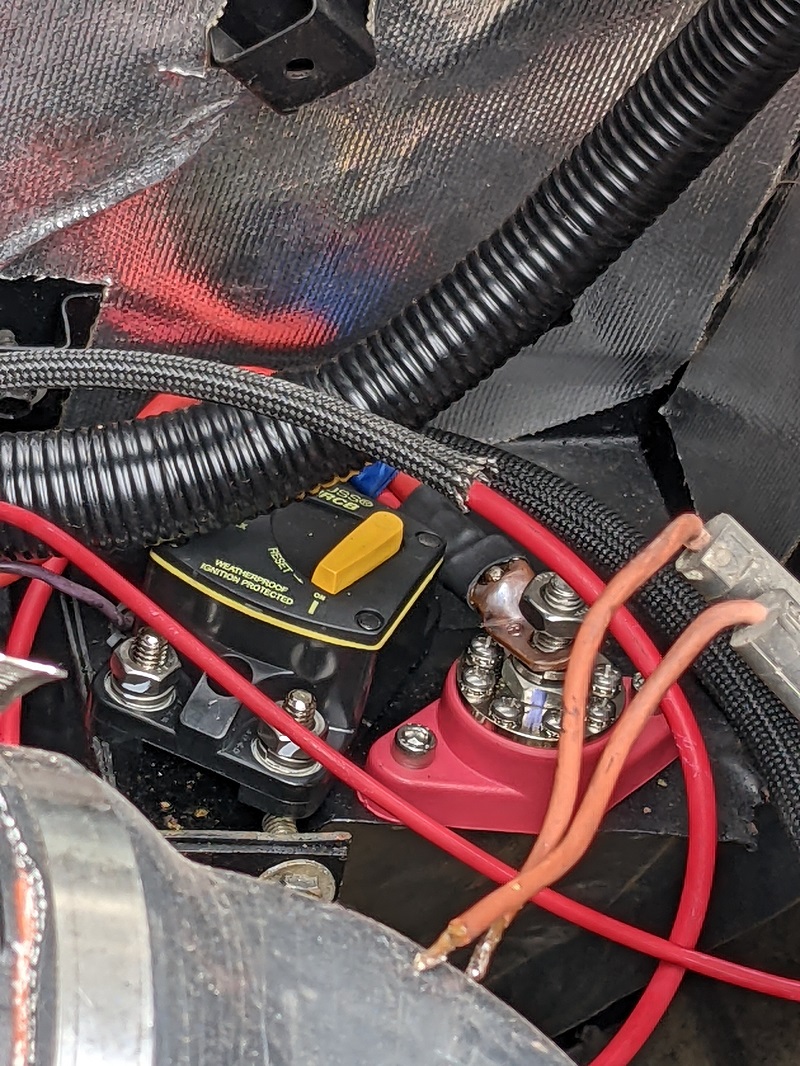
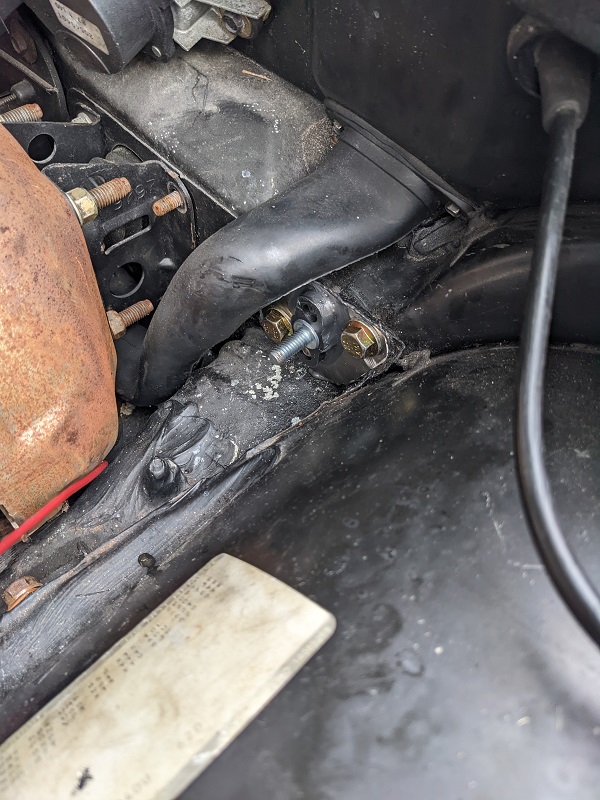
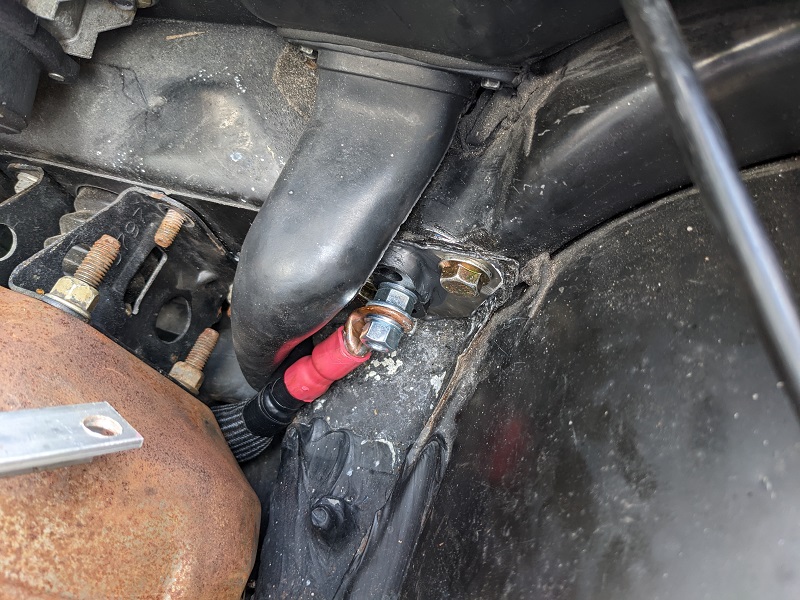
Mike also connected the main feed wire and solenoid wire to the starter, and got that sleeved. I have more of the ultra-high time secondary layer of wire protection stuff on it's way (J&T Fire Flex).
This concludes the historical catch up! From tomorrow on, any posts will be current posts as I make them for here and the Fiero community forum. Thank you all for your interest!
For the wiring harness prototype, we are using what we can out of the loom that I bought, but in a few spots Mike used the more traditional split loom, usually because I didn't have all the sizes of wire loom we needed.
I also bought some very high end thermal protection sleeving that goes on over the normal loom. It's meant to be a little baggy. Mike used the self-fusing tape I bought to close off the ends of it.
Lastly, he did a quick test fit of the LS4 A/C hose to make sure it would clear everthing.
After he held it up and saw it would clear the fuel system and his brackets, and it cleared without any issues.
When researching axles, I found an interesting article today - https://www.rcnmag.com/tech/exotic-axles
For those that don't want to read it, basically a guy was building a kit car and wanted to find axles without getting custom ones made. He went to O'Reilly and they had a full catalog of A1 Cardone parts, laid out with columns like the oil filter lookup books are, and was able to find axles that were off the shelf and fit his kit car, despite the output flange and drive flange being from different cars.
This doesn't seem to exist online (outside of the typical make/model searches), so I sent Cardone an email asking them where I can download or buy such a catalog. They never replied back. I checked with Autozone, they don't have any such catalog. I haven't checked with other places yet, so in the short term, I'll have to stick with custom stuff, but it would be nice if I could find off the shelf units I could either use directly or disassemble for parts to make functional ones.
The Deutsch connector I got for the bulkhead doesn't have enough spots for the transmission along with the engine, so I've ordered another set of smaller connectors for that.
On this trip the priority was getting the axle mockups done for one of the custom axle companies I am working with. So we used the measurements I had taken for one of the other companies I was working with (who wanted flange-to-flange at neutral, droop and compression). We measured out that flange to flange measurement again and marked the axle shaft then made the cuts. Mike then took off the flanges.
We discovered some interesting things.
Stock C5 axles are 28 spline on the actual half-shaft, both sides. And uses a CV on both sides. Outter is held in with a circlip, inner is held in with a retaining ring inside the edge of the flange, and a snap ring on outside of the cv joint itself.
Aftermarket C5 axles from Techmotive are 33 splines, have a different half-shaft diameter, use a Tripod on the inner side, and a CV joint on the outer. The outer flange housing is also a different size, as the CV joint inside has a smaller racer with a great number of smaller diameter bearings.
So I wound up getting another set of C5 OEM used axles from ebay, and we disassembled those for parts.
After Mike welded up the mock up axles, we then took the drive train off the cradle and split the engine from the transmission. That week Mike put in time and finished the final welding done on the cradle, and dropped it off at the powder coater.
------------------ next visit
This weekend was small but important stuff.
We built the spark plug wires. They're all 10" long. The amount of wire that came with the kit will let us get at least an entire second set if necessary, I would just need to get the crimps.
Mike was happy with the quality of the fiberglass sheathing, the EFI wind wire, insulation, etc. The fiberglass boot protectors seem to be really good quality, too. Mike mounted up a spare 6.0 header (same as the one that we modified) to make sure the spark plug wire would clear everything, and not kink the boot protector.
We did test each wire after it was made. Mike pointed out that his voltmeter for his day job was different than what an electrical engineer would have, it only has one Ohm setting. He used a Fluke 79 Series II voltmeter.
My wires do have a higher resistance than Will's Magnecore set by quite a bit. So even though they don't have a 10mm wire, it might be something to keep in mind for the future.
1: 22.9
2: 23.1
3: 24.2
4: 23.0
5: 23.4
6: 23.2
7: 23
8: 23.1
We also tested an non-crimped wire to get an idea of resistance per foot, it worked out to be 29.05 / foot.
We also adjusted the stainless steel tube that runs to the underside of the intake for vacuum. That required us removing the intake, which was an exercise in disassembly/assembly of everything in that area.
While the intake was off, we did a detailed check of all the cylinders using his bore scope while I rotated the crank. No issues, though there was a dead bee in one. It must have flown in there one of the times we had the intake off, and then couldn't escape.
Mike also connected the main feed wire and solenoid wire to the starter, and got that sleeved. I have more of the ultra-high time secondary layer of wire protection stuff on it's way (J&T Fire Flex).
This concludes the historical catch up! From tomorrow on, any posts will be current posts as I make them for here and the Fiero community forum. Thank you all for your interest!