Taking the TBSS to 2wd land!

OffshoreDrilling

This is my safe space
TCG Sponsor
TCG Premium
HVAC Guy
Aug 28, 2007
39,212
50,731
Homer Glen
Long story short, I am an idiot, and thus the resulting situation.

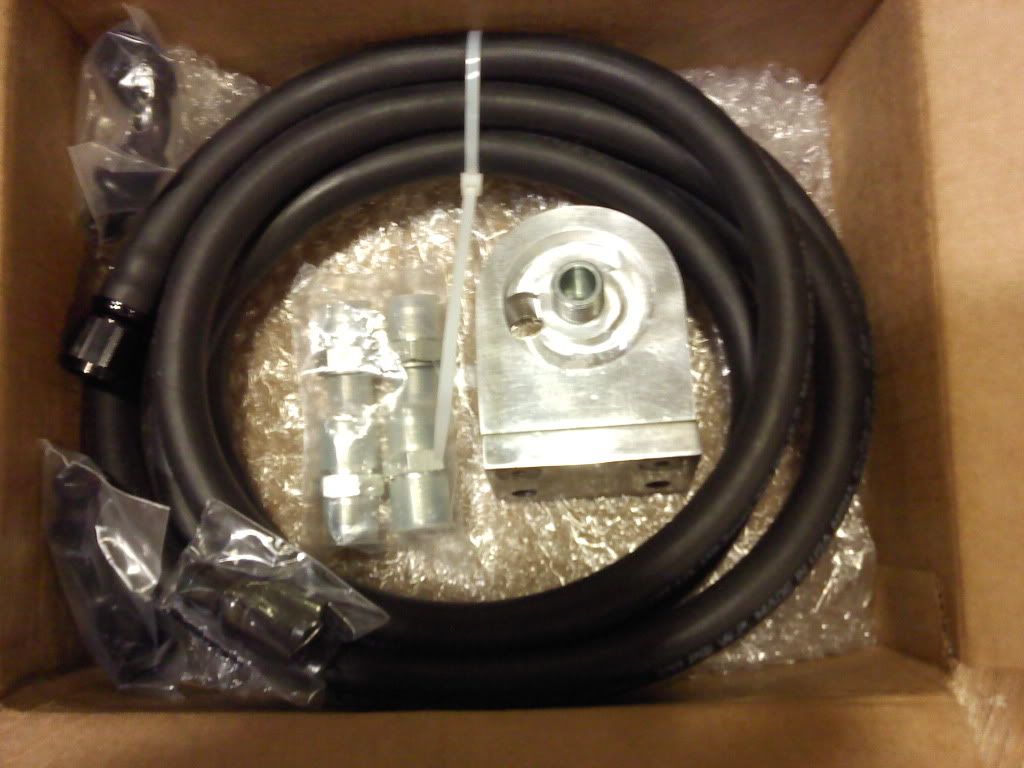
I picked up a new converter, Yank SSTB4000, from the Fast Motorsports group buy and installed it the past few days. I also took the liberty of getting the truck into a more reliable state with some oiling mods, fixing a couple fluid/exhaust leaks, and some other maintenance items before race season is in full swing.

During the install of the converter, I had not had it seated all the way onto the input shaft and began to bolt the transmission back onto the engine. By the time I had noticed the converter hitting the flywheel, it was too late. I did not realize it at the time, but the converter not being seated pushed on the pump and cracked it internally. I pulled the trans back down to re-seat the converter then reinstalled it none the wiser that the pump was broken. After taking the truck off of the jack stands yesterday, 2hrs before work, I started it up, checked for leaks everywhere and verified everything was put back together. After starting it, the truck never moved when I put it in gear to back out of the garage. I did some troubleshooting, checking obvious things like the shifter cable, electrical connections, fuses, relays, fluid level, and lastly a look at the converter bolts, i couldnt come up with a conclusion. After a phone call to brandon and FLT, I determined that the pump was trashed from my fuck up. Started the truck up with a trans cooler line off and it was bone dry, not a drop of fluid came out and the trans was freshly filled up.

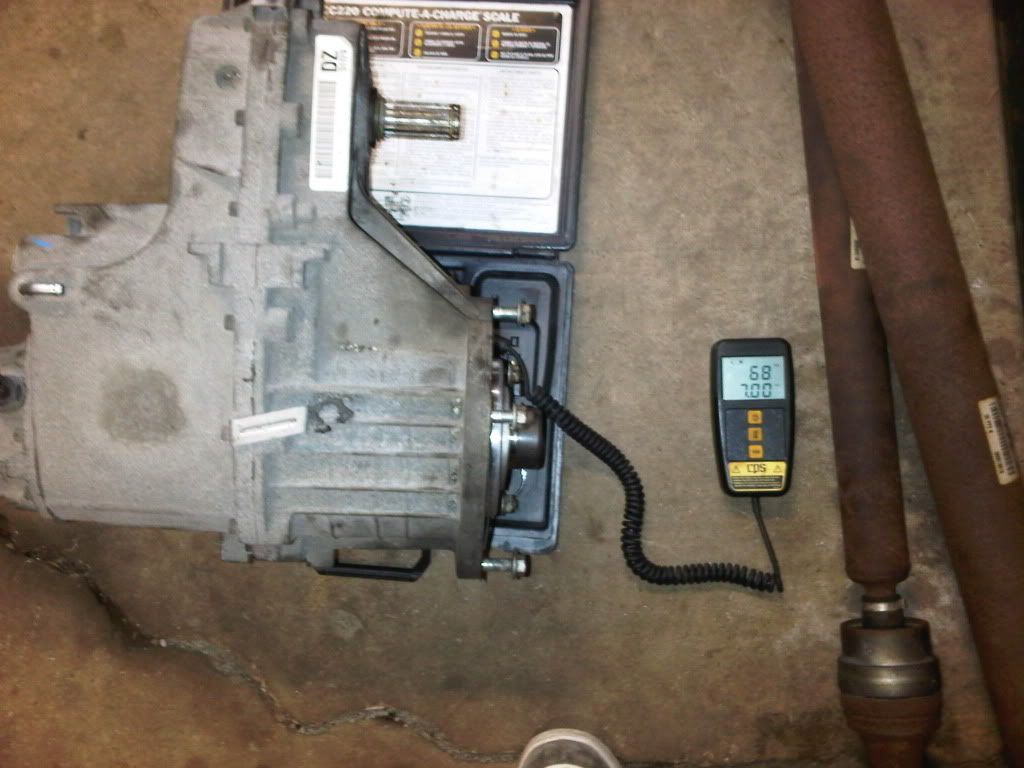
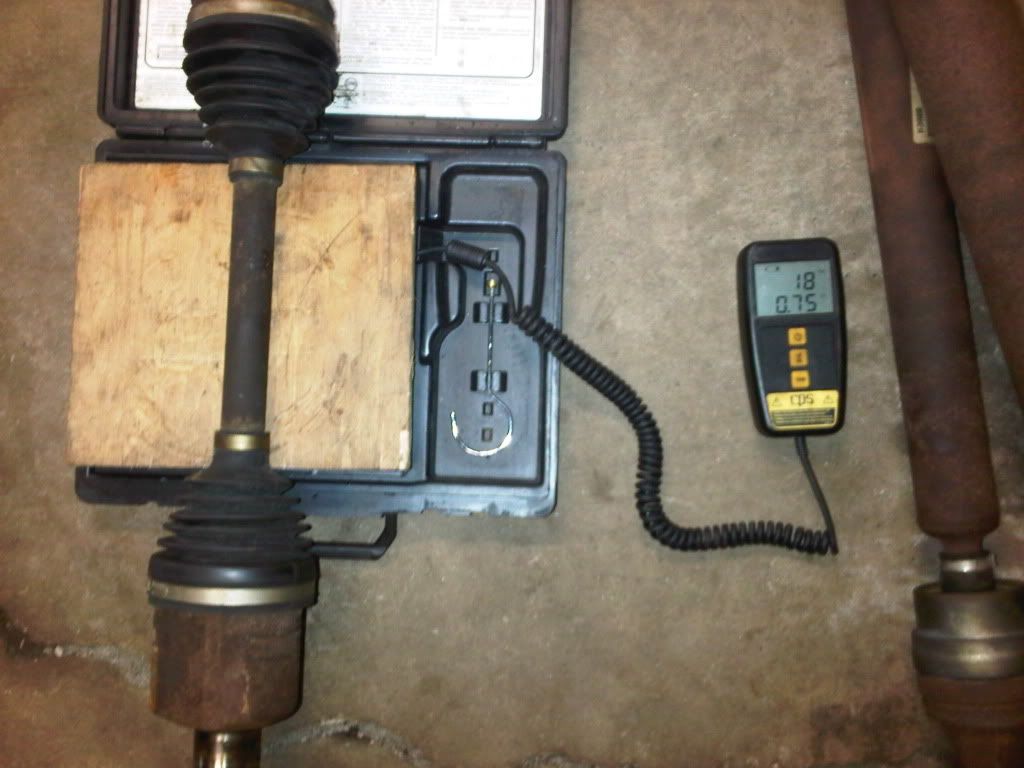
I took this as an opportunity to convert the trans to 2wd since it will be apart getting the pump replaced and whatever else is necessary to refresh it back to new condition.

When I get some time, I'll throw up some pictures of the other little projects I have going on, plus updates and photos of the 2wdness.
 

OffshoreDrilling

This is my safe space
TCG Sponsor
TCG Premium
HVAC Guy
Aug 28, 2007
39,212
50,731
Homer Glen
That's sucks.

You went to 2wd just to go faster I assume? I know you've got an addiction to it :rofl:

Yep. Breaking the pump was a good excuse to switch. Its only $150 over the cost to rebuild the trans already to make it 2wd. This is going to cost me some money up front for the other necessary parts, but once the AWD stuff is sold, I may even come out ahead. The front differentials alone go for $500+
I call bullshit........You're using it as an excuse for weight reduction LOL

That was certainly a deciding factor, along with the reduced drivetrain losses, and the marginally better mileage.

How much weight do these trucks lose going 2wd

Once everything is out, I'll toss it all on a scale, but my best guess is 250#
 

OffshoreDrilling

This is my safe space
TCG Sponsor
TCG Premium
HVAC Guy
Aug 28, 2007
39,212
50,731
Homer Glen
Heres a little write up I did about a "side oiler" kit I just put in as well. The TBSS has some oiling issues and this is meant to address part of it. The stock oil pan has very narrow passages that restrict flow to the oil filter, its own internal bypass which has caused starvation problems (filters have their own built in), and the stock pan has a front sump which is a terribly genius idea. Truck launches, oil sloshes to back of pan away from pickup tube, bye bye bearings. On HP Tuners logs, many people see oil pressures dropping well below 20psi on a hard launch.


Since there are only a handful of members out there with this done, I thought I would take the time to do a little write up on the Hines Performance Side Oiler Kit.

Cost: $140+ shipping on the initial group buy, the regular price is $165. You also need to purchase an oil filter block off from DirtySS for an additional $67

0127112038.jpg


Packaging: Although there aren't any particularly fragile parts in the kit, it was packed up VERY thoroughly. Each AN fitting was individually packaged into a heat sealed baggy, plenty of bubble wrap underneath everything, and some cardboard on top to fill up the extra space to keep it all from jostling around. A new born baby could have been shipped in the box safely, if there were a couple of air holes.

The kit consists of the following parts:
- 2x-8AN Black Anodized 90* push-lock fittings
- 2x-8AN Black Anodized straight push-lock fittings (one is pre-installed on the hose)
- Approximately 8' of -8AN black hose
- 2x 16mm 1.5 x -8AN fittings
- 2x -8AN x 1/2" NPT fittings
- Billet filter mount
- Instruction Packet

Install: I had it a bit easier than most people would, as there were a lot of parts taken off of the truck, due to other work I was doing. The headers were off of the truck, front driveshaft was out, and I do not run a front sway bar. These are all things that will affect the possible routing of the hoses, location of the filter mount, and ease of access to the block fittings.

Billy's instructions are very thorough, clearly and simply written, as well as offering a few pieces of advice along the way. I really like that he pre-installed one of the hose ends in the kit. This was my first time using push lock fittings, and having an example, as well as instructions, was very helpful. They are not difficult to use, but as something new, it is reassuring to see how it should look vs read.

The most difficult part of the whole install was grinding the oil pan for clearance on the rear fitting and figuring out a way to tighten it. It was mostly trial and error with swapping out the stock plug and then the block fitting and AN fitting. Having a die grinder with a long carbide burr would be helpful if you are doing this with headers or the propeller shaft still installed. I was able to get at it easily though. The one issue I ran into was tightening the rear block adapter fitting. It was too small an area to get in with a 7/8 combination wrench (might be able to with a stubby one which I didn't have), a short adjustable wrench wouldn't fit, and a socket was hitting the block next to the fitting. I ended up grinding away some material from the block where the socket was hitting. I wasn't comfortable taking off much more material because one of the oil pan bolts threads into that area, and the socket still hit, so I needed to modify the socket. Luckily I had a deep 7/8" 12pt socket laying around from some long lost Chinese made tool set I had as a kid. I took a bench grinder to the socket and got the wall down to about 1/32". Viola! After that the rest was very straight forward. The front plug is much easier to get at and install the fitting, and the filter mounting location is up to you. The hoses were easy to fabricate as well. Take care, and Billy's advice in the instructions, to make hoses longer at first because they "shorten" themselves as you try to tuck everything away neatly. Once the routing is sorted out and secured, cut the hose to the length it actually needs to be. Even at this point I still left an extra 3/4" or so in case I made a crooked cut.

I mounted my oil filter adapter on the front frame rail, radiator side, between the two angled radiator support brackets. I chose this location due to ease of drilling mounting holes for the adapter, ease of access to filter, the filter wont spill oil all over the frame when removed, it is tucked away from moving parts, and fairly protected from any other hazards it might reasonably encounter. The filter is just a bit out in the open, and I wanted to protect it from being damaged by any debris kicked up on the road. I bent up a simple rock guard from some 1/8" aluminum. It should be able to take quite a beating before anything would damage the filter.

Overall Impression: The kit is very simple, yet quality, reasonably priced, and an effective way to address some of the oiling issues of the TBSS. Installation was not difficult, with or without instructions, and there is no reason any shade tree mechanic couldn't install this in an afternoon with some patience and the right tools.

Additional considerations:
-Being able to purchase all the parts in one place would be helpful. The lines fitting and mount come from billy, the filter block off comes from forum member DirtySS

-The groove machined on the filter block off, meant for the oil filter gasket, is too deep. I tried two different gaskets from Mobil 1 filters, one slightly taller than the other, and they both barely stick above the surface of the block off. It is seeping oil very slowly, about a drop a day. I may try tossing a thick O-ring under the gasket to push it up above the groove some more and get a better seal against the pan.

-Mounting hardware for the remote filter adapter is needed. This is of no fault to Billy, as this kit is very universal, allowing you to tailor everything to work around your setup. Different locations will warrant different hardware.

-You will need a die grinder with a carbide burr if you do not want to spend the better part of an afternoon filing the oil pan by hand. Im not too sure I could have fit a small grinder in there either.

-Im not sure there is a better way to tighten down the back block fitting, this may be something that needs to be addressed. If anyone has suggestions, and can speak from experience, feel free to post up about it.

-For the location I have my filter mounted, 2 straight, 1 90*, and 1 45* fitting would have worked out a bit easier for my lines. Again, this is no fault of Billy's, only a consideration to someone who may mount it in the same spot.

Pictures:
211ouqa.jpg

filter mounting location pictured from above

bdenp.jpg

filter mounting location and rock guard from below

2vmc8jb.png

The notch you need to make in the oil pan is circled in red, the purple line is where the edge of it used to be.

4rxkiw.jpg

front fitting going into the block, nothing too exciting here except my leaky oil pan gasket

2me7ayx.jpg

oil filter block off
 

OffshoreDrilling

This is my safe space
TCG Sponsor
TCG Premium
HVAC Guy
Aug 28, 2007
39,212
50,731
Homer Glen
I had to run over to my parents house earlier today to get the windshield replaced on my moms car. While I was waiting for that to get done, I threw some of the AWD parts that are being removed onto the scale. 132lbs of weight savings so far, and the front differential is in the truck still. The 2wd driveshaft is aluminum and lighter than either the front or rear AWD ones, and the new stub axles are 2# each.
tcase.jpg

driveshafts.jpg

cvaxle.jpg

Dont worry, i tared the weight of the piece of wood.
 

OffshoreDrilling

This is my safe space
TCG Sponsor
TCG Premium
HVAC Guy
Aug 28, 2007
39,212
50,731
Homer Glen
D1SC is weaksauce. Until the truck is payed off, no MAJOR expensive projects. It might get heads on it in the next year, and other small stuff.

Ultimately, not sure if I want to keep it N/A or supercharge it. N/A id build a nice 427 for it, Supercharged it would be stock cubes and an f1a or f1c.
 

blakbearddelite

I'm not one of your 'shit-hole' buddies!
TCG Premium
Jun 28, 2007
29,228
9,057
FL
I'd be curious what the MPG difference would be between a N/A build and an FI build. I would think the N/A would get worse mileage, but not sure how much. I know your mileage is already pretty horrid as is.

And with these gas prices, I've only taken the mustang out twice so far in the last two weeks.
 

OffshoreDrilling

This is my safe space
TCG Sponsor
TCG Premium
HVAC Guy
Aug 28, 2007
39,212
50,731
Homer Glen
The only problem with forced induction is going to be the trans. These things are garbage for any sort of regular abuse above 500-550 torque. 4l80 is big $$ and a th400 would completely eliminate the daily driver status. Id need another car, and to buy a place before i really consider anything major.
 

OffshoreDrilling

This is my safe space
TCG Sponsor
TCG Premium
HVAC Guy
Aug 28, 2007
39,212
50,731
Homer Glen
Not much of an update, but I did get the front differential out of the truck yesterday, and put fresh brakes on the rear the day before. The trans shop also called friday morning to let me know the transmission was in final assembly, and they were waiting for the converter to show up later in the afternoon or this weekend! I should have the trans back in my possession this week and get started with install on thursday.

2wewiuh.jpg

Another 50# 11.5oz out of the truck! It was a SOB to take out too too. You are really supposed to drop the k member and oil pan to get the front differential out, but i wasnt interested in starting another project. I disassembled the case, ring and pinion while it was still installed on the truck, pulled out the components, and re-assembled it.

2eg4fpl.jpg

Hey, a nifty hole in my oil pan.
 

Thread Info