My 98 T/A LQ4 build thread ( 2 Video's Up )
Well since this is a build thread and will be on-going for a while, and since I only have enough cash flow for one big part at a time it will be a while. I promise you this will not be boring at all..........So lets start with when I got this baby...I call her Amy...
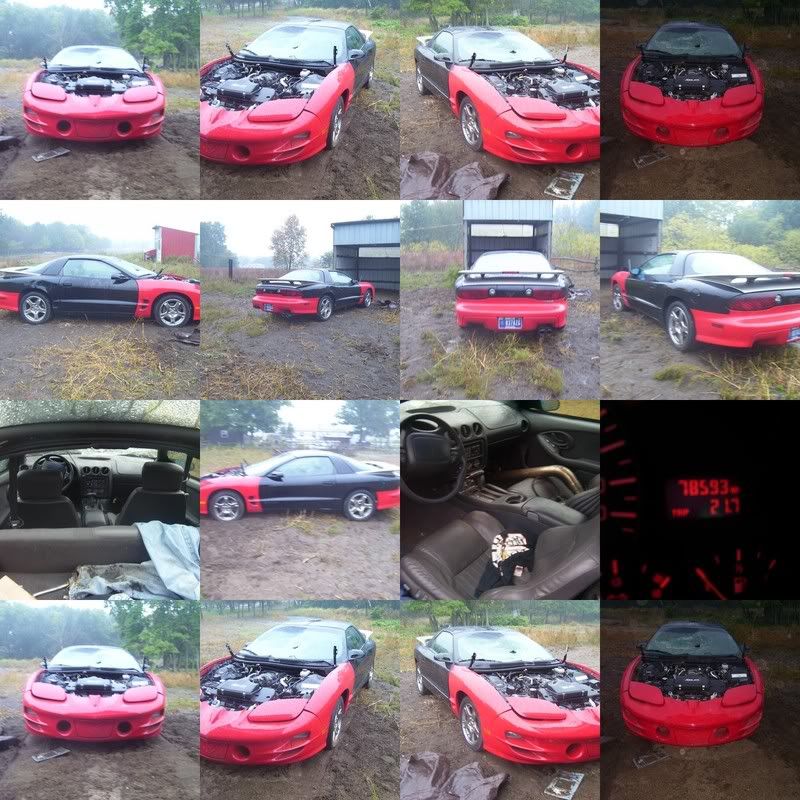
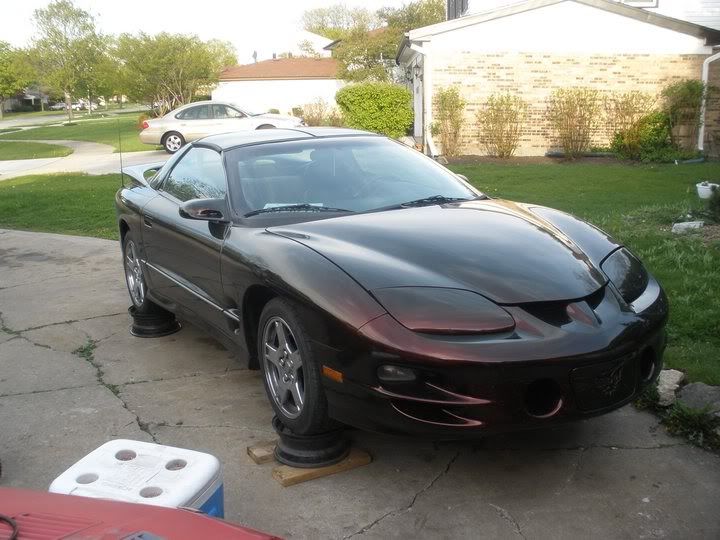
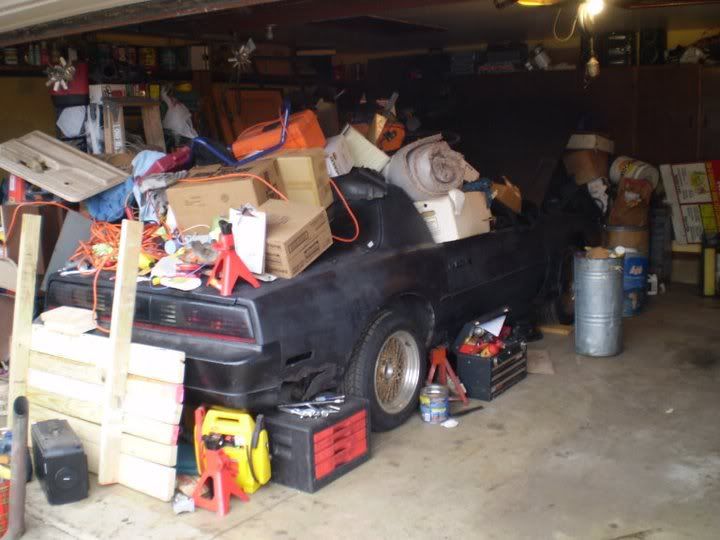
This is the condition I bought her in, from another member on here
Kinda sad, this was the exact collage used in the selling post.
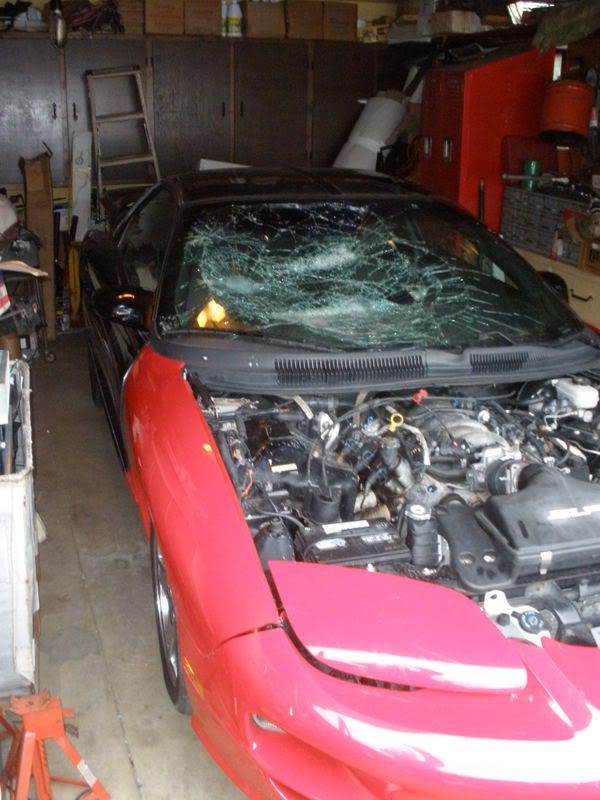
In my garage
I got her rode worthy soon after, took off and sold the rusty old pacesetters and replaced em with the stock stuff so I could pass emissions

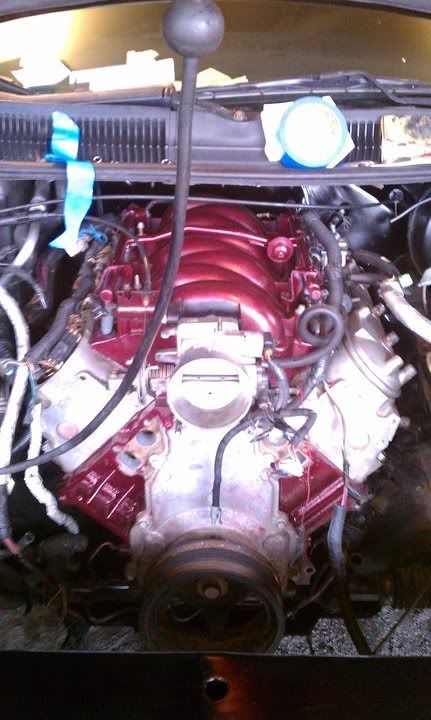
Then when I graduated in '09 from high school I was promised a car for it but seeing as I already had 1 the deal came to be that on my birthday I'd get a paintjob, and so I did. But before I got on I had to decide on a color, I searched for weeks on Tech searching for a color I liked then I came across a color that really popped out at me in the For Sale section, a color called Dragons Breath and I imediately fell in love with the color, It was a 2 tone color that would change from red to black depending on the light.
The next delema was finding a shop that was resonably priced to what was afforbable at the time.........Believe it or not Maaco was the winner and had that color just a different name called Formal Red by Sherman Williams
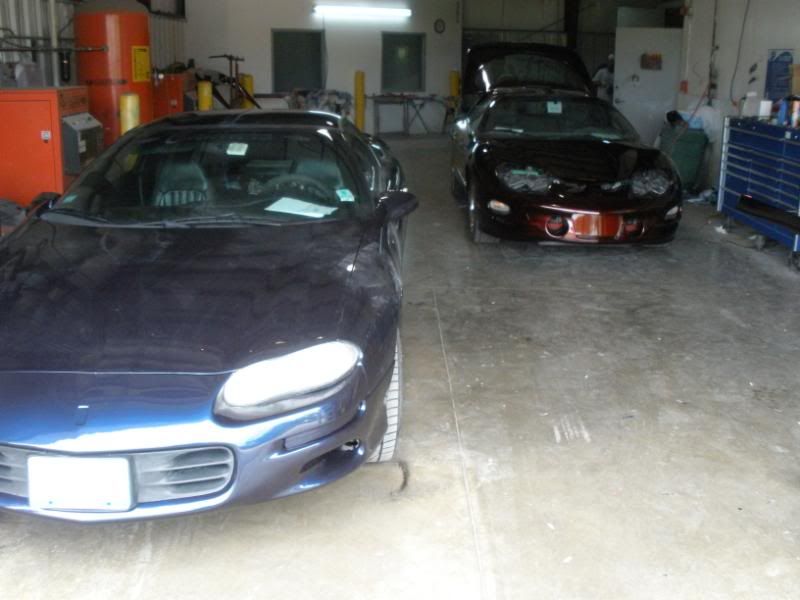
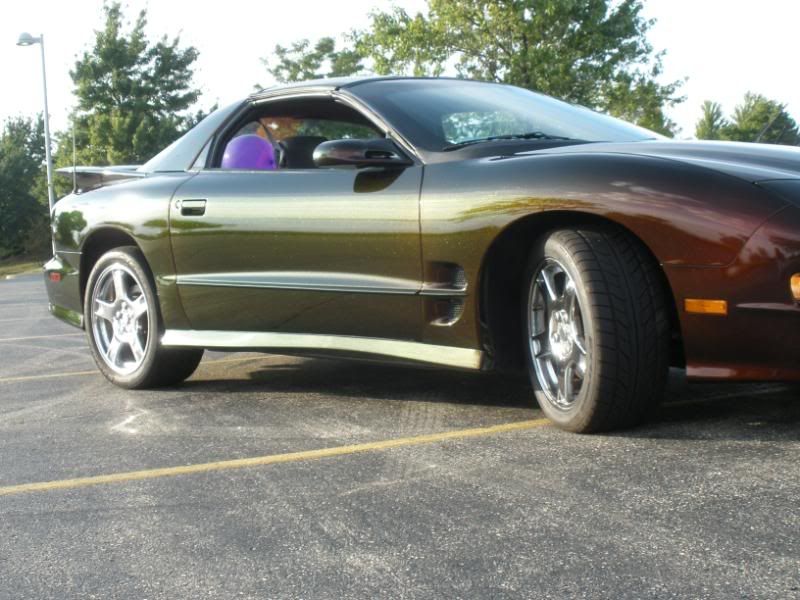
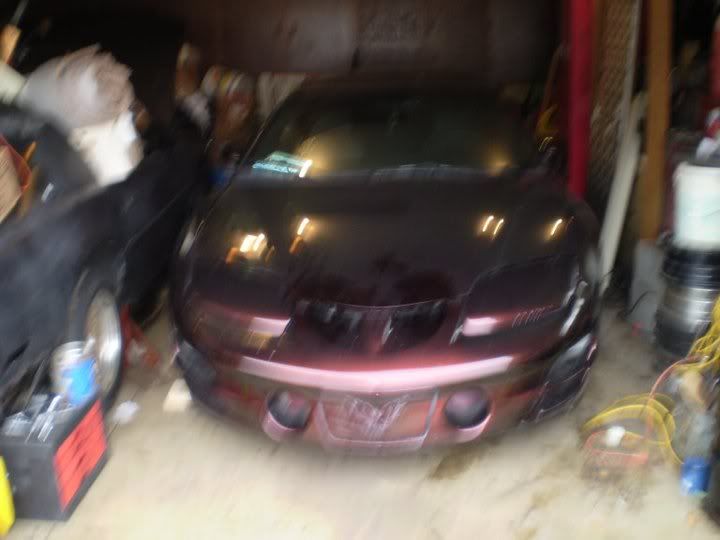
Pic time: This wasn't what anyone was expecting but it came out better than I thought


I thought it was pretty neat that this came out a few minutes after I got there
Here you can see most of the colors, yes I know molding was missing
Then last year I was heading down to So IL to see a friend and all of a sudden the trans went into passing gear(3rd) and it would shift into 4th so I pulled into the rest stop to see if anything was leaking and put the t-tops back on since it started leaking, the as I was about to leave I put it into reverse and I heard was grinding and I wasn't moving anywhere, put it into neutral and pushed it out of the spot, put it into drive it shifted HARD then got up to 3k rpm and it shifted hard again....So what happened is it overheated and blew up some planetaries and I lost Rev, 2nd, and 4th. I turned around and cruised home doing 80mph in 3rd gear and I made it, then drove it to work since I was going to take off the weekend but since that happened I figured I needed as much cash as I could get.
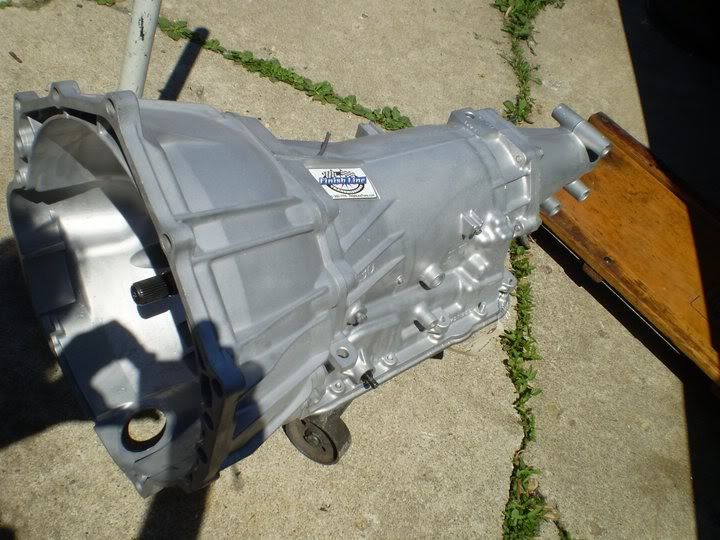
I talked to Finish Line Transmission and learned that their literally 15 minutes away from me, I ended up getting a Level 4 build from them just incase I wanted to do and engine mods later it be backed up. But on install I forgot to put the top hat for the dipstick and it overheated due to leaking trans fluid, so I had to bring it back to them again and dish out more cash for my screw up. Remember always check and recheck your work if you don't you WILL be doing it again.
Pic time
New tans with goodies
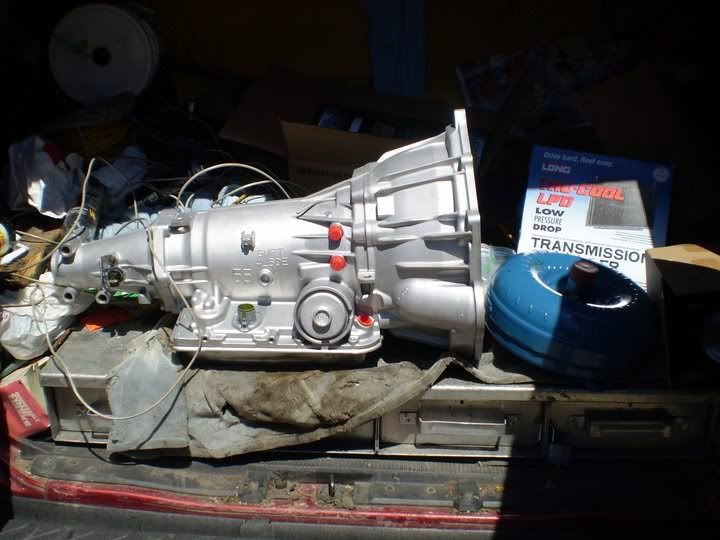
Proof
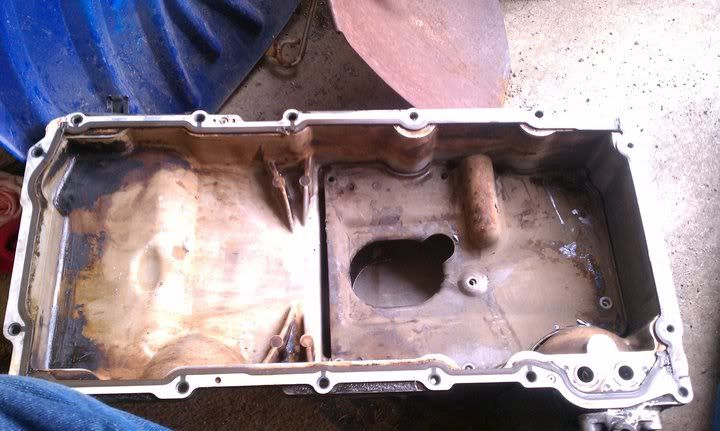
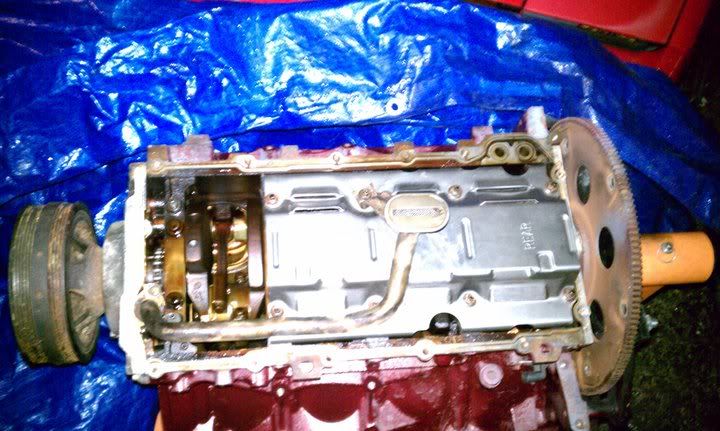
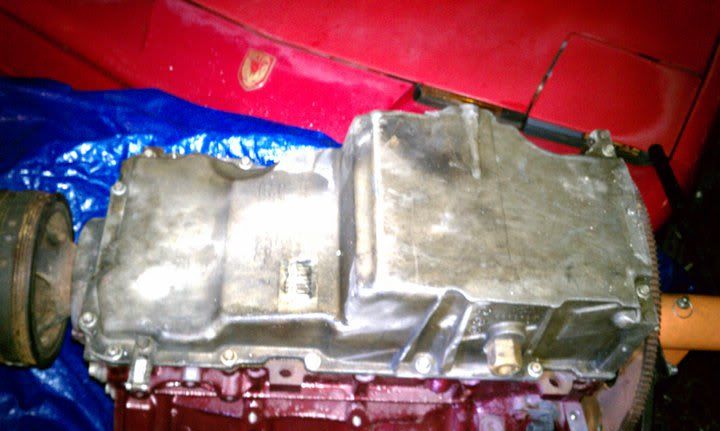
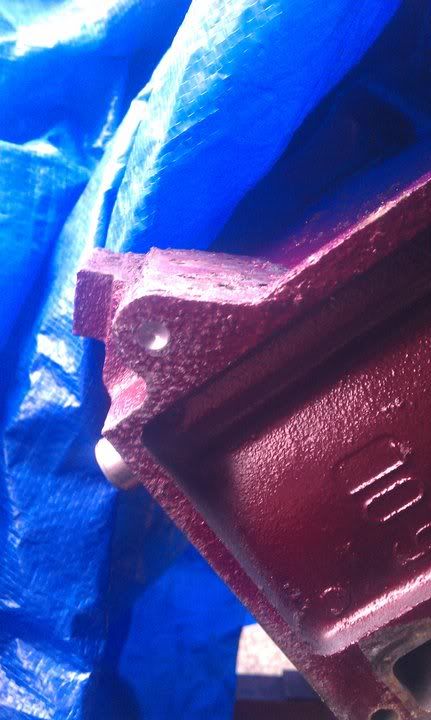
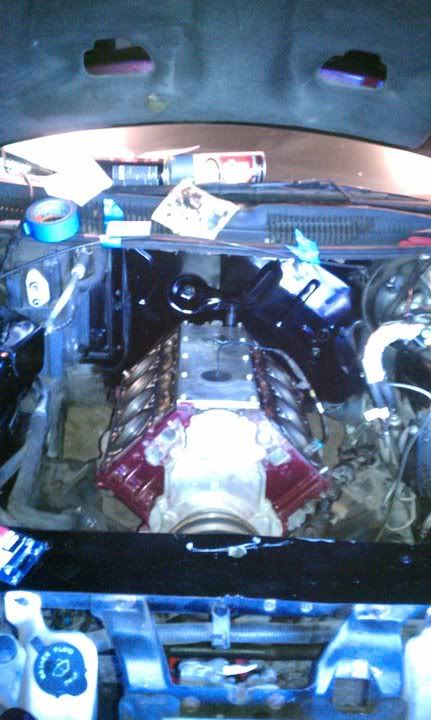
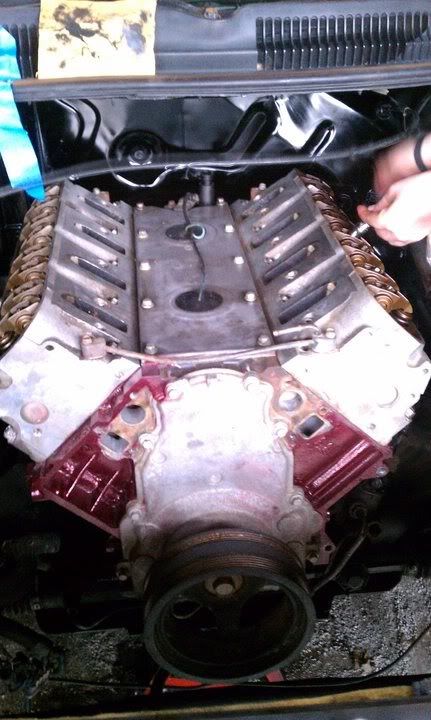
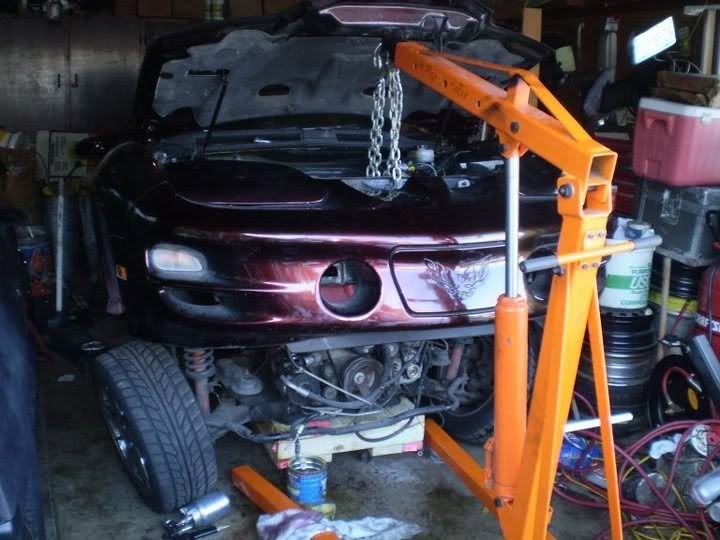
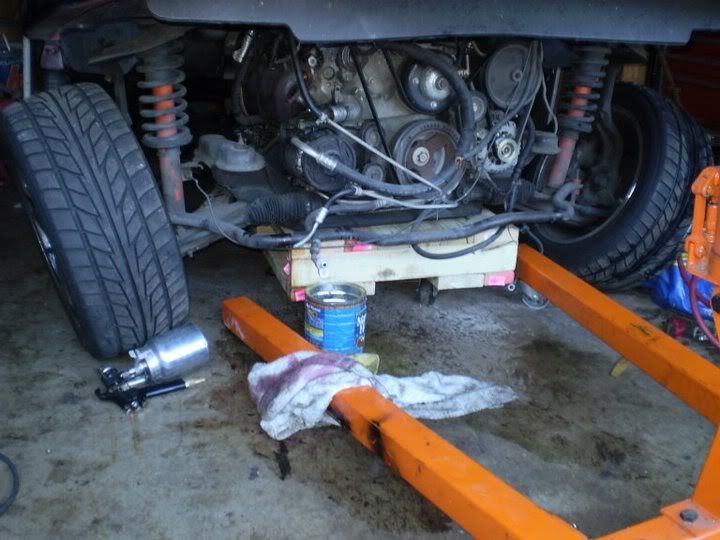
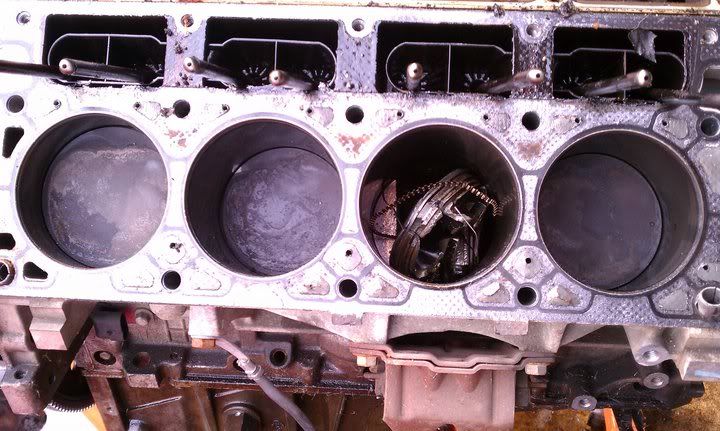
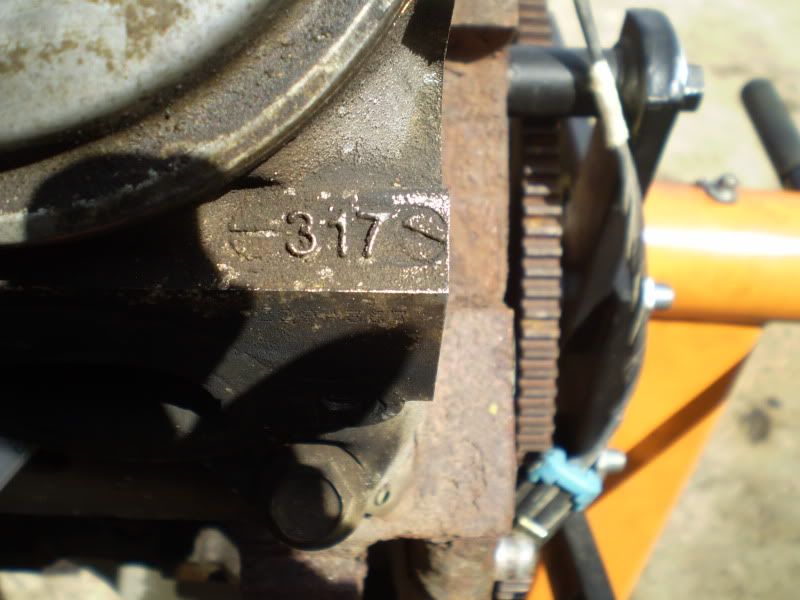
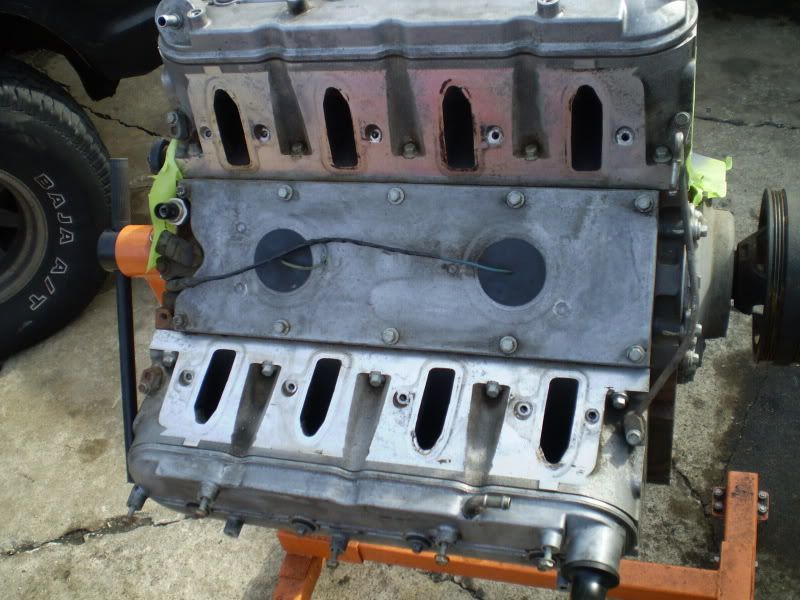
Well D-day came for the engine shortly, and I did eventually make the trip to my friends but a week after I discovered there was a crack in the block covered up by jb-weld. It was a stress crack when someone ran Nos through it. But ten on the way to motorcycle class on the highway I missed the exit and was already running late so I turned around floored it, and it went to 7k RPM's no rev limit, no nothing, it went silent, then I noticed it shut of , I through it in neutral a tried cranking it over since I bypassed my NSS, Nothing. I coasted at 80 mph from the far left lane across 6 lanes of traffic to the shoulder, and waited for a tow. I took a look under the hood and pulled off the Slp lid, Once I noticed coolant and oil mixed I knew the engine was done.
Well since this is a build thread and will be on-going for a while, and since I only have enough cash flow for one big part at a time it will be a while. I promise you this will not be boring at all..........So lets start with when I got this baby...I call her Amy...
This is the condition I bought her in, from another member on here
Kinda sad, this was the exact collage used in the selling post.
In my garage
I got her rode worthy soon after, took off and sold the rusty old pacesetters and replaced em with the stock stuff so I could pass emissions
Then when I graduated in '09 from high school I was promised a car for it but seeing as I already had 1 the deal came to be that on my birthday I'd get a paintjob, and so I did. But before I got on I had to decide on a color, I searched for weeks on Tech searching for a color I liked then I came across a color that really popped out at me in the For Sale section, a color called Dragons Breath and I imediately fell in love with the color, It was a 2 tone color that would change from red to black depending on the light.
The next delema was finding a shop that was resonably priced to what was afforbable at the time.........Believe it or not Maaco was the winner and had that color just a different name called Formal Red by Sherman Williams
Pic time: This wasn't what anyone was expecting but it came out better than I thought
I thought it was pretty neat that this came out a few minutes after I got there
Here you can see most of the colors, yes I know molding was missing
Then last year I was heading down to So IL to see a friend and all of a sudden the trans went into passing gear(3rd) and it would shift into 4th so I pulled into the rest stop to see if anything was leaking and put the t-tops back on since it started leaking, the as I was about to leave I put it into reverse and I heard was grinding and I wasn't moving anywhere, put it into neutral and pushed it out of the spot, put it into drive it shifted HARD then got up to 3k rpm and it shifted hard again....So what happened is it overheated and blew up some planetaries and I lost Rev, 2nd, and 4th. I turned around and cruised home doing 80mph in 3rd gear and I made it, then drove it to work since I was going to take off the weekend but since that happened I figured I needed as much cash as I could get.
I talked to Finish Line Transmission and learned that their literally 15 minutes away from me, I ended up getting a Level 4 build from them just incase I wanted to do and engine mods later it be backed up. But on install I forgot to put the top hat for the dipstick and it overheated due to leaking trans fluid, so I had to bring it back to them again and dish out more cash for my screw up. Remember always check and recheck your work if you don't you WILL be doing it again.
Pic time
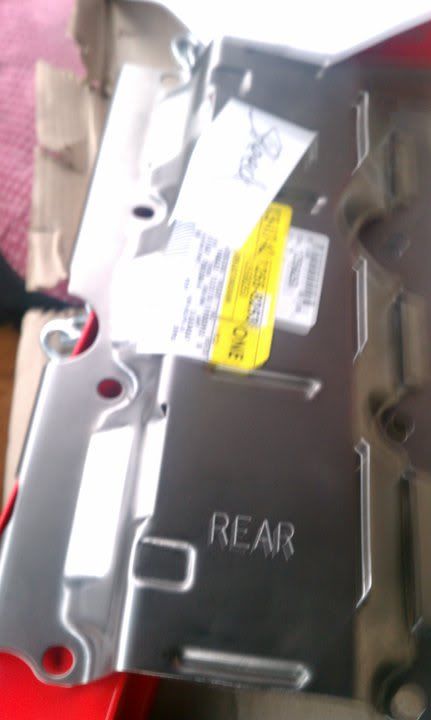
New tans with goodies
Proof
Well D-day came for the engine shortly, and I did eventually make the trip to my friends but a week after I discovered there was a crack in the block covered up by jb-weld. It was a stress crack when someone ran Nos through it. But ten on the way to motorcycle class on the highway I missed the exit and was already running late so I turned around floored it, and it went to 7k RPM's no rev limit, no nothing, it went silent, then I noticed it shut of , I through it in neutral a tried cranking it over since I bypassed my NSS, Nothing. I coasted at 80 mph from the far left lane across 6 lanes of traffic to the shoulder, and waited for a tow. I took a look under the hood and pulled off the Slp lid, Once I noticed coolant and oil mixed I knew the engine was done.
Last edited:
 wow im denitely going to keep my eye on this thread. good luck on your build
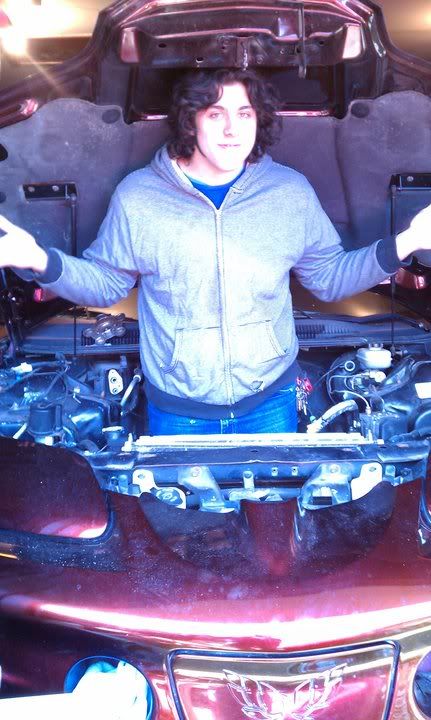
 , I know that stage is a little down the road but might as well prepare for it, plus I'll keep myself busy taking apart and putting the interior back together.