Reid's 2010 Build
Here's what I've got in the works. I hadn't had the chance to update this first post with my plans until now. There were three main objectives I set for this build. Two of which (Fuel system and ProEFI) are already complete now.
Fuel System:
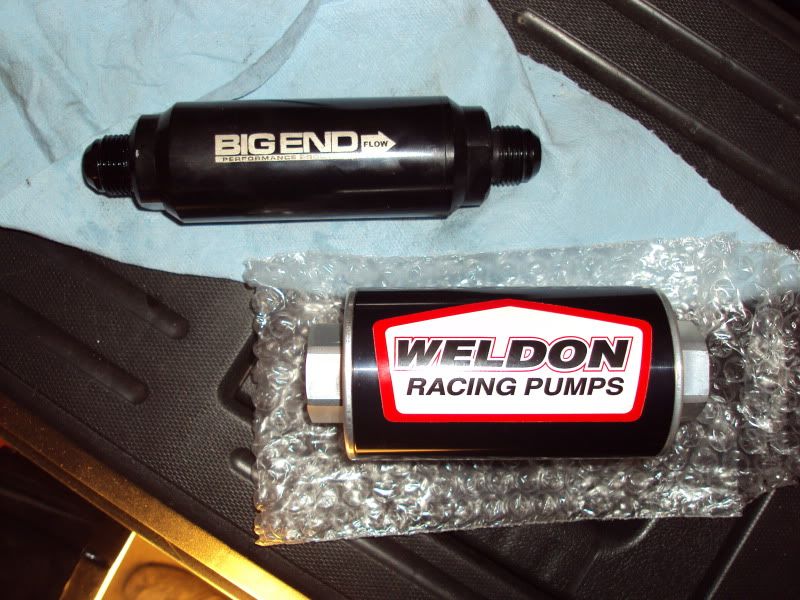
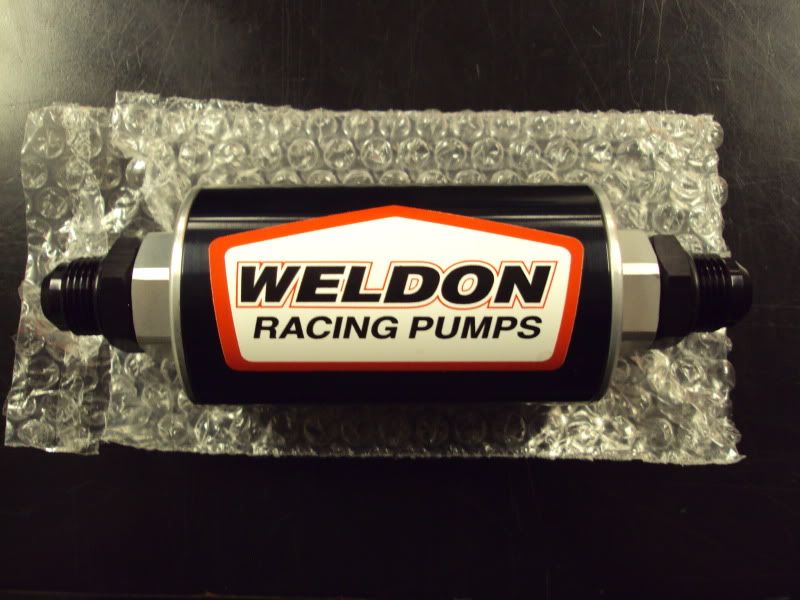
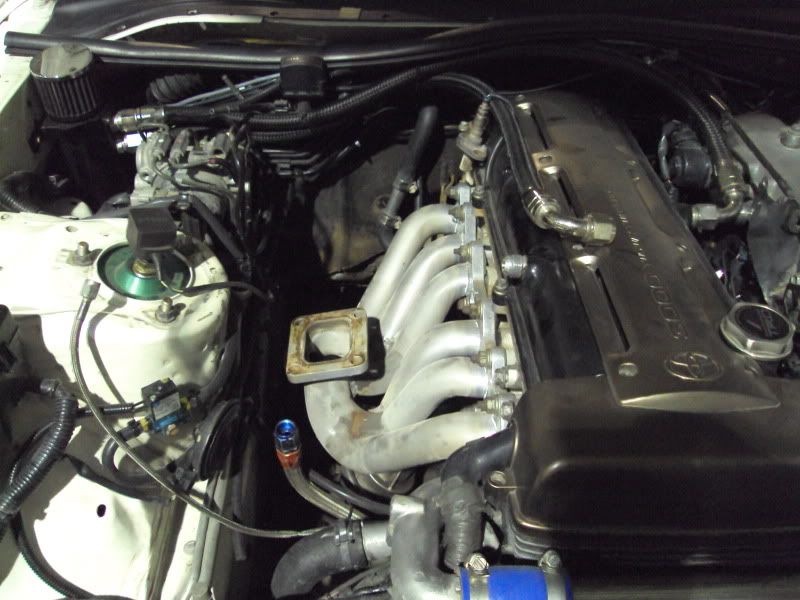
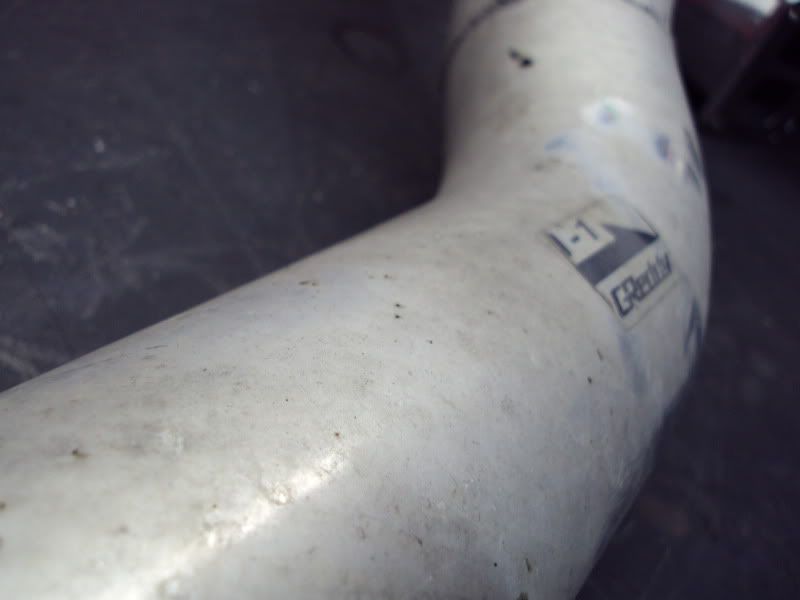
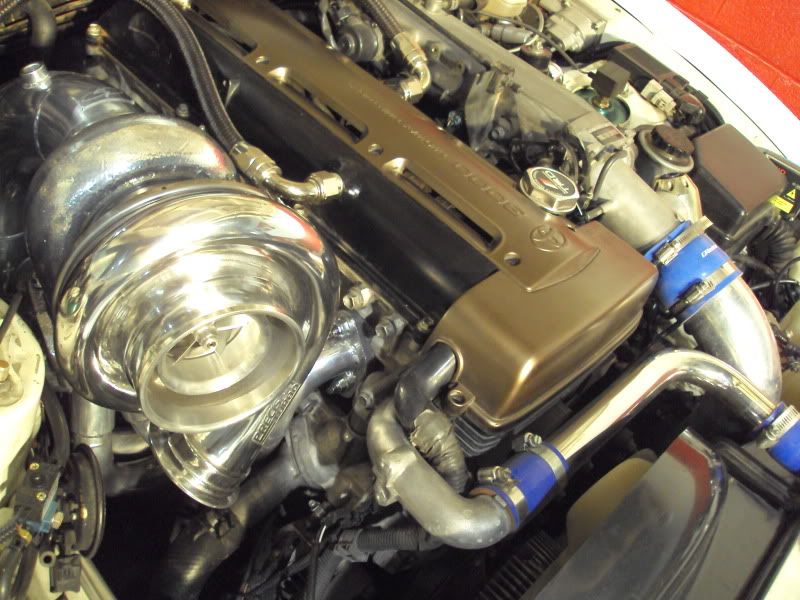
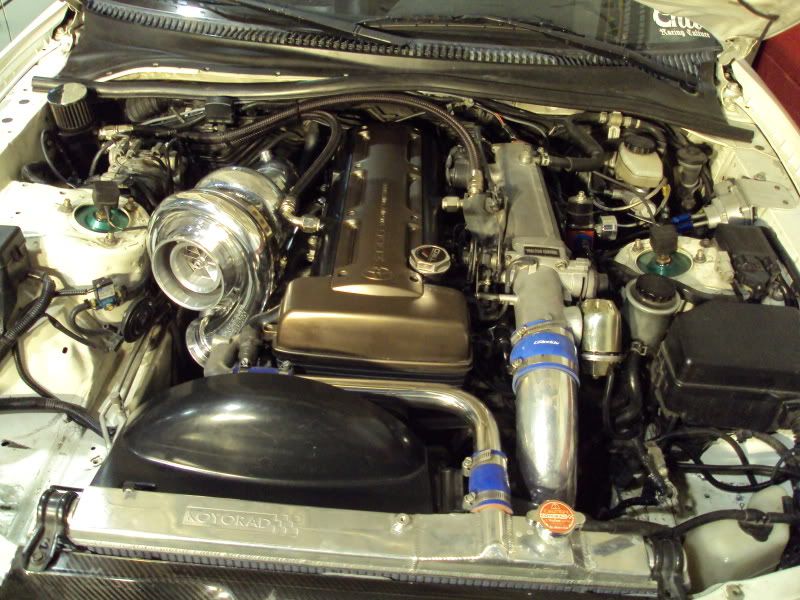
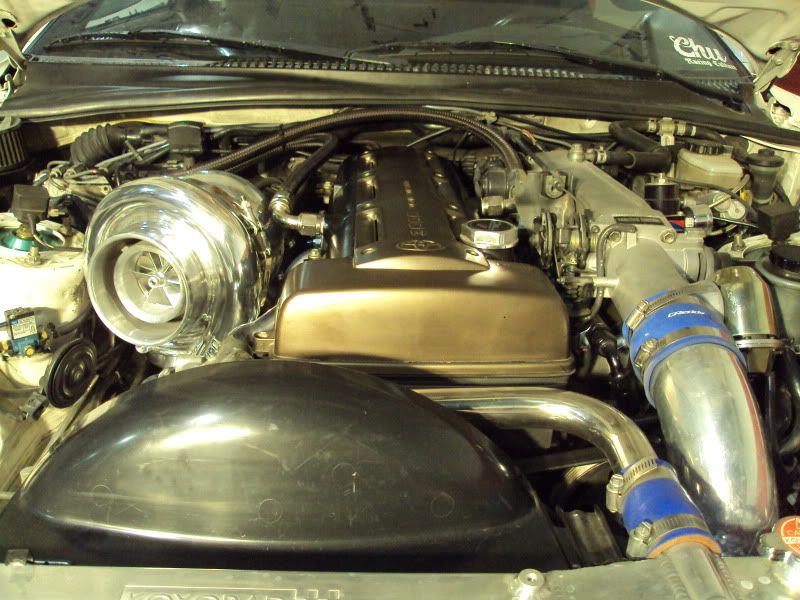
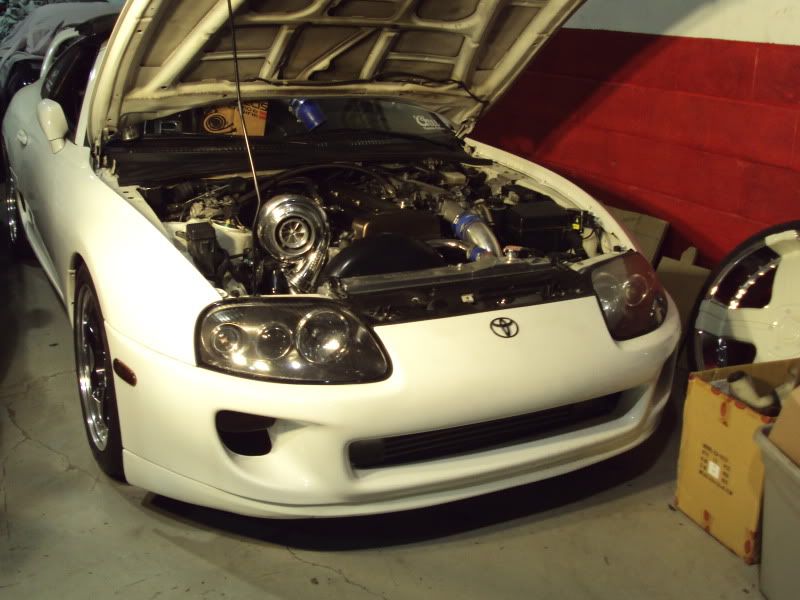
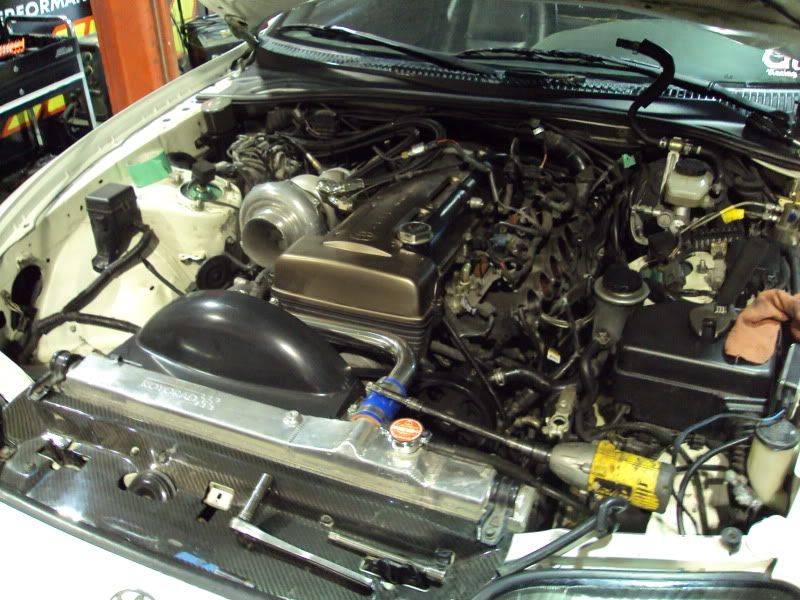
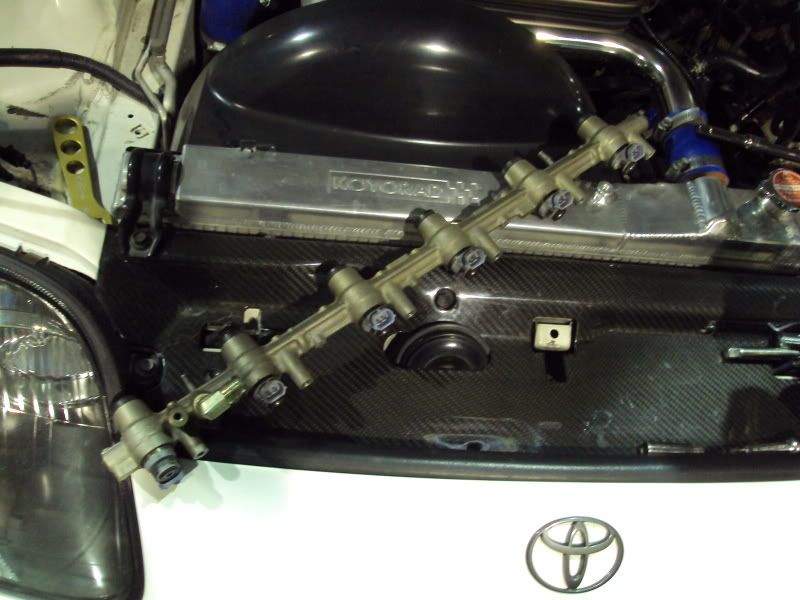
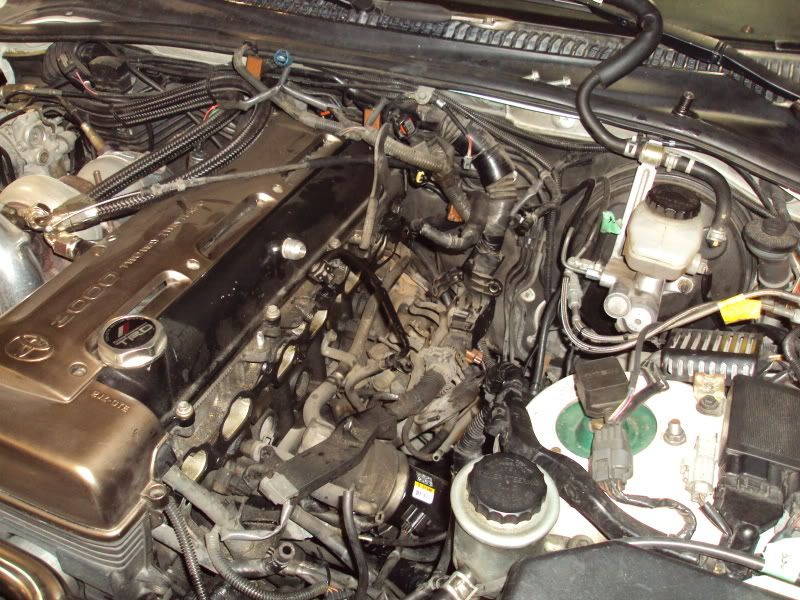
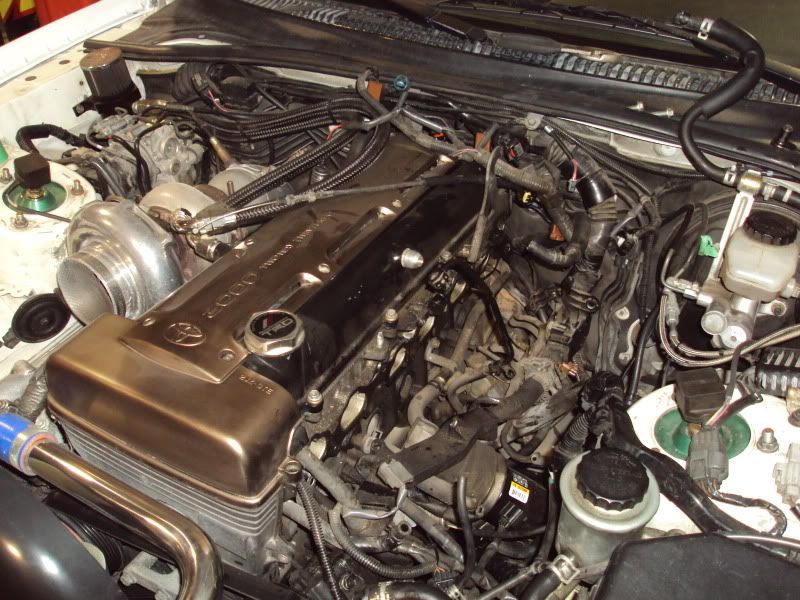
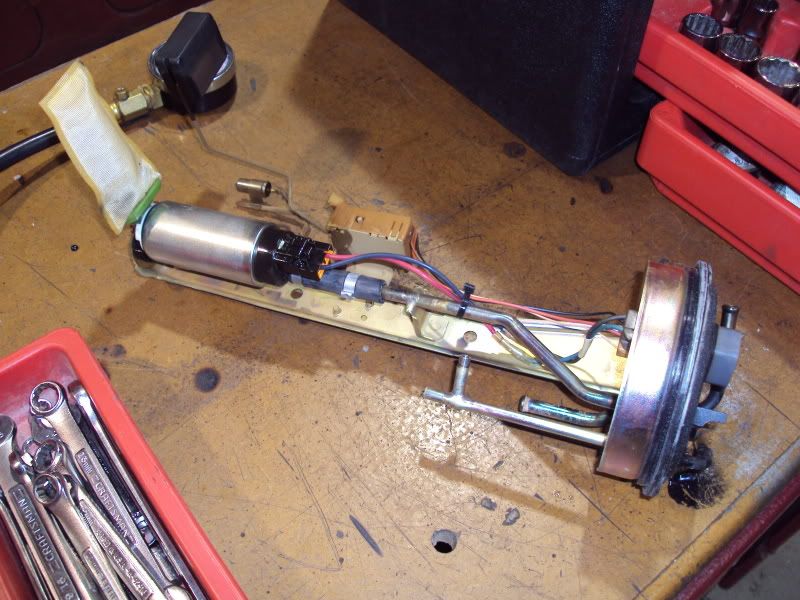
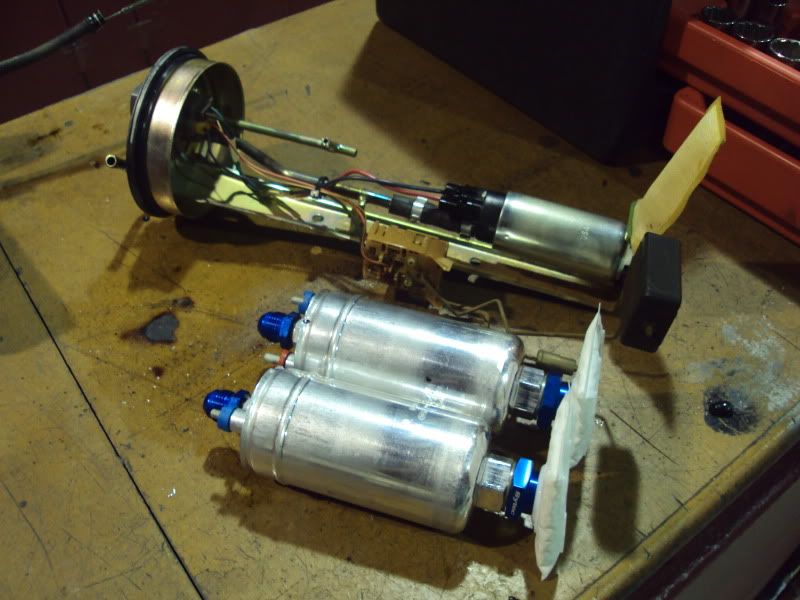
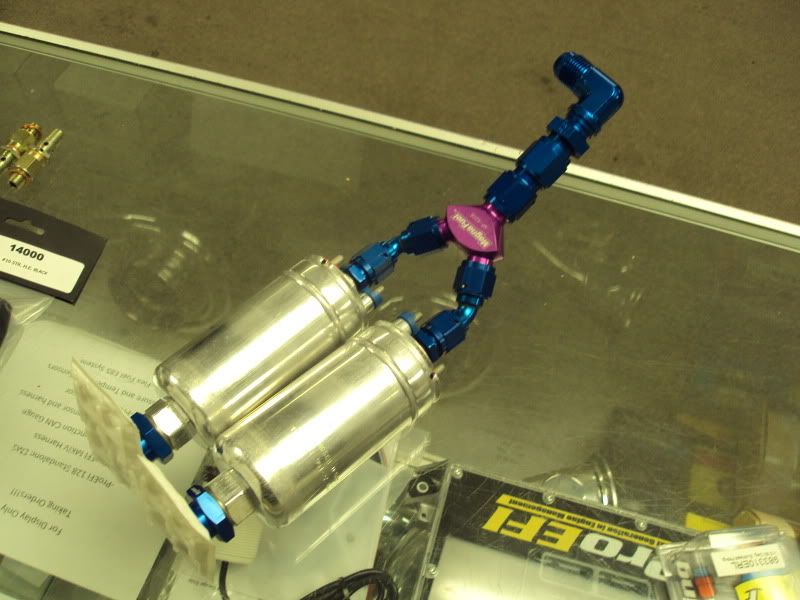
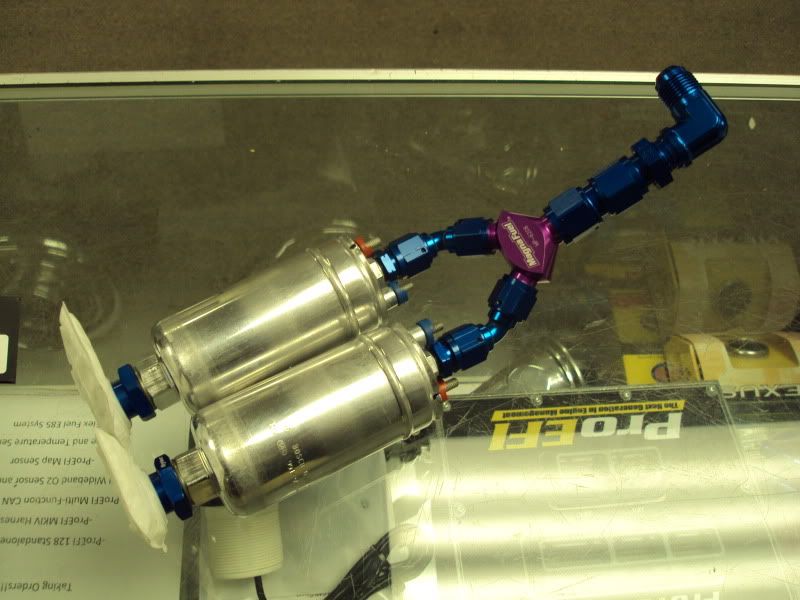
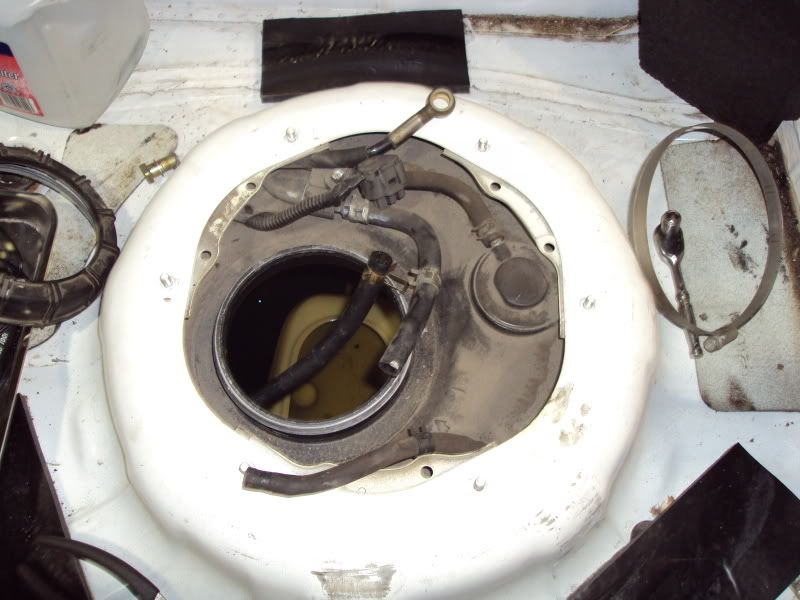
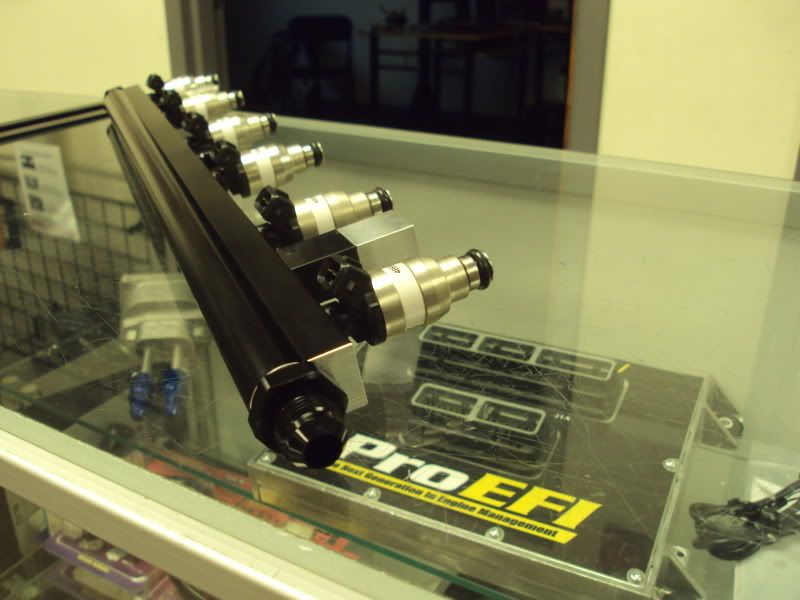
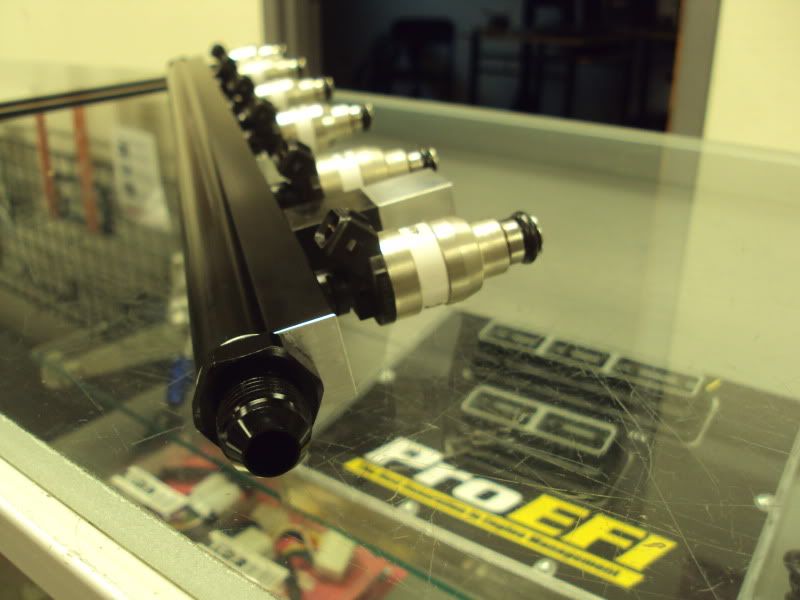
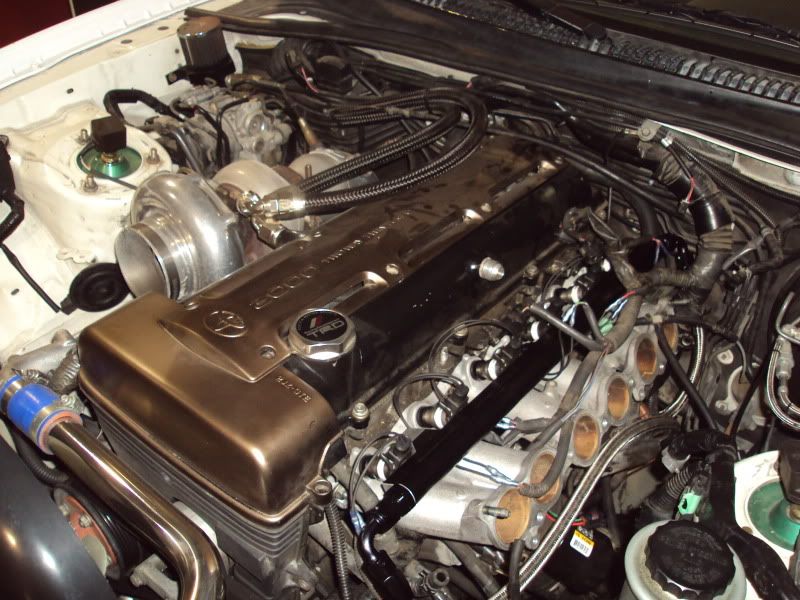
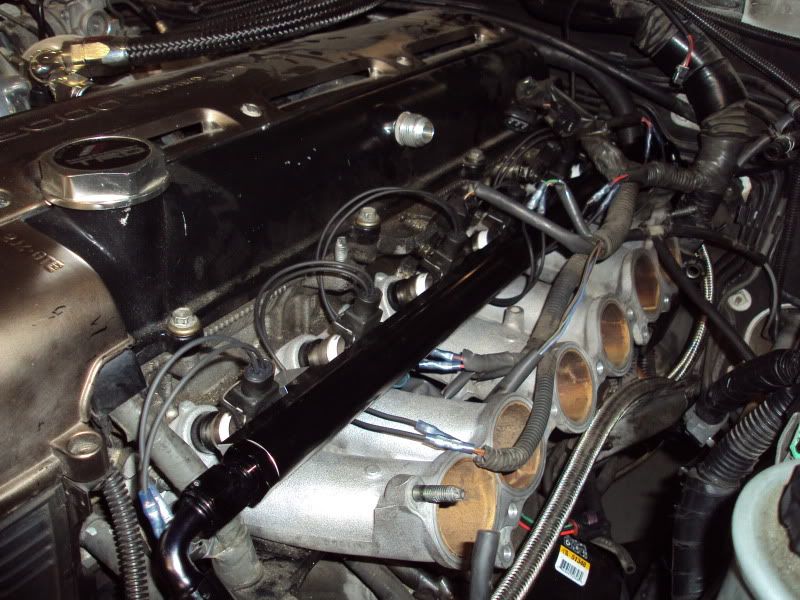
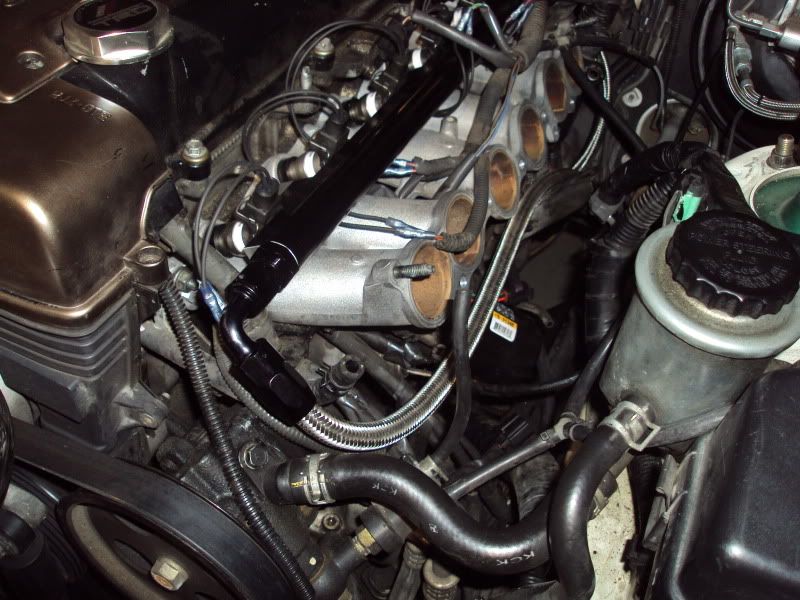
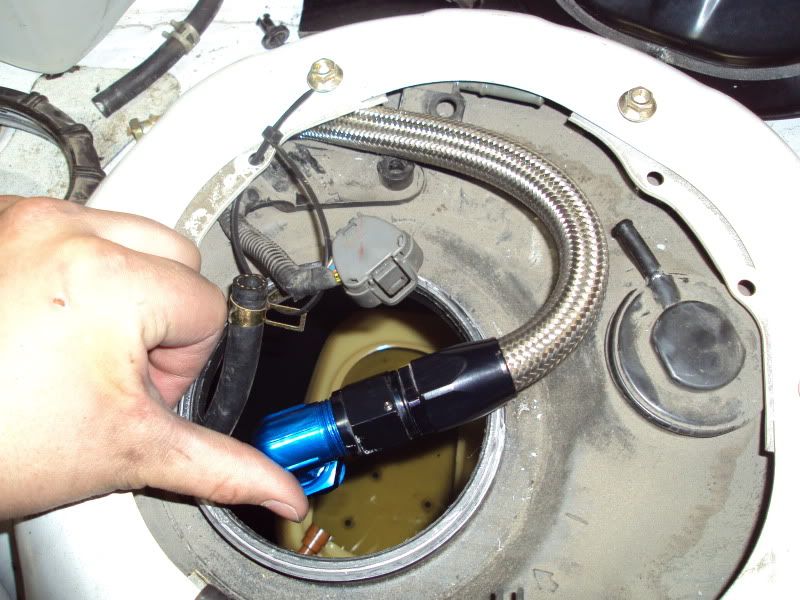
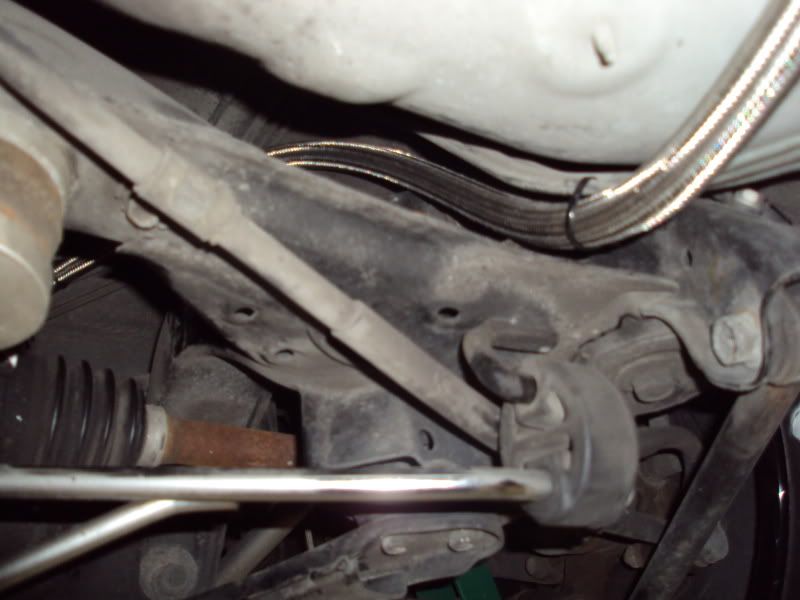
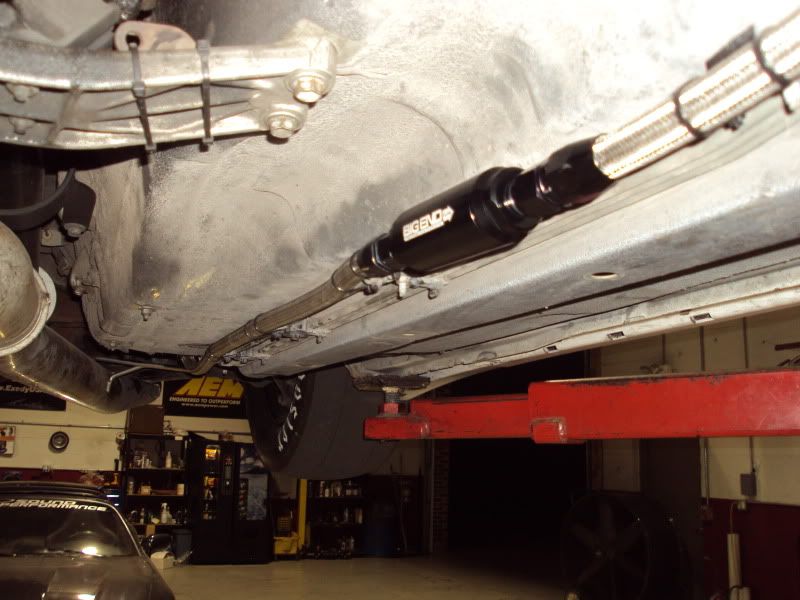
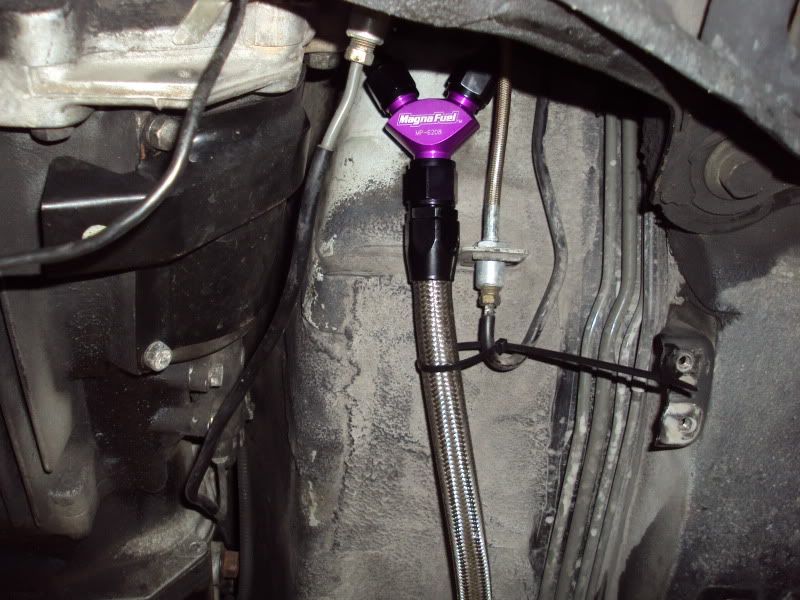
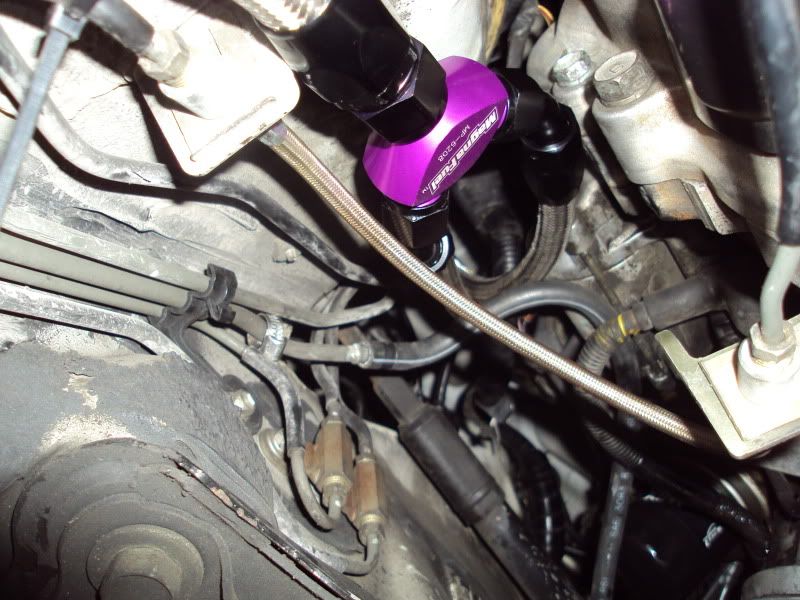
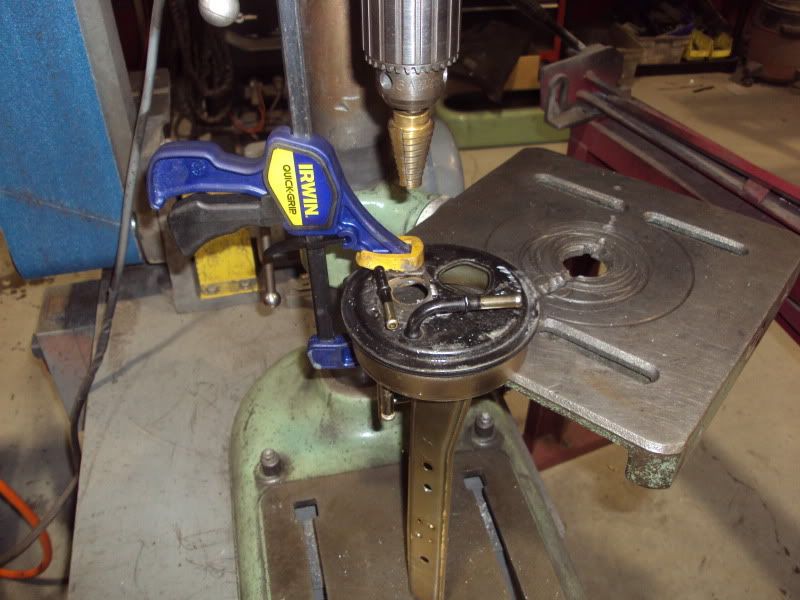
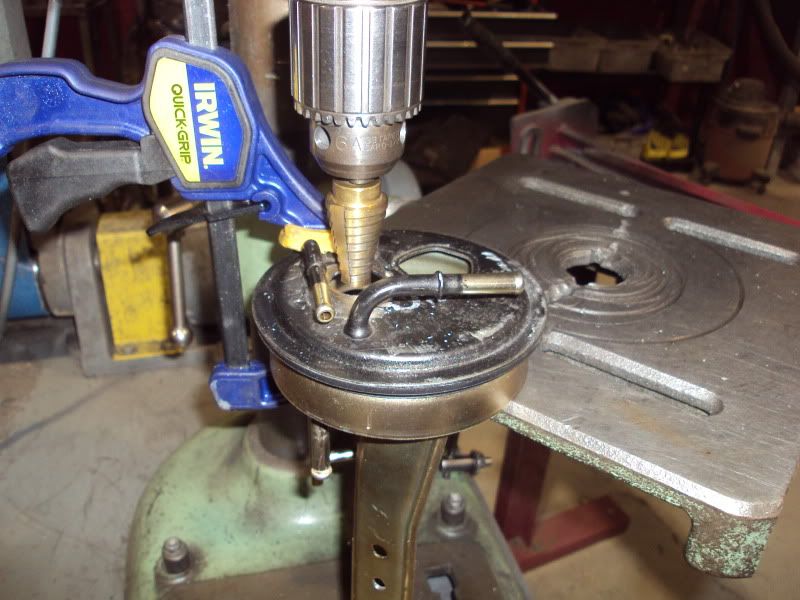
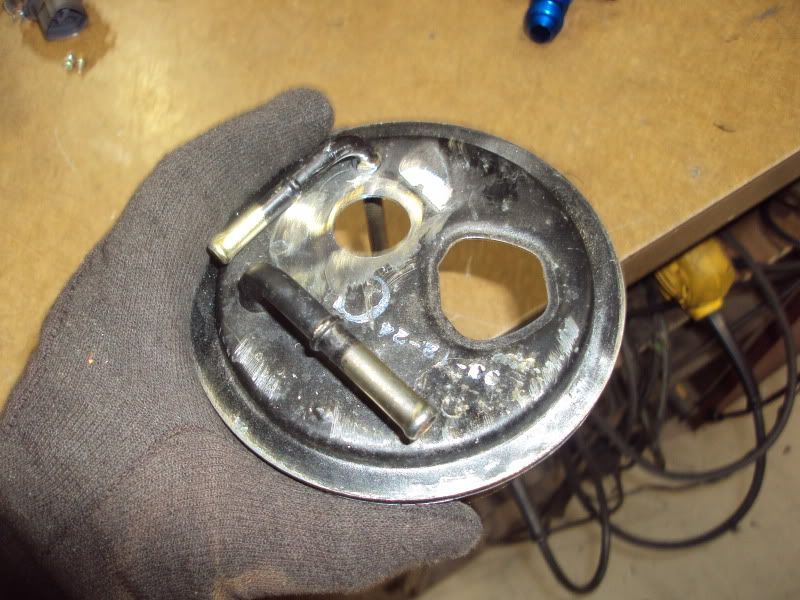
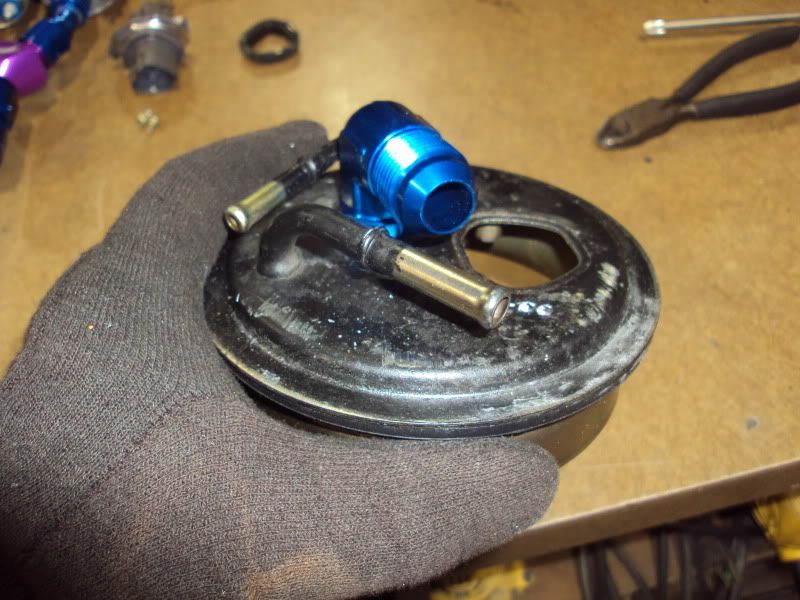
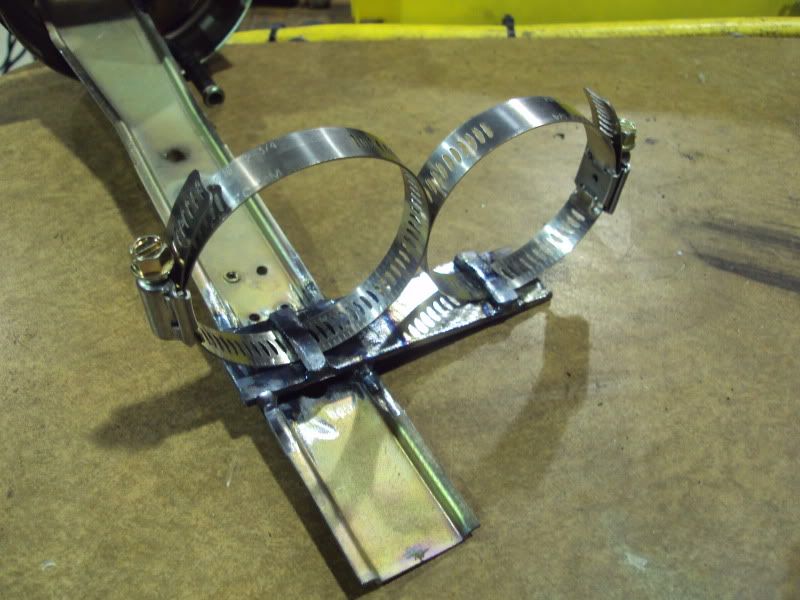
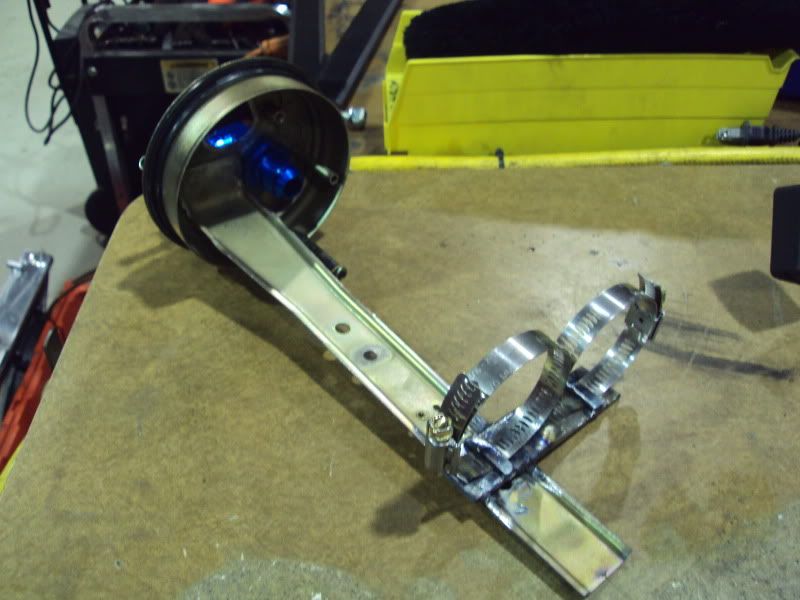
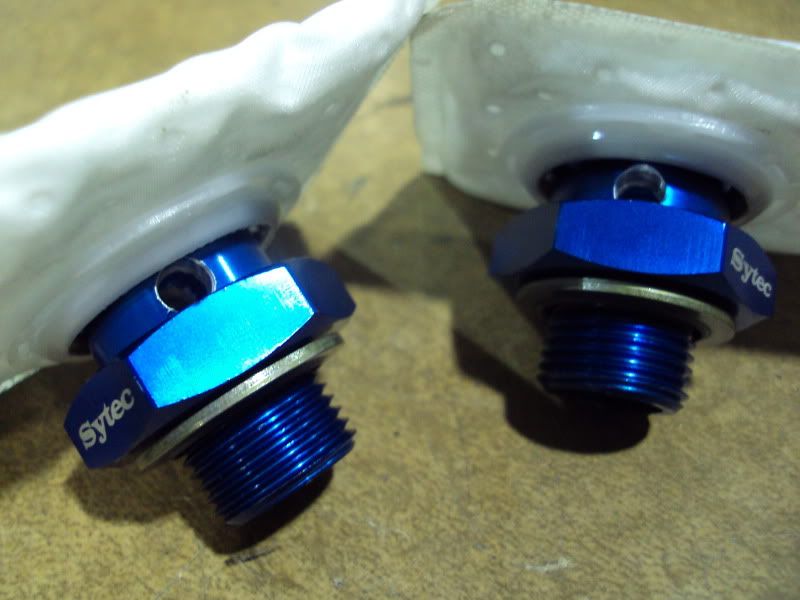
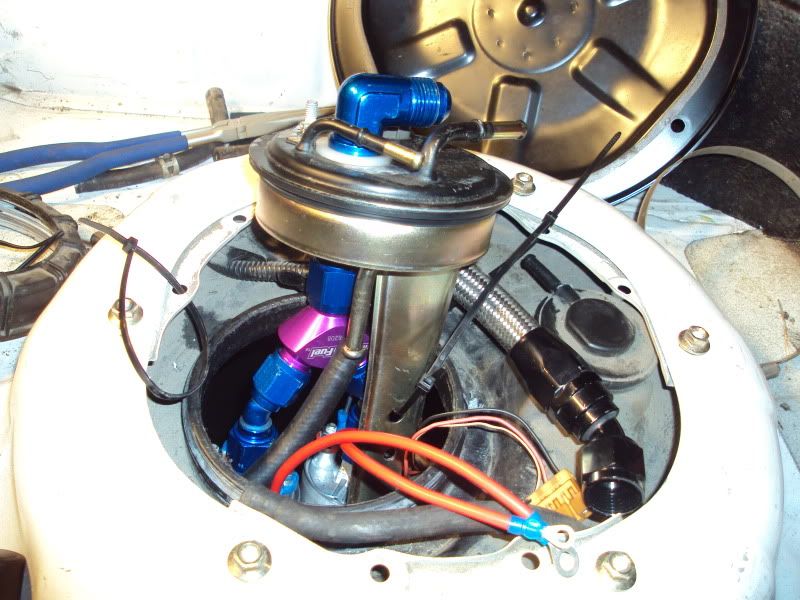
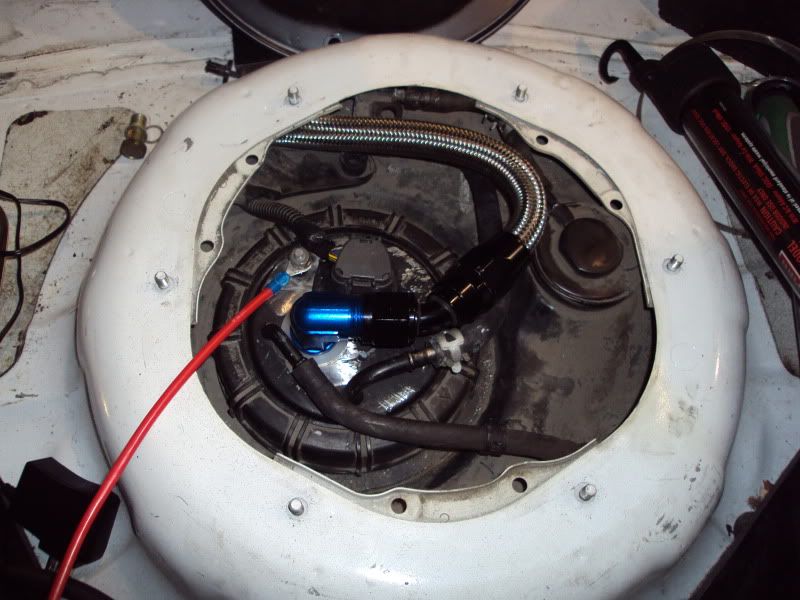
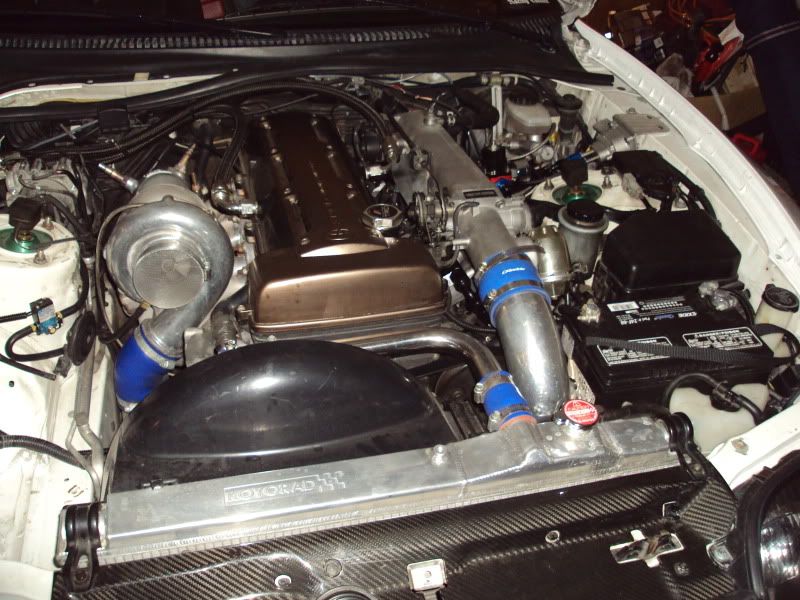
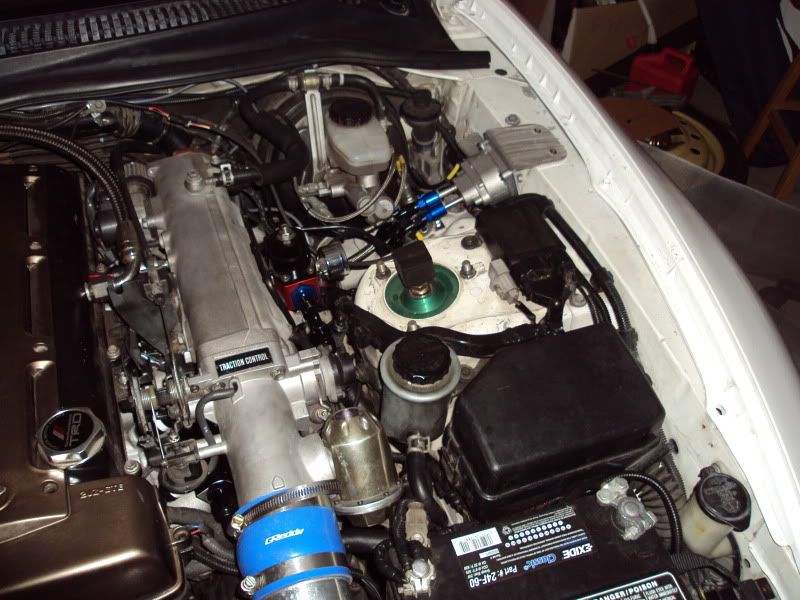
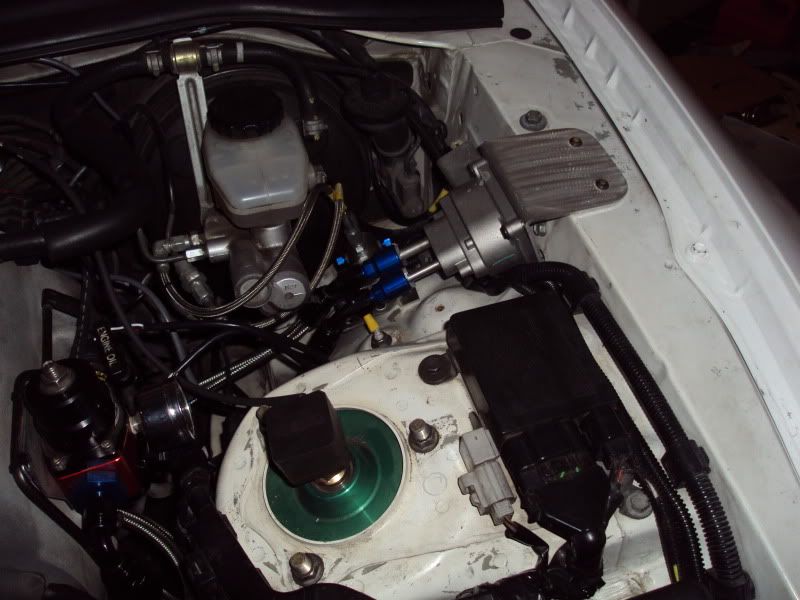
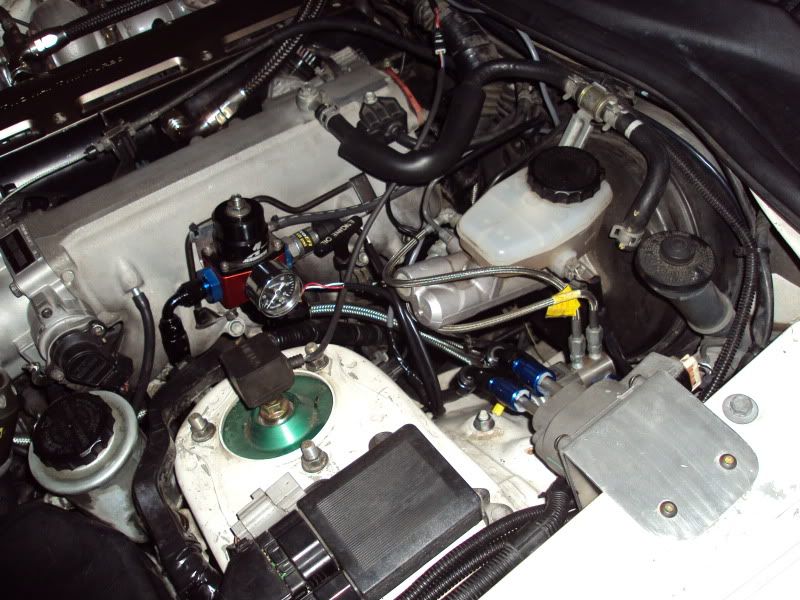
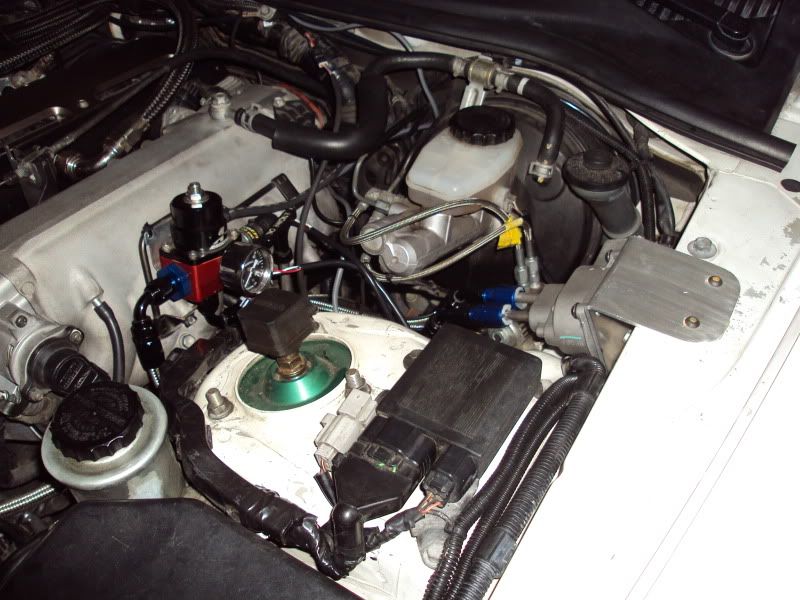
I planned to build my fuel system around the fact that I was going to run the ProEFI and E85 Flex Fuel system. Therefore, I decided on a set of Precision 1200cc injectors and twin in-tank Bosch 044 pumps. Theoritically, this is enough fuel for approximately 850-900whp on E85 which is more than I plan to make, but having a bit of extra fuel is something that I feel is a nice safety cushion rather than run my fuel system at its limits. The basic layout is to run the twin Bosch pumps in-tank that Y in to a -10 bulkhead on the stock pump hanger (highly modified), run a single -10 line to a 100 micron Stainless Steel fuel filter, Y off to twin -8 feed lines into my SP Fuel Rail, and the -6 lines through the FPR and ProEFI Flex Fuel sensor back to the stock return. Overall, it turned out pretty nice.
ProEFI Standalone:
I have been dying to run the ProEFI system ever since it was first introduced. I was forced to go with used AEM setup last minute last year to alleviate my stock ecu woes and get the car in action. Luckily, I was able to swap over to the ProEFI system this year. I have been completely blown away by its performance and features and can't wait to continue to learn more about it as I drive my car more.
Here is my review of my ProEFI Experience. I will be updating it regularly.
http://www.supraforums.com/forum/showthread.php?t=600761
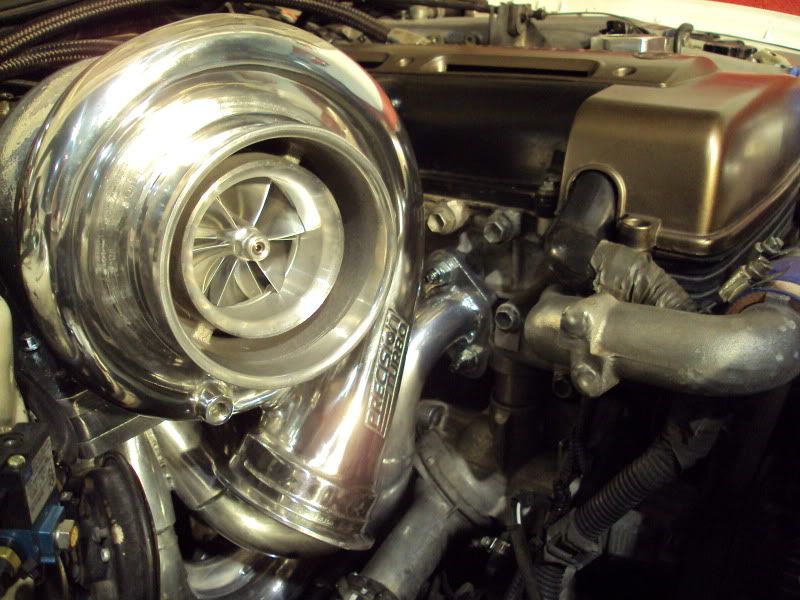
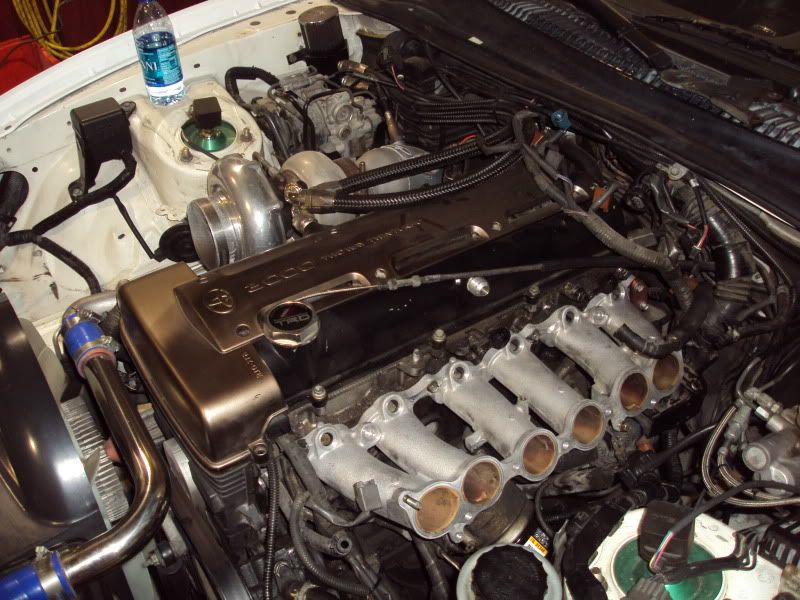
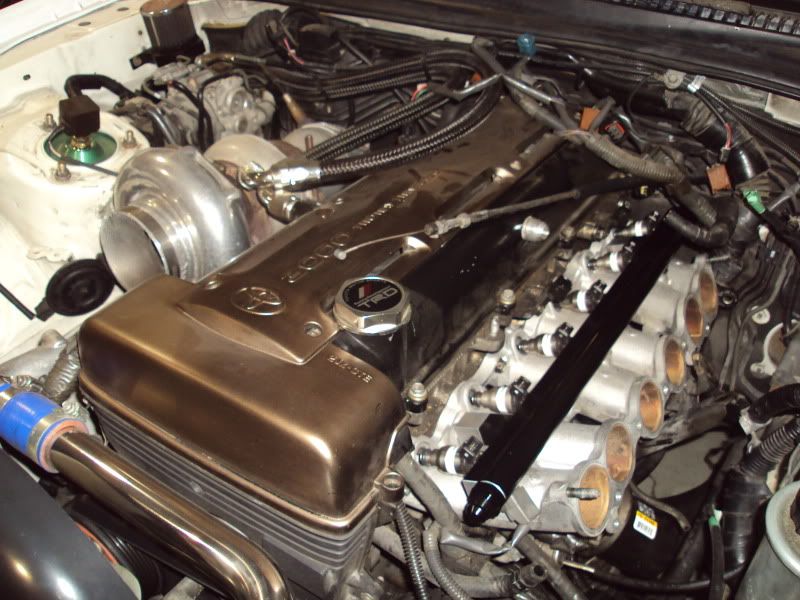
Turbo Setup:
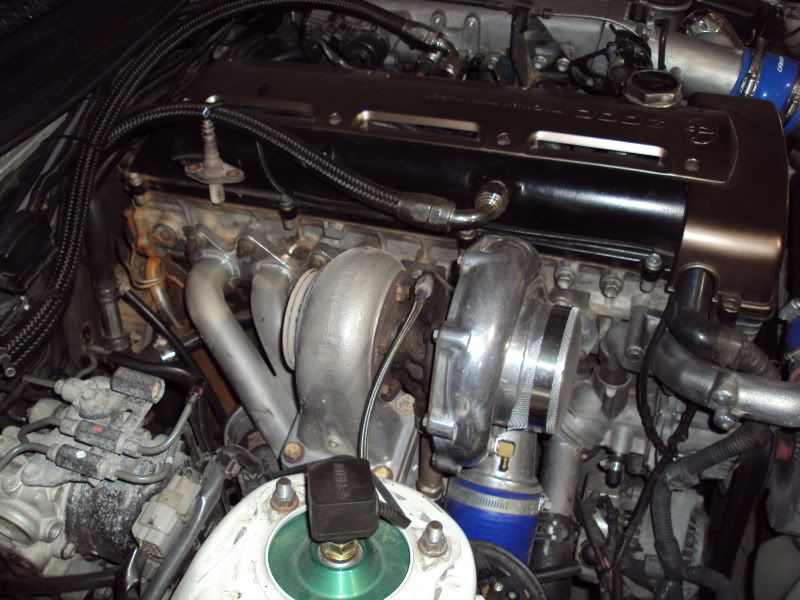
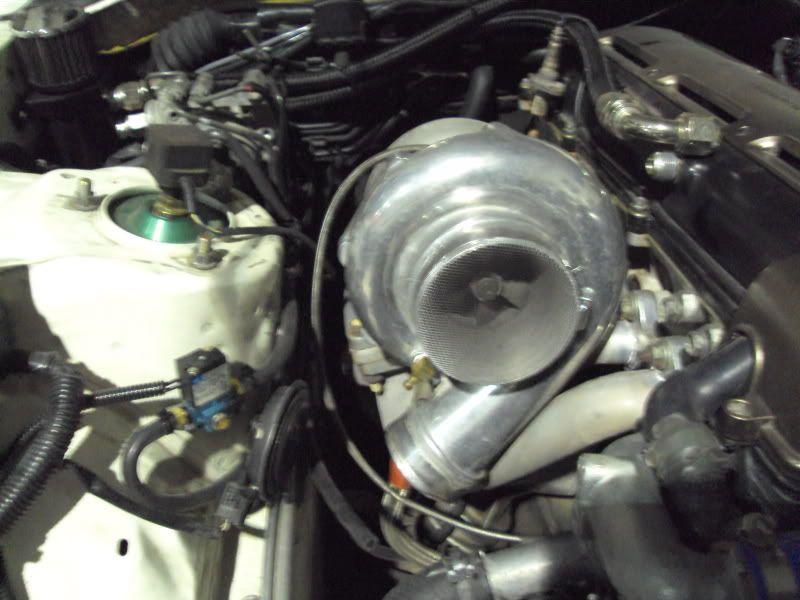
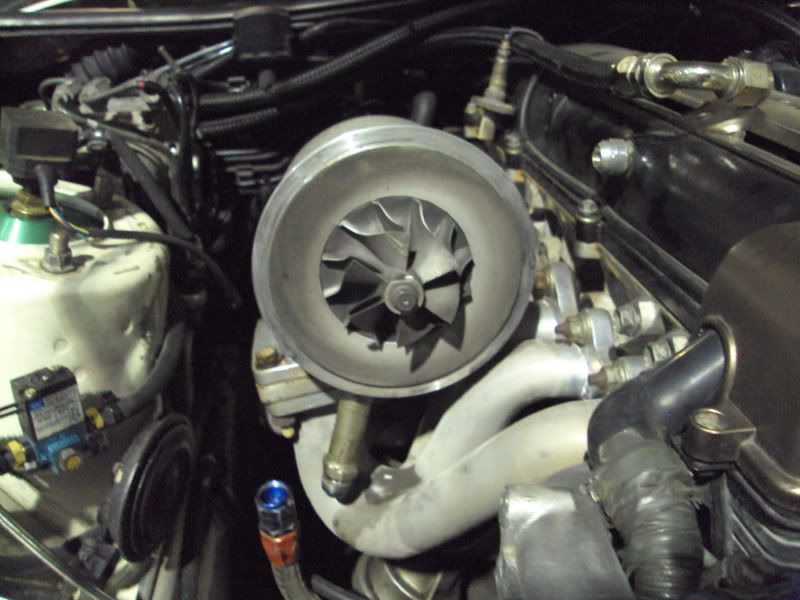
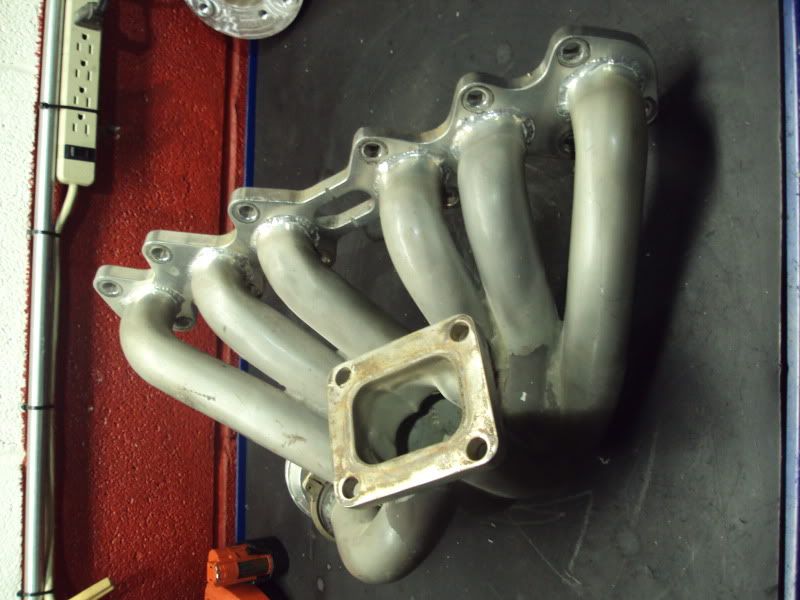
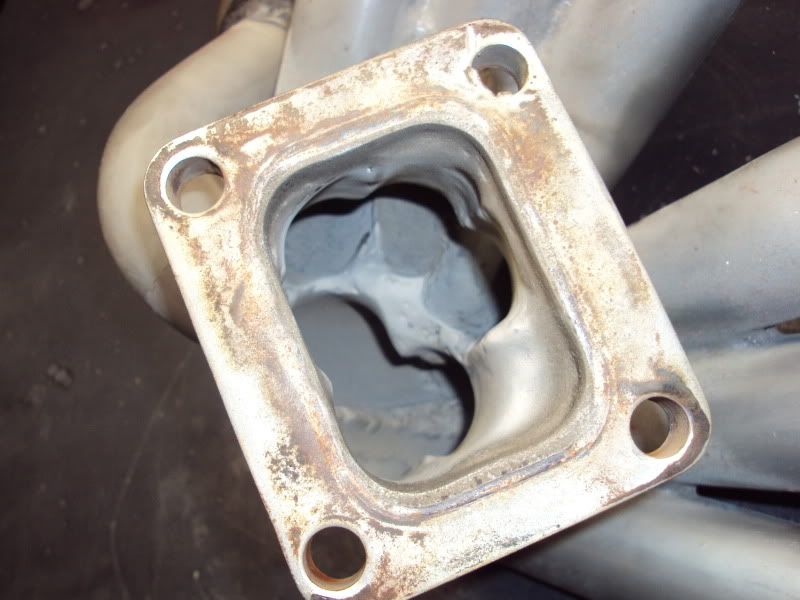
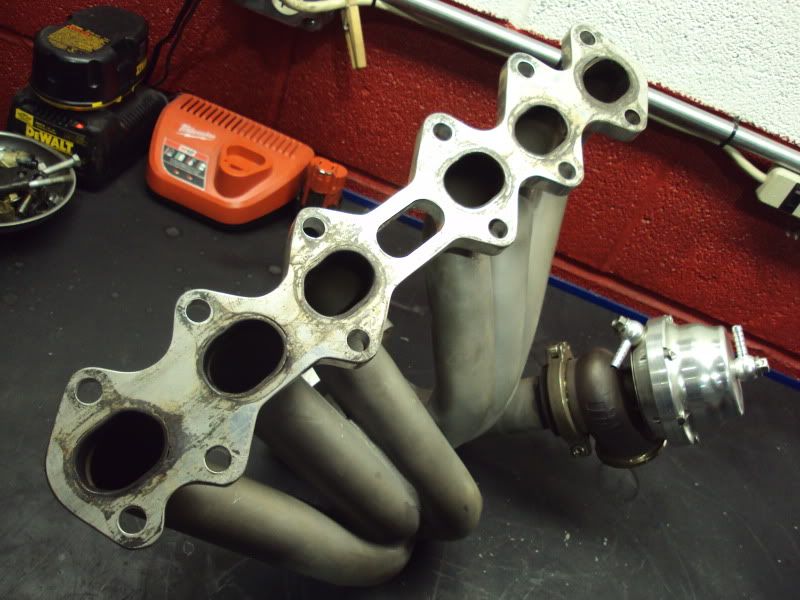
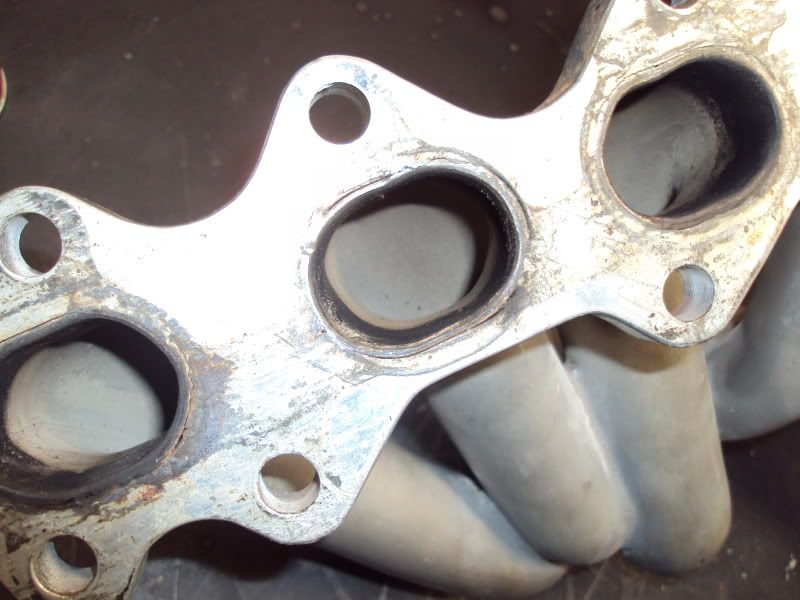
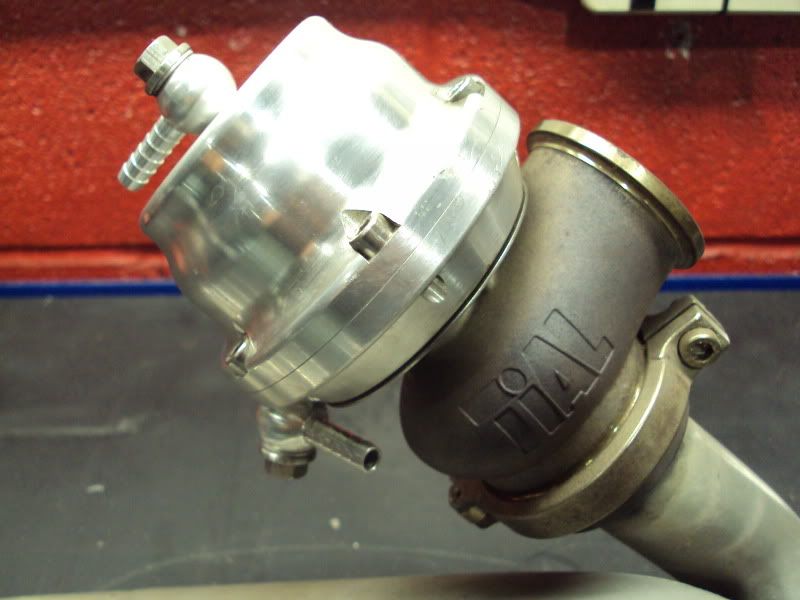
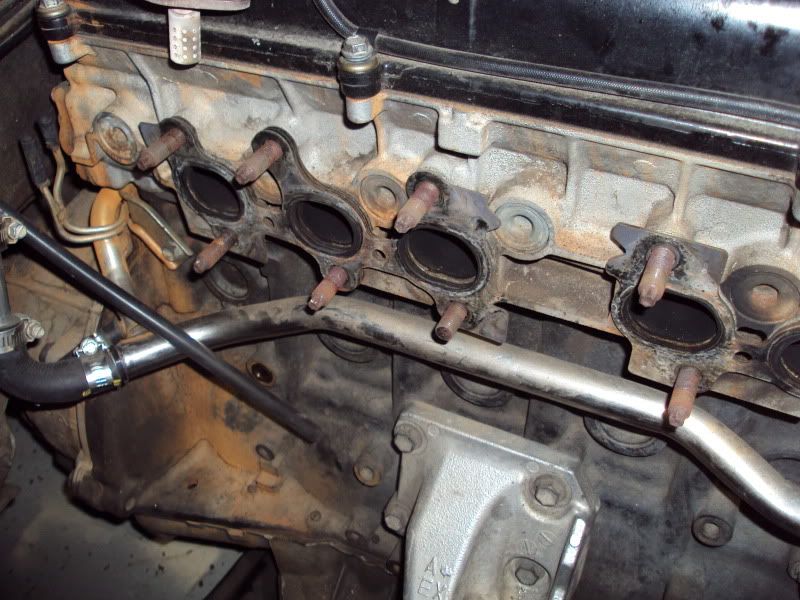
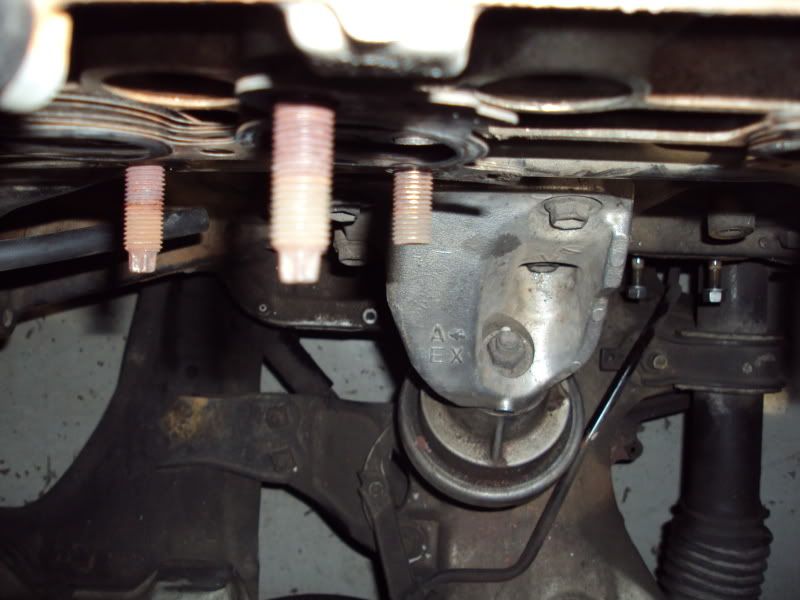
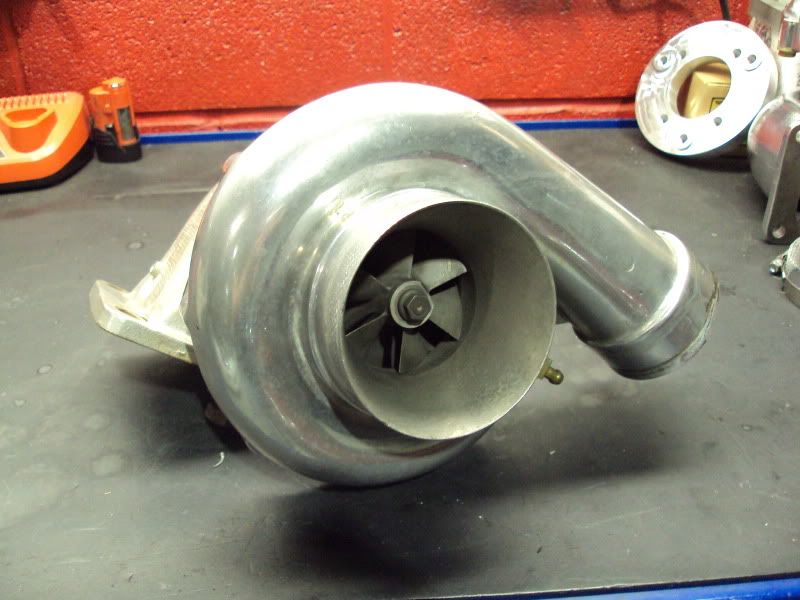
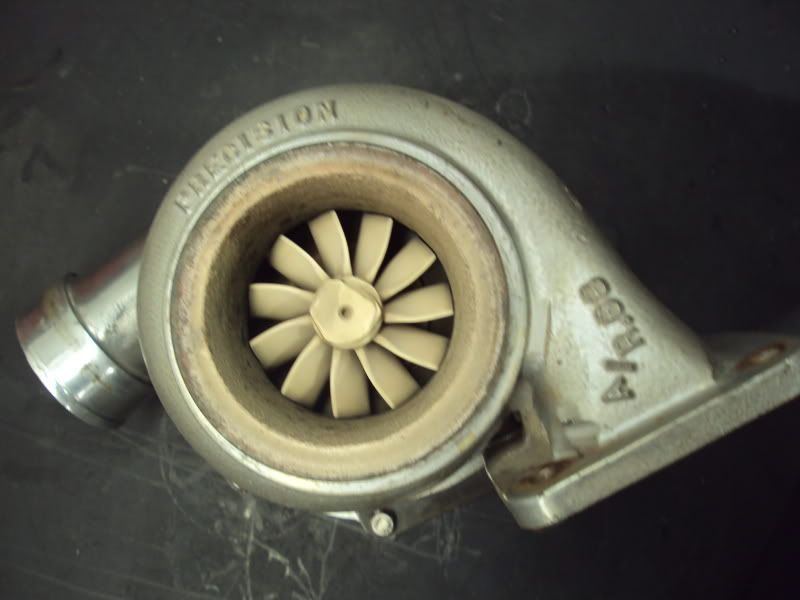
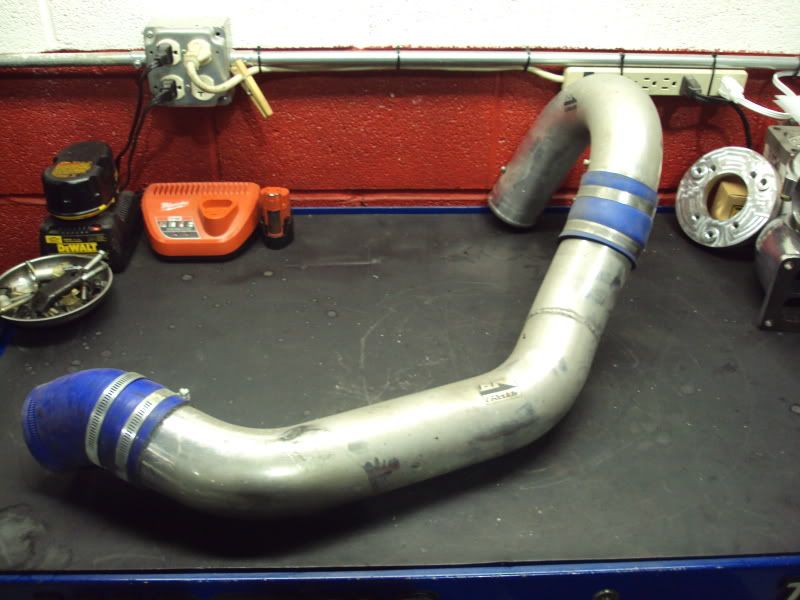
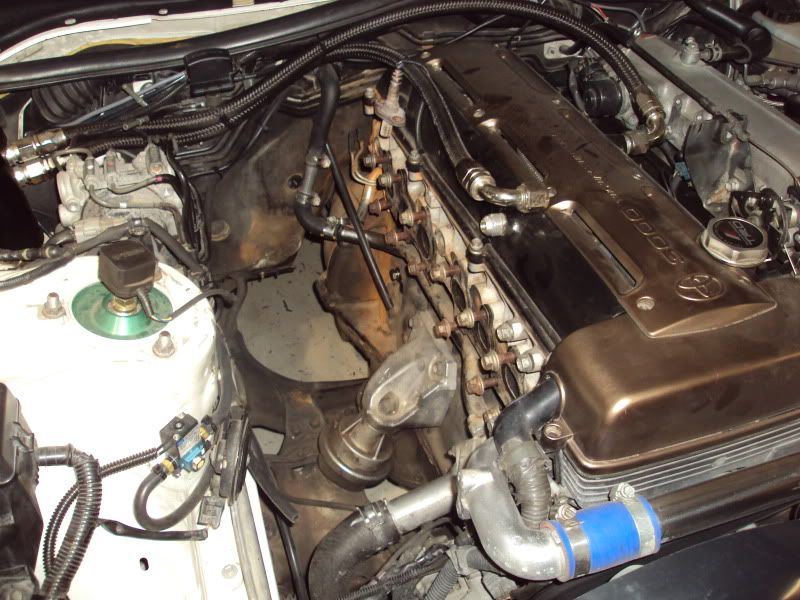
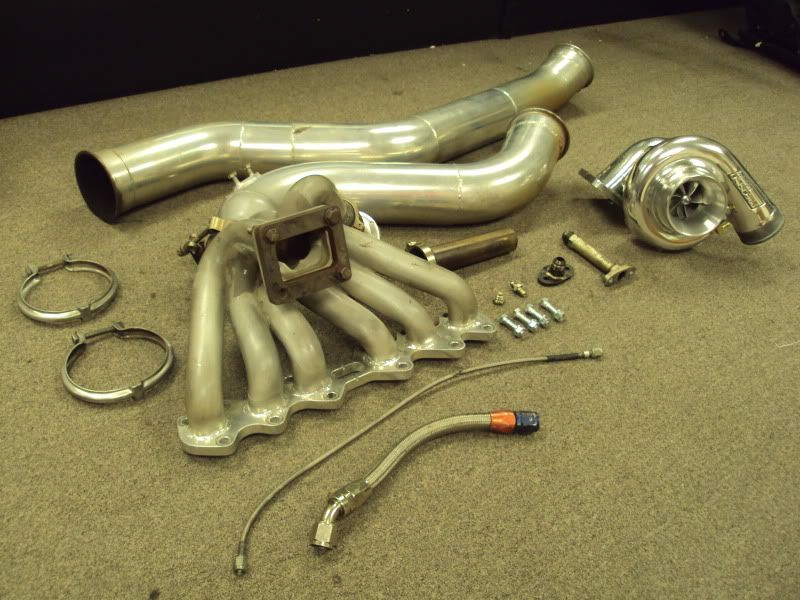
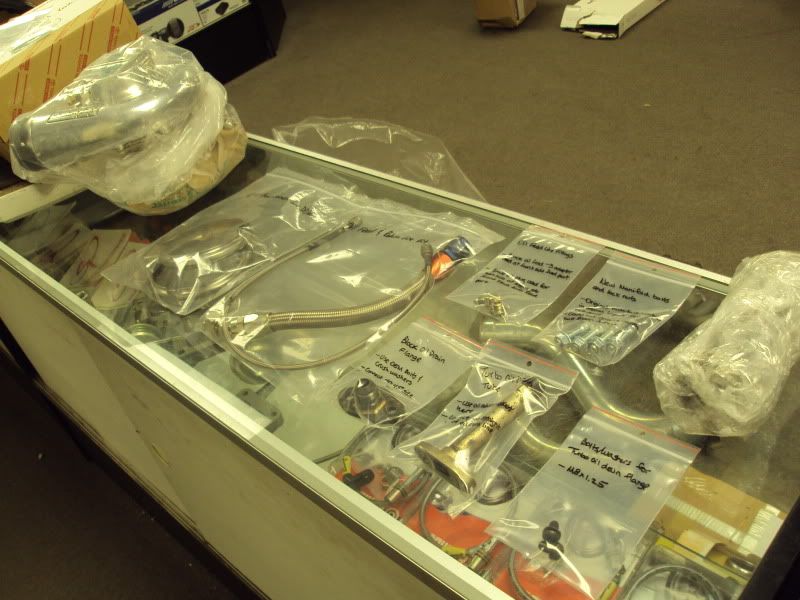
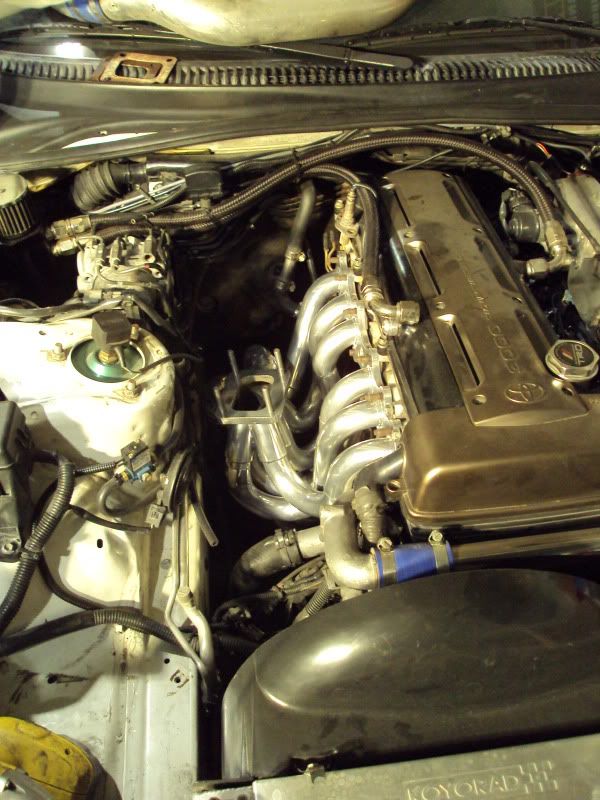
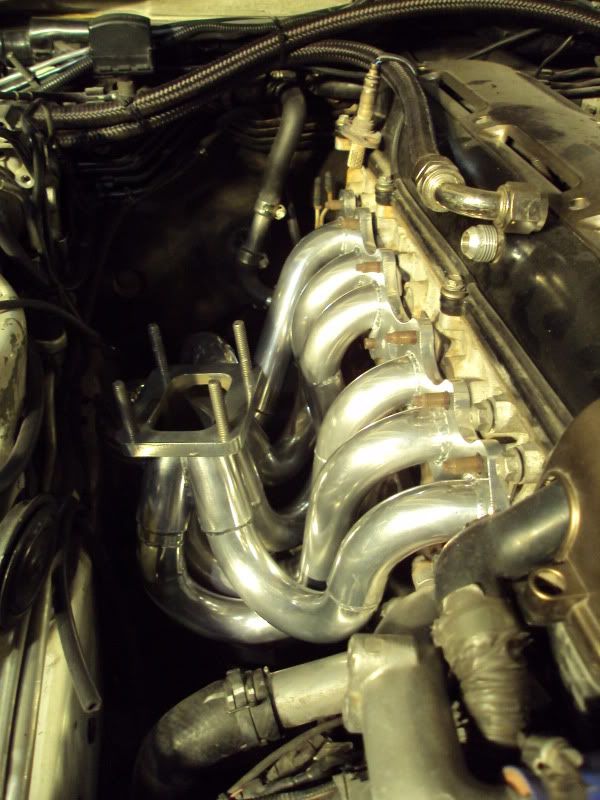
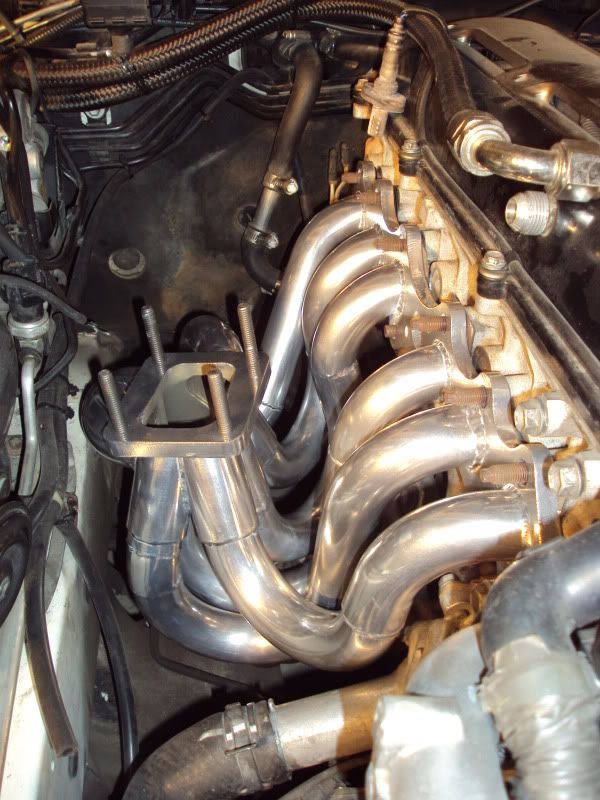
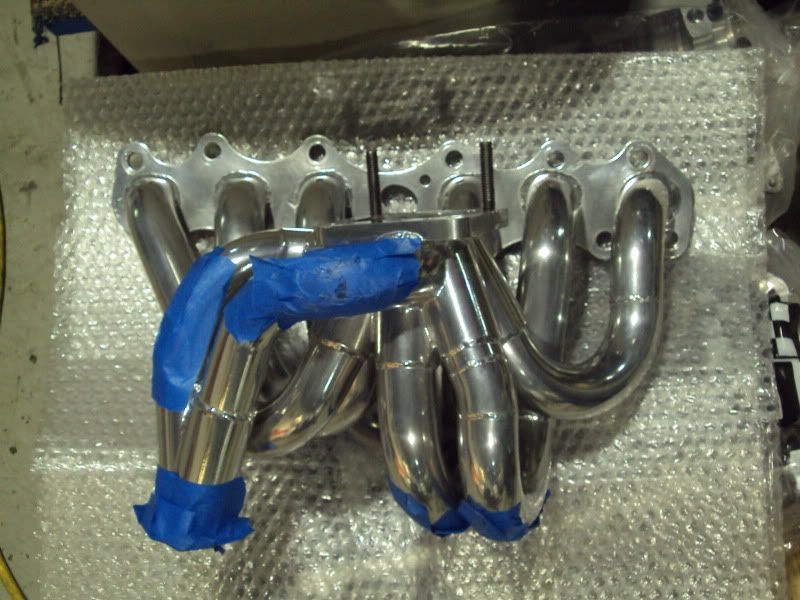
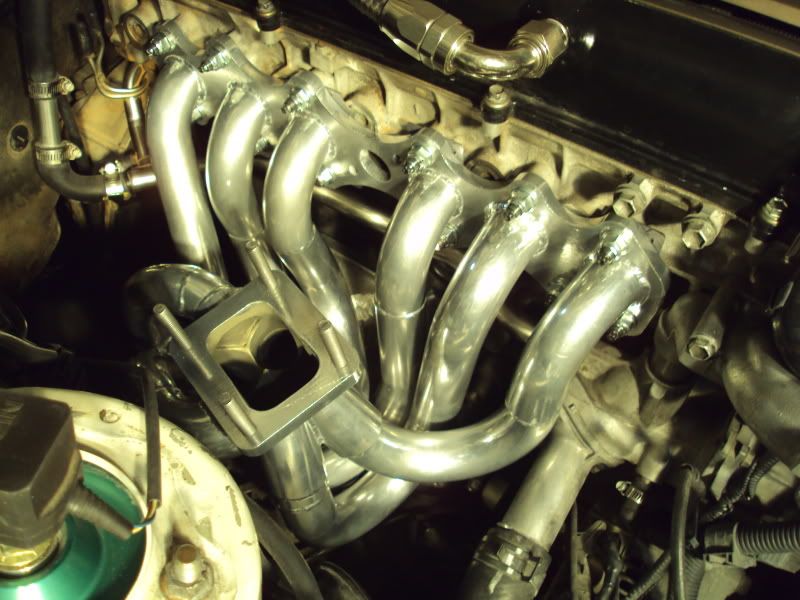
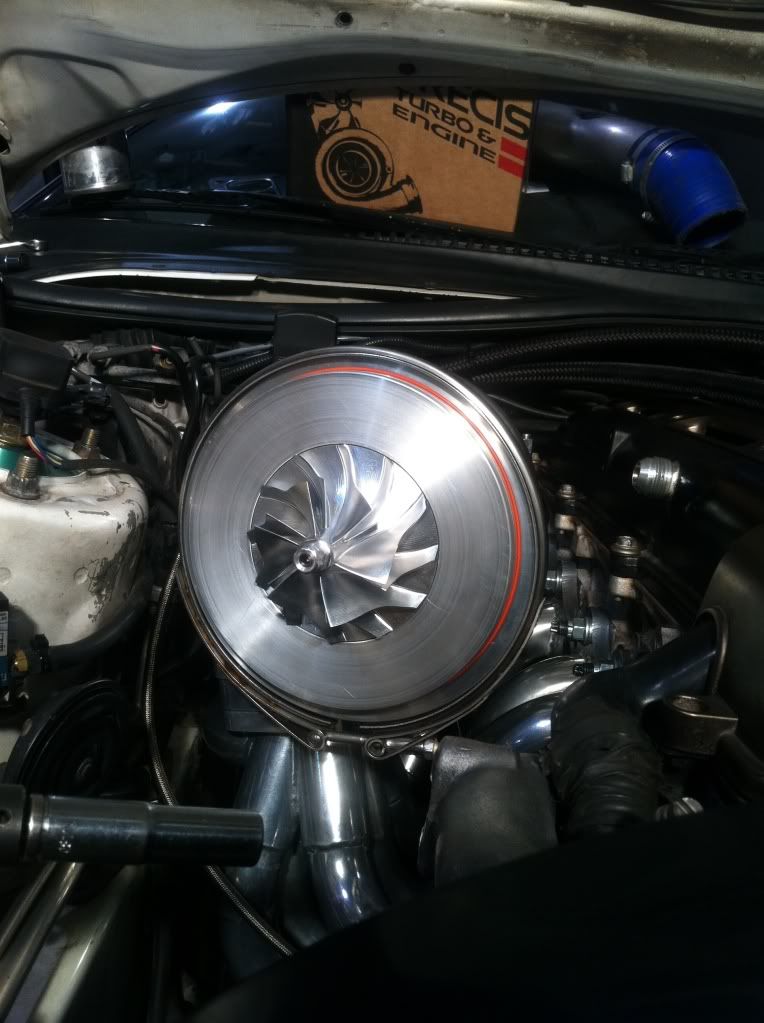
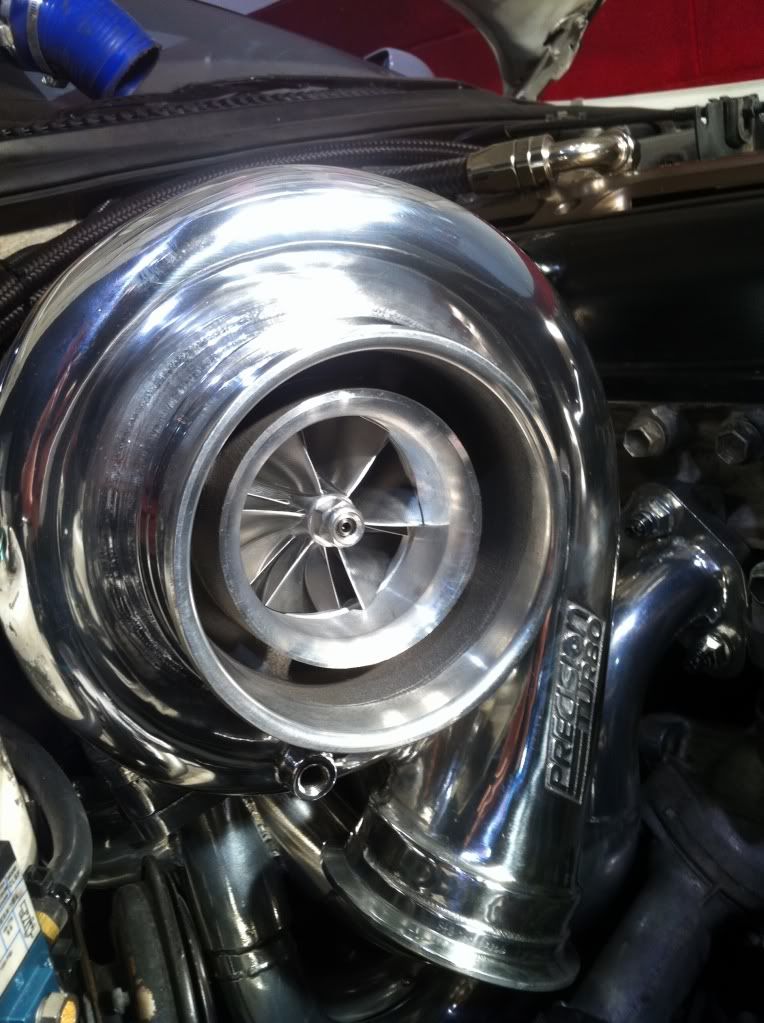
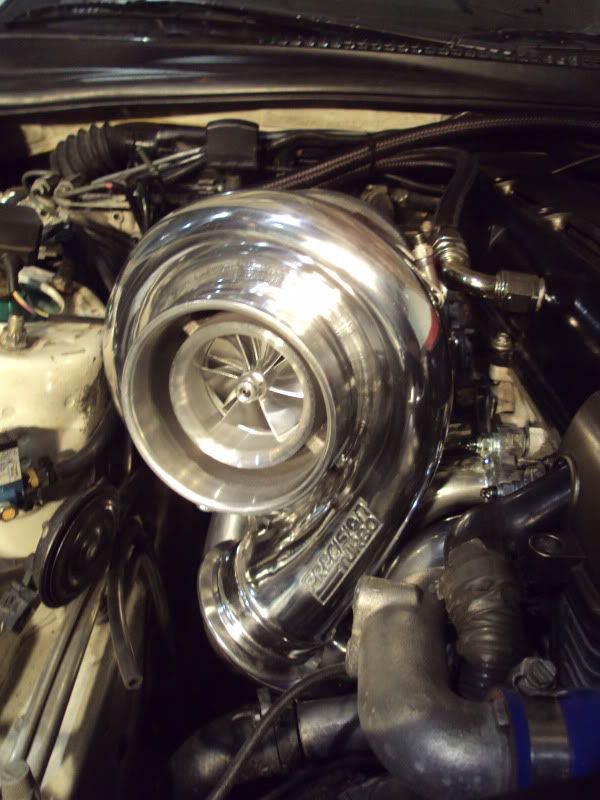
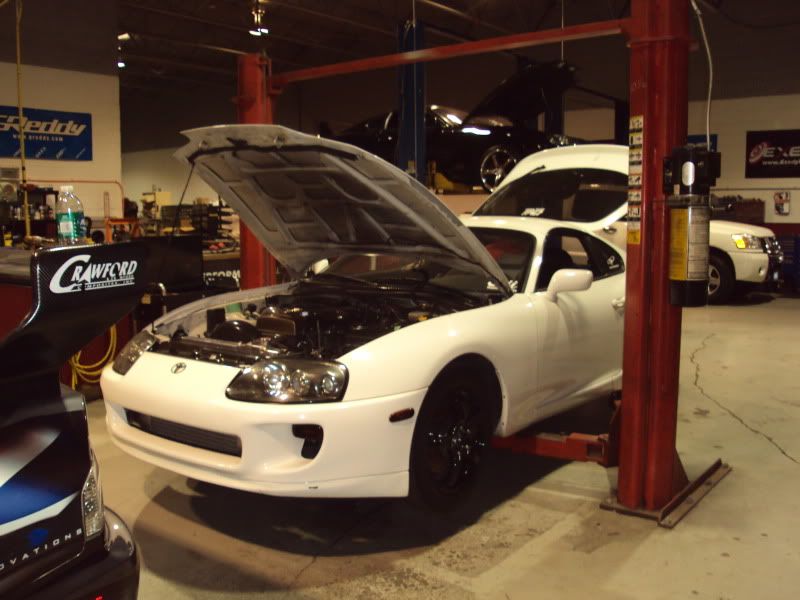
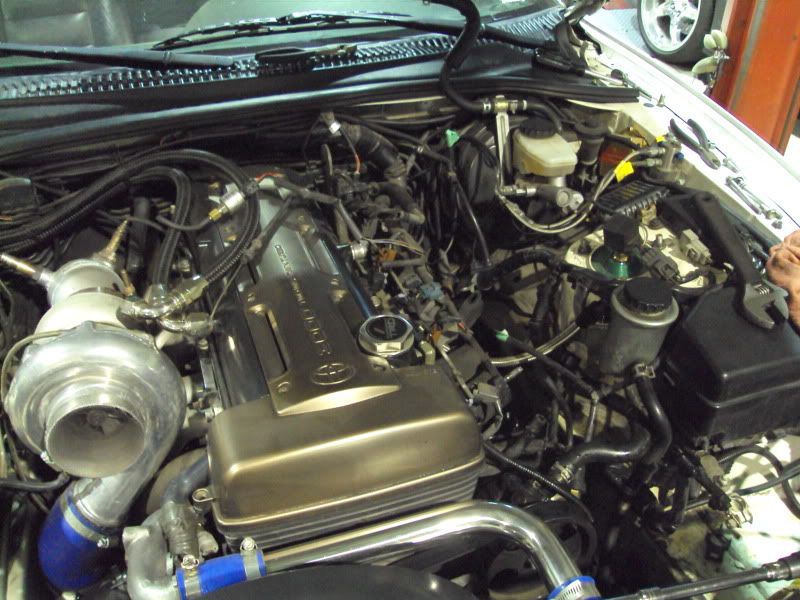
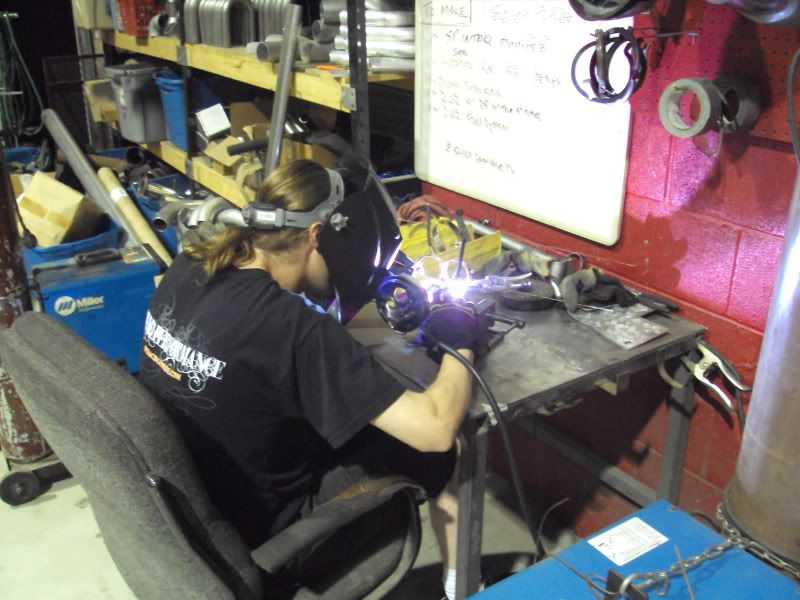
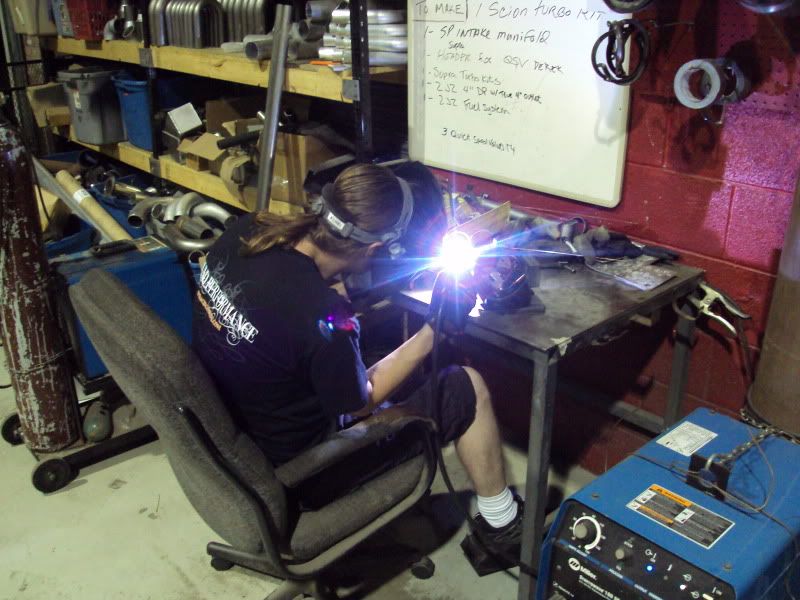
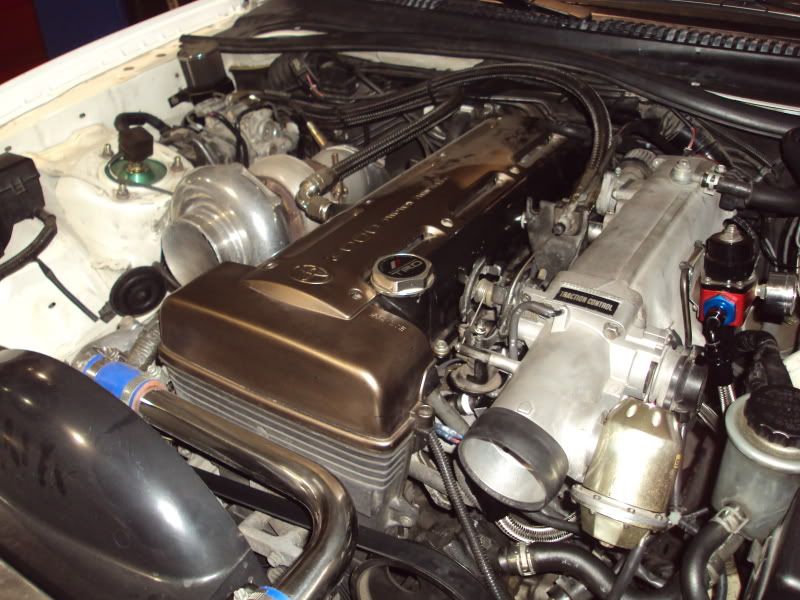
The last part of my build for this year is to re-do my turbo setup. As many know, I have been pushing hard to get an RPS manifold reproduced here at SP, and my dream is becoming a reality. The prototype manifold is near complete and should (crosses fingers) be on my car soon. I will also be combining this with an SP Quick Spool Valve and a new turbo. I have not quite decided on my turbo selection yet, but will when the time comes.
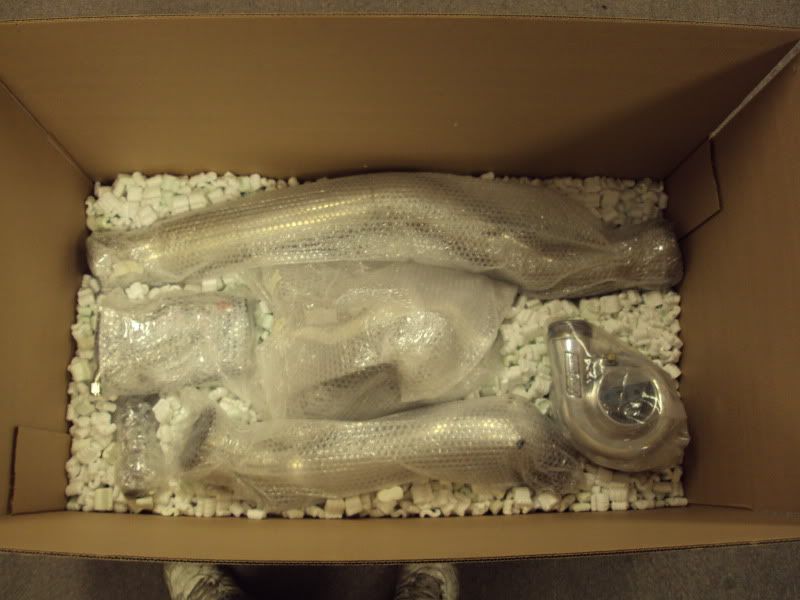
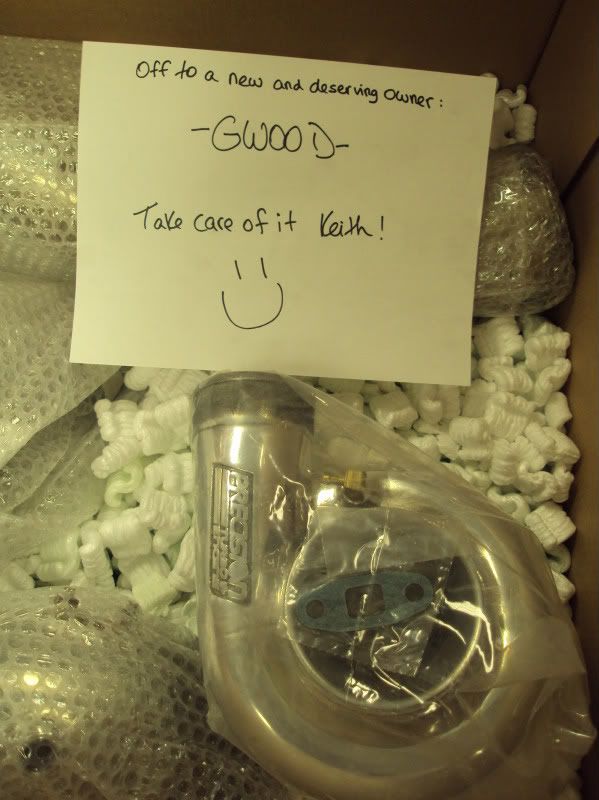
My current turbo kit is for sale in this thread:
http://www.supraforums.com/forum/showthread.php?t=601574
Stay tuned!!
Reid
Here's what I've got in the works. I hadn't had the chance to update this first post with my plans until now. There were three main objectives I set for this build. Two of which (Fuel system and ProEFI) are already complete now.
Fuel System:
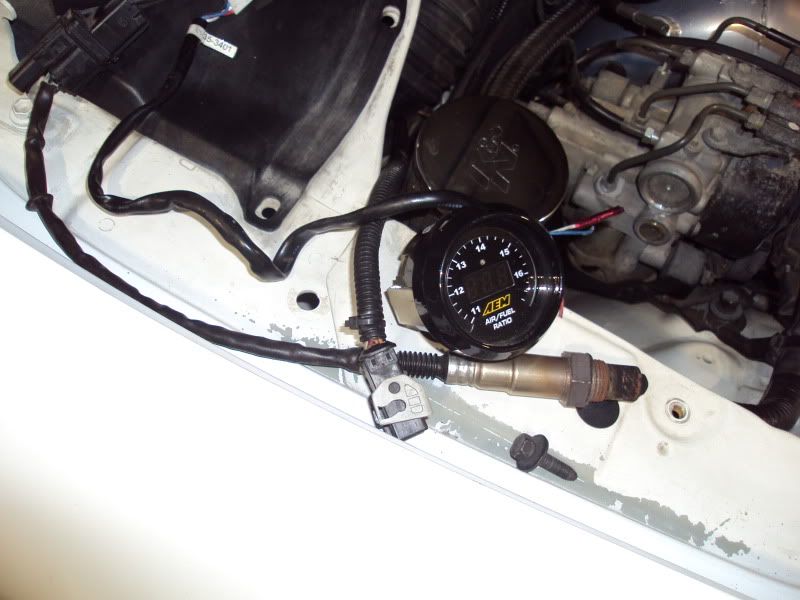
I planned to build my fuel system around the fact that I was going to run the ProEFI and E85 Flex Fuel system. Therefore, I decided on a set of Precision 1200cc injectors and twin in-tank Bosch 044 pumps. Theoritically, this is enough fuel for approximately 850-900whp on E85 which is more than I plan to make, but having a bit of extra fuel is something that I feel is a nice safety cushion rather than run my fuel system at its limits. The basic layout is to run the twin Bosch pumps in-tank that Y in to a -10 bulkhead on the stock pump hanger (highly modified), run a single -10 line to a 100 micron Stainless Steel fuel filter, Y off to twin -8 feed lines into my SP Fuel Rail, and the -6 lines through the FPR and ProEFI Flex Fuel sensor back to the stock return. Overall, it turned out pretty nice.
ProEFI Standalone:
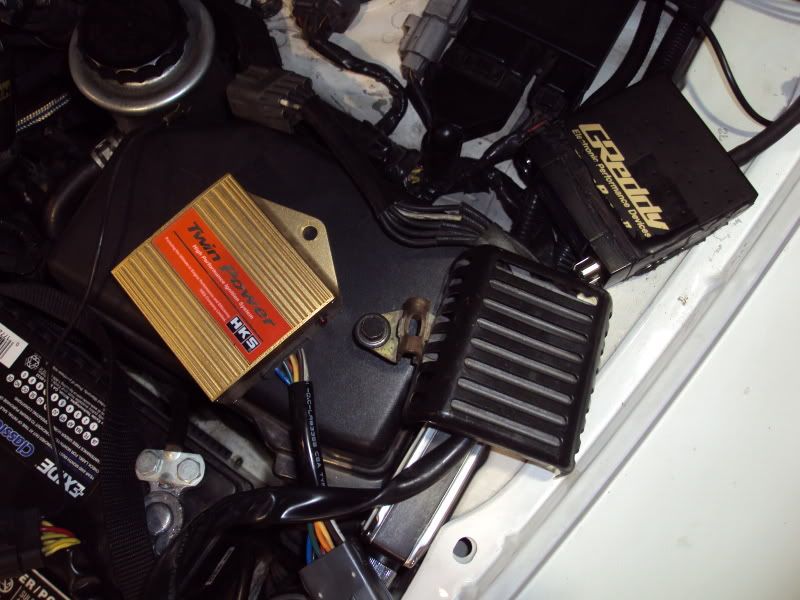
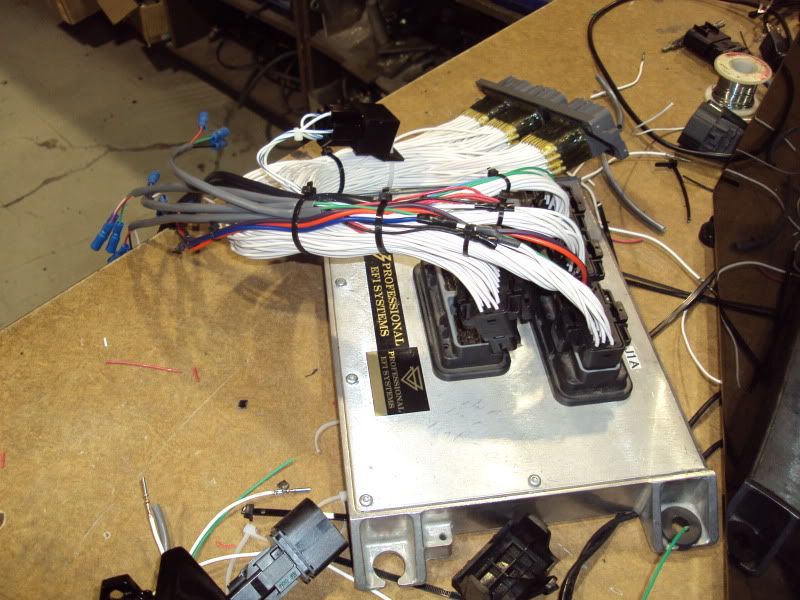
I have been dying to run the ProEFI system ever since it was first introduced. I was forced to go with used AEM setup last minute last year to alleviate my stock ecu woes and get the car in action. Luckily, I was able to swap over to the ProEFI system this year. I have been completely blown away by its performance and features and can't wait to continue to learn more about it as I drive my car more.
Here is my review of my ProEFI Experience. I will be updating it regularly.
http://www.supraforums.com/forum/showthread.php?t=600761
Turbo Setup:
The last part of my build for this year is to re-do my turbo setup. As many know, I have been pushing hard to get an RPS manifold reproduced here at SP, and my dream is becoming a reality. The prototype manifold is near complete and should (crosses fingers) be on my car soon. I will also be combining this with an SP Quick Spool Valve and a new turbo. I have not quite decided on my turbo selection yet, but will when the time comes.
My current turbo kit is for sale in this thread:
http://www.supraforums.com/forum/showthread.php?t=601574
Stay tuned!!
Reid


")