

So I saw a video on taking apart a NES controller, and having a newer lower piece 3D printed and mounting a pi Zero into it. Then soldering the connections from the controller to the GPIO pins to get power and data. I then found another video where the guy used a standard USB clone and soldered to the USB itself and the power pads of the Pi. I decided to take a stab at it.
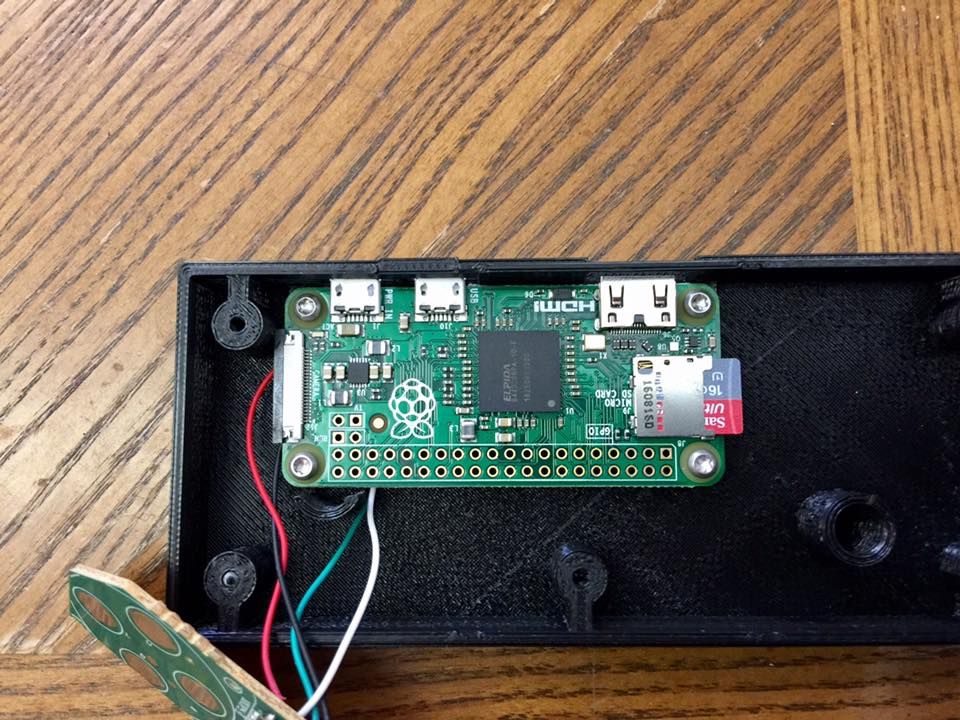
Ill admit, my soldering skills are not the best, but for being a first time after a little practice, it works and doesnt look terrible.

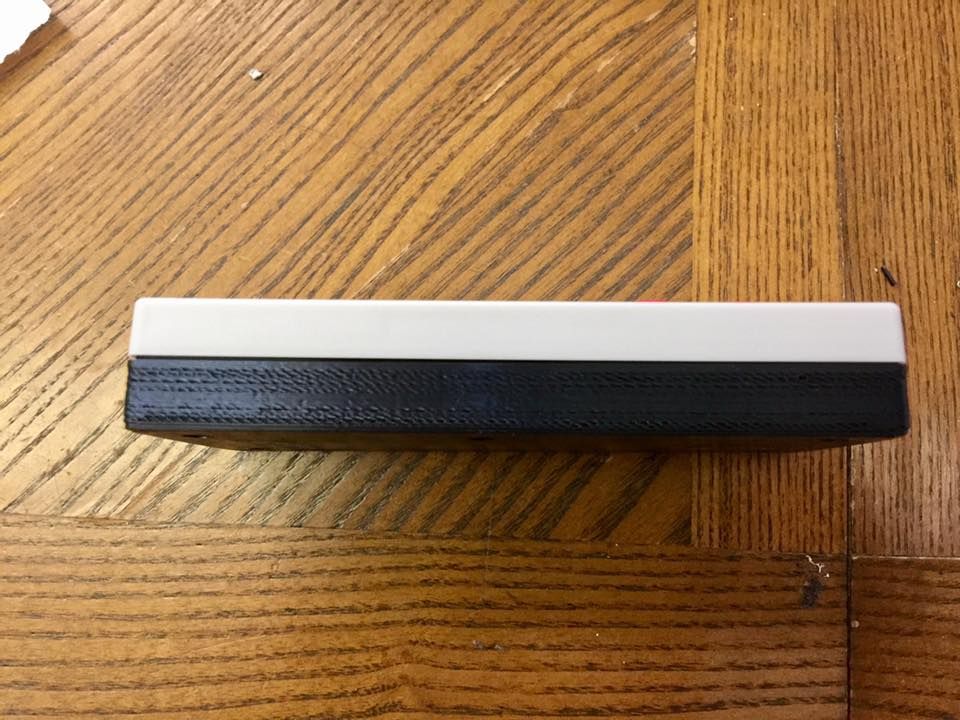
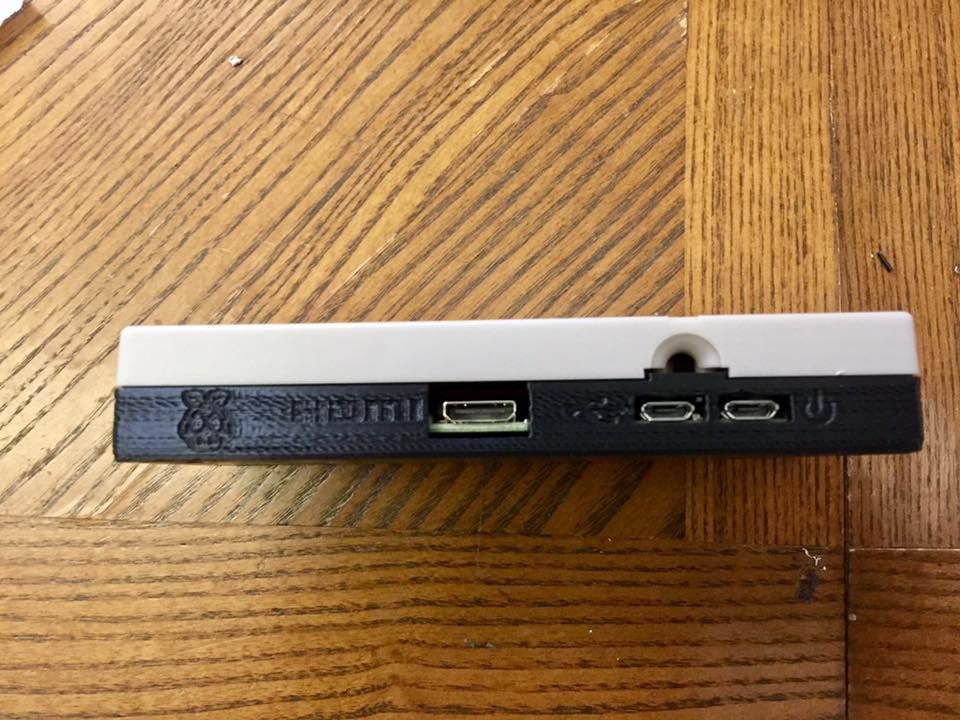
The lower plate was a file that I got from Thingverse, and had printed at the Addison Library.


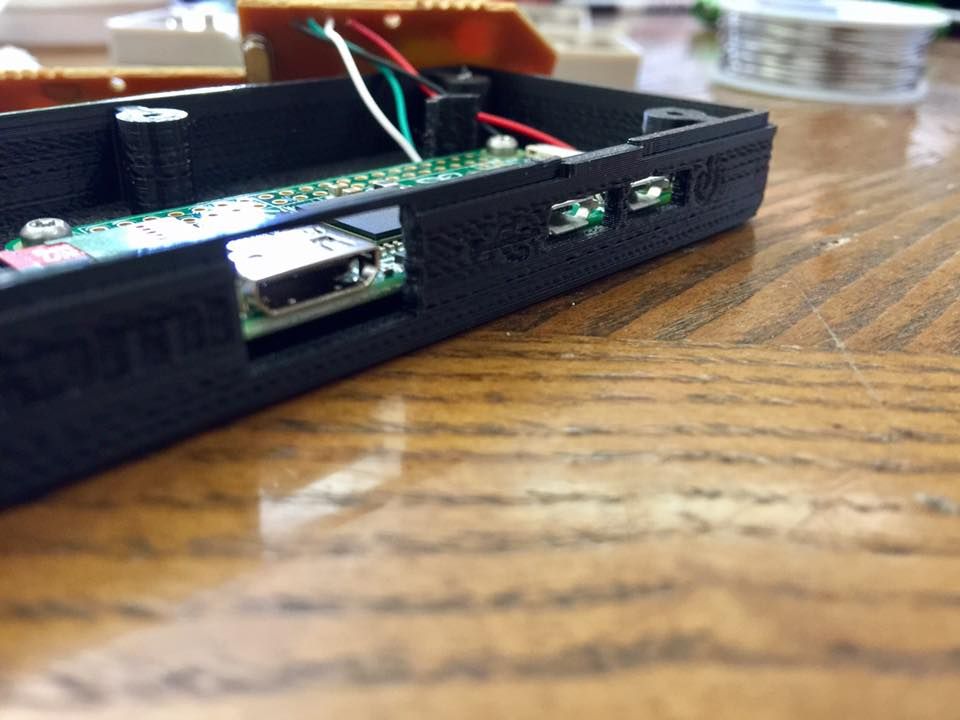
Soldered and mounted.
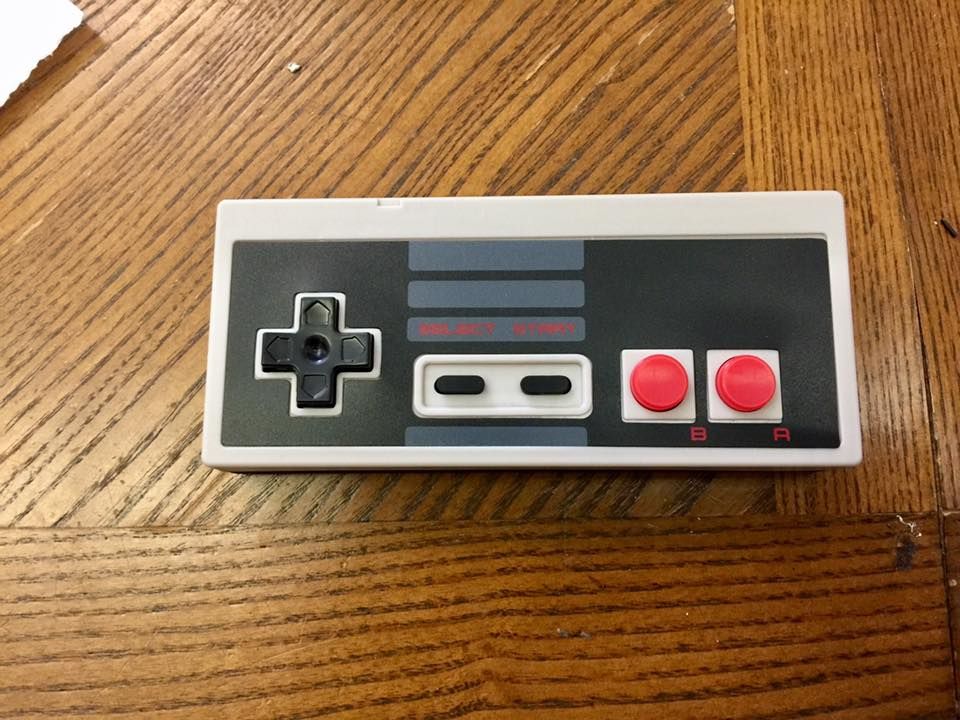
All together.
I loaded retropie and only systems that use 2 or less buttons. Which is NES, Sega Masters System, PC Engine (TurboGrafx 16) Atari 2600, GB, GBC, GBA (I forgot about the shoulder buttons and mario kart is unplayable. Ill most likely remove GBA) and Game Gear.
I think I have more fun building these than playing them. Im the [MENTION=5219]ZXMustang[/MENTION] of rasberry pis.
Ill admit, my soldering skills are not the best, but for being a first time after a little practice, it works and doesnt look terrible.
The lower plate was a file that I got from Thingverse, and had printed at the Addison Library.
Soldered and mounted.
All together.
I loaded retropie and only systems that use 2 or less buttons. Which is NES, Sega Masters System, PC Engine (TurboGrafx 16) Atari 2600, GB, GBC, GBA (I forgot about the shoulder buttons and mario kart is unplayable. Ill most likely remove GBA) and Game Gear.
I think I have more fun building these than playing them. Im the [MENTION=5219]ZXMustang[/MENTION] of rasberry pis.
